filmov
tv
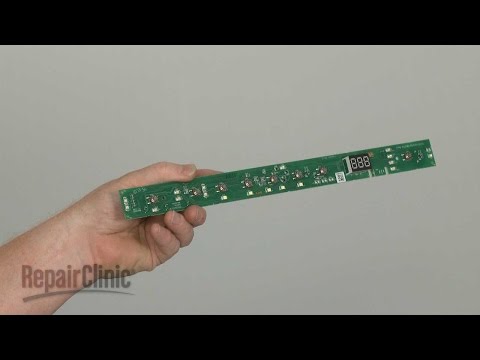
How to Replace GE Dishwasher User Interface (Control Panel)

Показать описание
Call us today with you model number and we will make sure you get the right part
888-655-8569
In most cases we can get you the part the next day if ordered before 4pm central time.
---------------------------------------------------------------------------------------------------------------------------------------------------------------
Links
----------------------------------------------------------------------------------------------------------------------------------------------------------------
Support the Channel by donating or using the links down below.
Stop by our Amazon store to pick up must have tools for appliance repair
----------------------------------------------------------------------------------------------------------------------------------------------------------------
 0:06:28
DIY replace or install dishwasher for beginners!
 0:12:25
How to Replace or Install a Dishwasher | GE dishwasher installation tutorial
 0:17:46
How to Install a GE Appliances Plastic Tall Tub Dishwasher
 0:27:06
How To Replace Your Old Dishwasher: A Step-by-Step Process so You Can Save Time and Get Done Faster!
 0:47:18
How To Install A GE Dishwasher - Installation
 0:10:26
How to EASILY REMOVE an OLD DISHWASHER and INSTALL A NEW ONE | Step by Step DIY Replacement Tutorial
 0:04:11
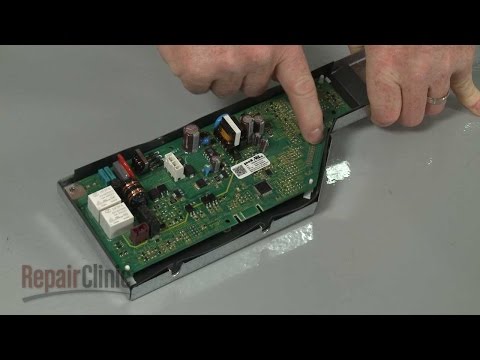
GE Dishwasher Main Control Board Replacement #WD21X20720
 0:05:53
How to repair a dishwasher, not draining / cleaning - troubleshoot GE QuietPower 3
 0:00:57
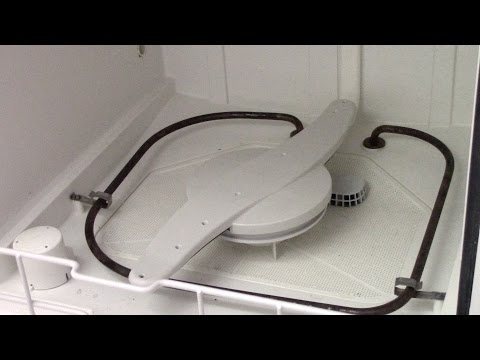
GE Dishwasher Center Wash Arm Assembly Replacement WD22X26622
 0:00:53
GE Dishwasher Center Wash Arm Support Replacement #WD12X20172
 0:02:37
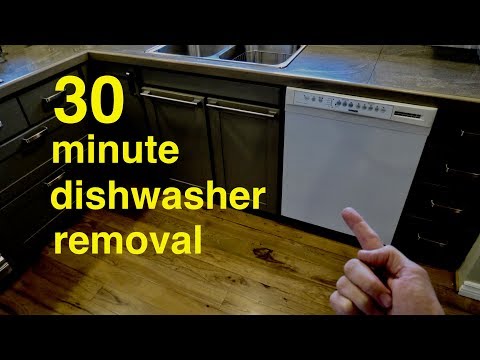
How to Save Money ● 30 Minute DIY Dishwasher Removal ( not that hard ! )
 0:06:43
How to Replace GE Dishwasher User Interface
 0:09:32
GE Dishwasher Control and Display Board Replacement WD21X10553
 0:04:09
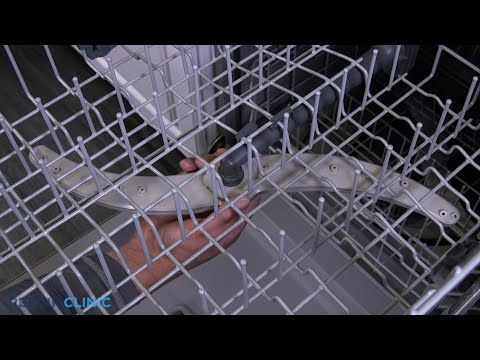
How To: GE Dishwasher Upper Dishrack Rail WD30X20110
 0:11:55
GE Dishwasher Disassembly (Model #GDT580SSF0SS), Repair Help
 0:07:34
GE Dishwasher Pump & Motor Assembly Replacement #WD26X10013
 0:13:20
How To Install A Dishwasher - FAST AND EASY - Step By Step Guide
 0:04:58
Dishwashers. Why does everyone install them wrong?
 0:07:26
GE Dishwasher Heating Element Replacement #WD05X21294
 0:11:18
GE Dishwasher Heating Element Replacement WD05X28460
 0:02:25
GE Dishwasher Upper Rack Assembly Replacement WD28X30219
 0:06:44
How To Remove & Replace a Dishwasher -Jonny DIY
 0:21:16
How to Replace GE Dishwasher User Interface (Control Panel)
 0:05:09
GE Dishwasher No Power, No Lights (Fixed)
Комментарии