filmov
tv
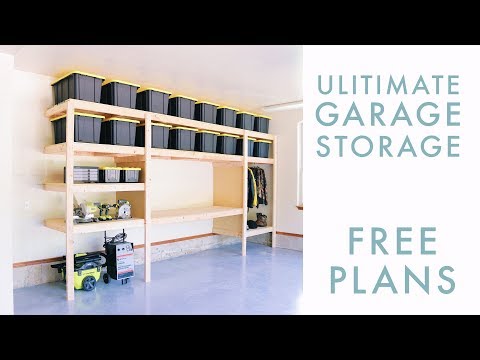
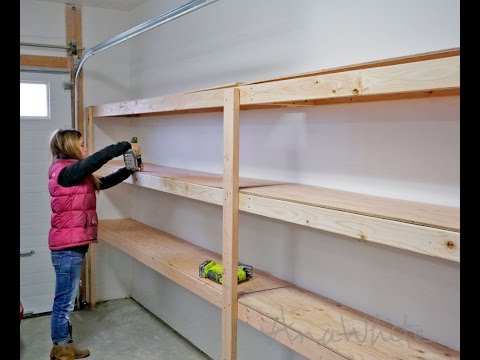
DIY Garage Shelves / Shelf / Workbench / Storage / industrial

Показать описание
Want to support the channel?
!!!!*****I'M THIRSTY! BUY ME A BEER*****!!!!
Did I do a good job? Buy me a drink man! I deserve it! Gonna start toasting to my supporters at the end of videos and would be stoked to say a toast to you!
Here are a few methods how (Make sure to leave a comment, I'll cheers with the best one):
Venmo: Tyler-S-22189
Or buy me beers monthly by becoming a Patreon:
Cheers everyone!
-----------------------------------------------------------------------
Follow me Nerds, as I show you how I built this light-up workbench and shelving system by myself (One person build), but if you have help it's twice as easy.
This technique works for all applications including floors with and without slopes.
***instead of splicing the wires for the lights above the bench, they make extended cords (link listed below). A much safer and up to code option***
Wood and Cuts:
(25)- 8' long 2"X4" (Might need more or less depending on length and height of garage. My garage is less than 16' so I had to cut the horizontal framing by 6" on one side and the 29 internal boards were cut @ 27")
(5)- 8' long 1"X3" (I split mine with the table saw so if you don't want to do that perhaps get 10-1"X2" instead) (used for pegboard framing) (cut to desired size of pegboards)
(2)-4'X8' pegboard sheets (cut to desired height and length - mine is 36"X84" and 39"X29" for the side pieces on the dividers
(5)(total) - 23/32" 4'X8' plywood sheets (1/2" should also be okay pending your application)
all 5 cut @ 30" (2 were cut in half for my 4 - 4' shelf sections and then trimmed on the left side to fit my garage length)
2 of the leftover 18" sheets to be cut at 12" (To pair with the 18" sheets to complete 30" deep shelves on top)
➤VIP TOOL LIST:
➤Linked tools/Materials:
_____________________________________________________
Disclaimer:
 0:11:06
Super Efficient 2x4 Garage Shelves | DIY Garage Storage
 0:07:43
DIY Garage Storage Shelves | Shed Shelves: Strong, Easy and Cheap
 0:08:10
Build these GARAGE Storage Shelves / Easy Weekend DIY Project
 0:23:47
EXTREME GARAGE STORAGE & ORGANIZATION | DIY GARAGE SHELVING | MORE WITH MORROWS
 0:12:57
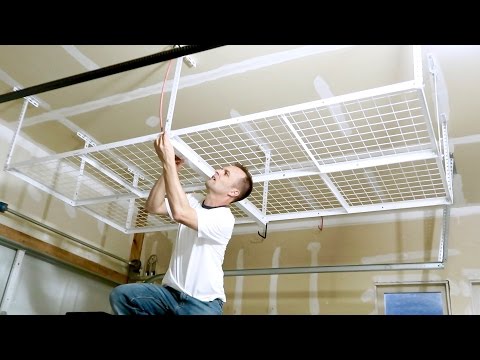
DIY Hanging Garage Shelves - Garage Storage Ideas
 0:00:53
Garage Shelves #2
 0:00:23
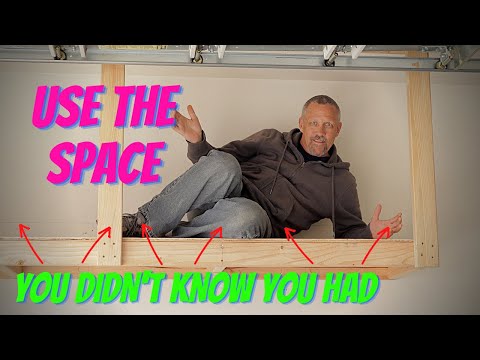
Tote Slide PRO Garage Ceiling Storage Rails for Bins
 0:22:12
The Ultimate Diy Hanging Garage Shelves Design You Need To Try! Garage Storage Ideas
 0:02:22
Build DIY #garagestorage
 0:23:36
DIY Garage Shelves / Shelf / Workbench / Storage / industrial
 0:06:11
5 AWESOMELY Simple Garage Storage Ideas
 0:05:44
Hang Track Shelving Installation “Beginner Friendly”
 0:05:54
How to install a Overhead Garage Storage Rack - CEILING MOUNT SHELF
 0:27:11
DIY Garage Storage Shelves - Threaded Rod Suspension System
 0:04:30
building garage shelving
 0:06:30
DIY Garage Storage / Shelf / Workbench Solution
 0:02:47
How to Build Garage Shelving - Easy, Cheap and Fast!
 0:12:29
Easy Freestanding Shelves
 0:02:13
Husky 4 Tier Industrial Steel Shelving Review
 0:06:49
CHEAPEST option for Garage Ceiling Tote Storage Rails!!
 0:00:59
Sturdy Garage Storage Shelves on Wheels
 0:05:43
Super Strong Lumber Storage Rack | How To Build
 0:06:00
Overhead Garage Storage Racks Installation | SafeRacks
 0:05:33
How To Convert Shelves into Cabinets - Part 2 Garage Makeover
Комментарии