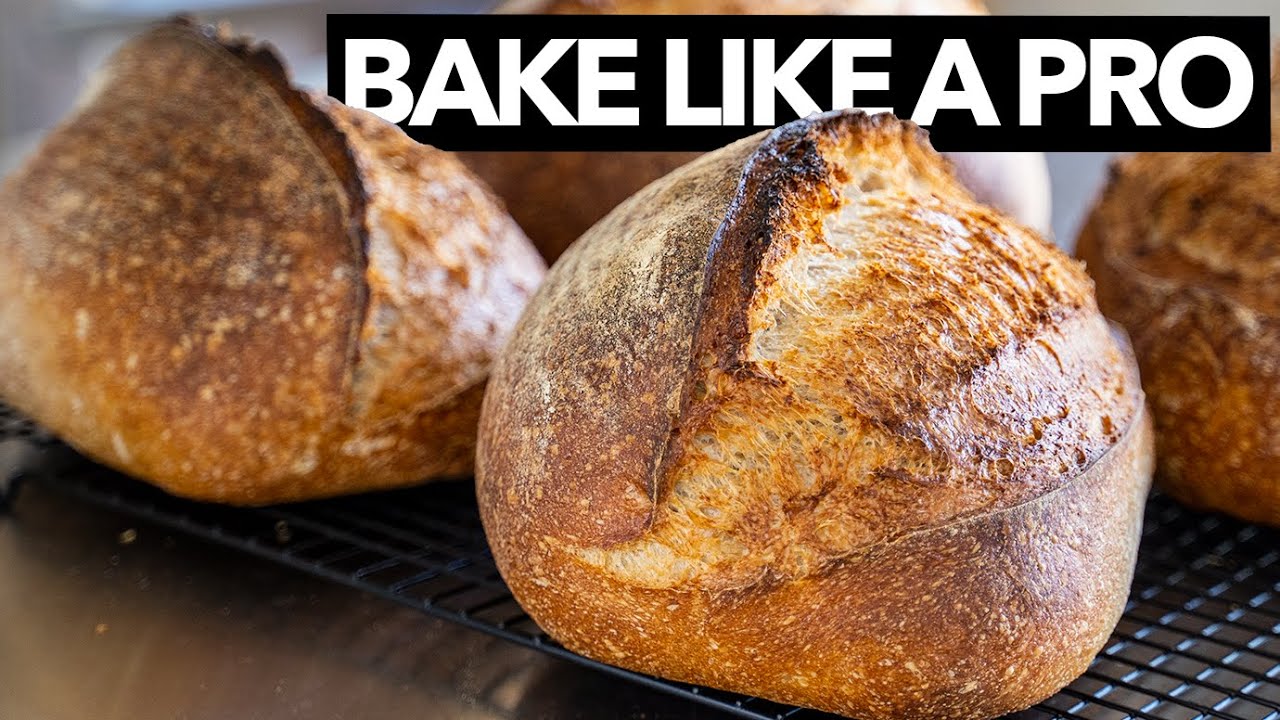
How to Make Sourdough Bread Like a Pro (advanced/intermediate)

preview_player
Показать описание


=================================================================
=================================================================
Getting your baking equipment via these links helps support this channel

==============================================================
Getting your baking equipment from True Food TV helps support this channel
==============================================================

*SOURDOUGH COUNTRY LOAF*
0:00 Intro
1:10 Sourdough Country Loaf
1:20 What is hydration
2:05 Best way to store bread
2:18 Ingredients
3:27 Schedule
3:35 Make the leaven
4:09 Make the dough
4:18 Water temperature (affect on fermentation)
5:04 Ever changing variables
5:55 Autolyse + “Fermentolyse”
7:55 Adding salt + more water (bassinage)
9:05 Slap and fold
10:12 Stretch and folds
11:07 When to end bulk fermentation?
11:54 Shaping
14:53 Cold proofing
16:05 Scoring
16:35 Baking with steam

=========================================
=========================================

Thanks to our sponsor Pleasant Hill Grain
For partnership, licensing and speaking inquiries: info [at] truefood [dot] tv

Рекомендации по теме
Комментарии
Автор

Friday night – Make the Levain: Mix together 25g starter, 100g flour, 100g water.
Saturday – Make the Dough: Mix above levain, 650g water, 750g bread flour, 250g whole wheat flour. Rest for 30 mins.
Autolyse (gives better texture & rise) - Incorporate 20g salt and 50g water into the dough by sprinkling it in batches, pinching after each incorporation. Use as much water as necessary to incorporate the salt. You may not require all the water.
Bulk Fermentation - Slap the dough on the counter, pull it back towards you and fold. Turn the dough and repeat process for 6 mins. Strengthens the dough. Place in a bowl, cover with a towel and rest for 30 mins.
Do 4 stretch and Folds (North/South/East/West). Rest for 30 mins. Do a windowpane test and if necessary, continue Stretch & Fold / Windowpane test. Place on the counter for the dough to rise. It is done when the dough forms a light skin and is giggly (gas is trapped inside)
Sprinkle a little flour on the counter and do a Tri-fold to preshape. Cover the dough with the bowl (bowl turned upside down) and let the dough rest on the counter for 20 mins.
Shape the dough into a boule or oval. Cover and rest for 15 mins. Lightly oil some cling film (can use shower cap) and cover the bowl, set on the counter for 1 hour and then place in the fridge overnight.
Place the dutch oven in the oven and switch oven on to preheat. Take the dough out of the fridge, transfer the dough on a sheet of parchment paper and score at a 45deg angle. Lift the parchment paper to transfer the dough into the hot dutch oven. Place the lid on top and place it on the center rack of the oven. Turn the temperature down to 425 F (220 C). And bake with the lid on for 40 minutes. Take the lid off and if you would like a bit more color on the crust, bake it for 5-15 more minutes with the lid off.
Cool the loaf for a minimum of 2 hours or overnight before slicing. Do not cut when hot.

apricus
Автор

In 2023, with the seemingly exponential growth of content being pumped out on various platforms, finding good content is a challenge. However, after watching a bit past 6:58 into your video, I can say that you are easily among my favorite content creators. Informative and easy to understand, no annoying transitions or distractingly loud music. Thank you!

EDIT: also genuinely hilarious, caught me off guard a couple times

a.f.stevens
Автор

This video is amazing. I've made a few loafs now with mixed results. Added your methods to my checklist in notes and the results were amazing. Thank you!

SpedSpedding
Автор

So I cut this recipe perfectly in half. I only slap and fold for 3 minutes, but then I do 4 stretch and folds, 30 minutes apart. I've done this twice now and my loaves come out absolutely perfect.
I'm in Southern California near the coast and for me and my oven, I use a dutch oven inside preheated to 450 degrees F. I put the loaf on parchment, score pretty deeply in one cross cut, gently lifting the ear flap a bit with the lame. I lower the loaf in using the parchment, then carefully along the outside of the parchment put in 3 ice maker made ice cubes, then immediately put on the lid and bake for 20 minutes, covered. Then take off the lid and bake another 20 minutes at the same temperature.
I get the fullest, most beautiful oven spring and a perfectly toasted ear across the entire loaf. It's almost foolproof at this point.
I'm now confident enough to begin add-ins and maybe even play around with some more decorative scoring. I've been baking sourdough for about 3 years now, and this recipe and method has been the most foolproof and this video provides a great deal of information.

scottyplug
Автор

I've been baking decent sourdough bread for about 2 months now. Your method doesn't seem to be too different than what I've been doing so far...I don't know what it is with it, but...following your recommendations, the bread is turning out just amazing! I am getting great oven spring and a huge ear each time! Thank you for making this video!

mariaTB
Автор

I'm so glad you talked about baking the dough right out of the refrigerator. When I started baking sourdough I used to have this doubt but no video or article covered that I had to learn the hard way! Amazing video ❤️

Prattyandfood
Автор

Sometimes I wonder how much any of this matters. I've made poor sourdoughs doing everything perfectly with the right temp and I've made perfect doughs doing everything rushed and "incorrectly".

timjames
Автор

Thank you for this tutorial after 20 failed loaf attempts. I was able to bake 2 loafs of bread that came out almost perfect and my family enjoyed. Thank you.

maria-teresafeliciano
Автор

I am always amazed at how many different approaches exist to making sourdough bread. I always learn something new. I have never seen letting the bread rest in the banneton after shaping and then apply a final stitching technique. Thanks so much for sharing. I’m going to give this a try on my next bake!

evelynwald
Автор

I can’t believe how excited I was to see the result when you cut the bread at the end. Beautiful. Now I’m hungry 😋

benjaminbrewer
Автор

Ive watched dozens of tutorials on making sourdough bread and Ive had some successes and just recently a big flop. Your video is so informative that now I know how to avoid some of the mistakes I’ve made. Baking is a science and you teach the science behind it. Thank you for going in depth without being boring. Snarky twin is hilarious!

karinhammons
Автор

Thanks for the video, I followed your recipe for a double loaf to the T, I bought a scale, and a Dutch oven, The rise of the loaf with baked was unbelievable and the crumb I think you said that was the gaps are a little holes in the bread was outstanding and using 25% whole wheat really made it taste better I am just so thankful for that we appreciate the money to send you a couple pictures but of course I don’t think I can do it from here thank you very much much.

davidsims
Автор

Incredibly helpful and so exciting to see those beautiful loaves. I’m making some right now and normally I do it in a ditch oven but now I’m tempted to use my pizza stone with a bowl of water steam

MommaFromScratch
Автор

After watching so many other sourdough tutorial videos and baking a ton of bricks, this one fills in a lot of gaps and answers looming questions. Definitely a skill that is mastered by few.

designomatic
Автор

I finally figured it out. I wasn’t feeding my starter enough. I just made a beautiful loaf of sourdough bread complete with a gorgeous oven spring and a full crisp ear. 😁

Thank you again for all of your videos. 🥰

tcasa
Автор

That was 💖💖💖
Loved every minute of it! I learned so much thank you for this it was so fun and you're voice is so soothing I could listen to you for hours 🤗
Fantastic work!

stephanieramires
Автор

You were right! I substituted 40 percent of my very basic weat flour with whole grain eincorn flour. I use a glass caserole with a lid for the fermentation. The aroma of the unbaked bread was pretty sweet, and once it was in the oven- pure heaven! I didnt know what i was missing until now! I had to put the loaves in a bag to travel outside of town. The whole buss was smelling of baked goods! Everybody was turning their head to find the source! And the taste....pure heaven! I sliced it and then toasted it on a wooden stove, then we used it as a snack along side a tomato-chickpea salad...didn't make it to the main course, soo delicios! Thank you!

ClowDelion
Автор

Scoring at the proper angle changed my bread so much. So simple but mattered so much!!

cdw
Автор

I've been making sourdough bread for 2 years now using tips I've gathered from a wide variety of videos. Your video is one of the most helpful I've found and your methods significantly added to my success. I never was able to score the dough without the blade dragging. Doing this on cold, proofed dough was excellent. Also, baking the proofed dough that rose in Dutch ovens right out of the fridge was perfect. I've been grinding whole grains in a VitaMix. It comes out a bit coarser than I'd like, but it's still pretty good. I was doing 40% whole grain with 80% hydration. Switching to 25% whole grain and 73% hydration resulted in a better rise. Would you consider increasing the percentage whole grain at all? I tried the spelt and einkorn flour as whole grains and it was a great taste. My baking temps were: 475F for 20 min covered, 450F for 15 min covered, and 450F for 8 min uncovered, which was great. Thank you for such informative videos.

dalemccullough
Автор

I really love how traditional tasty sourdoughbread has spread again to all parts of the world <3 Thank you for helping with your amazing videos!

dpsdps