filmov
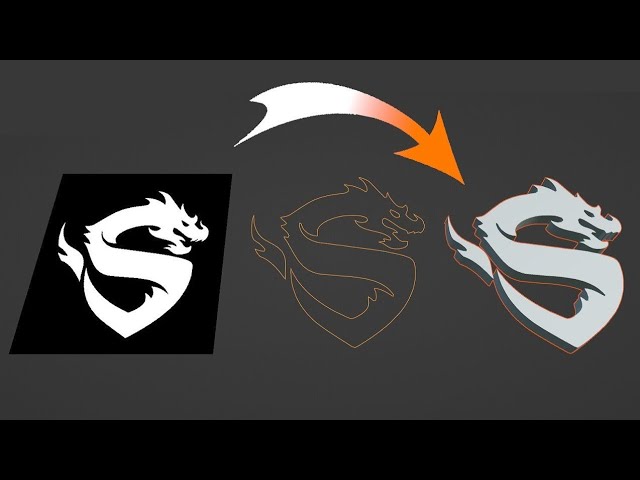
tv
Turn Any 2D Image to 3D Model in Blender - Beginner Tutorial
Показать описание
Learn to use the Displace Modifier to turn any image into a 3D Model in Blender without the need for Modeling
00:00 - Intro
00:05 - Adding a Plane & Get Right Proportions
01:32 - Using Displace Modifier
03:54 - Smoothing Mesh
04:44 - Optimizing Mesh using the UnSubdivide
06:44 - Use Boolean Modifier to Cut Dragon Eye
07:40 - Achieving Final Result
- Boolean
00:00 - Intro
00:05 - Adding a Plane & Get Right Proportions
01:32 - Using Displace Modifier
03:54 - Smoothing Mesh
04:44 - Optimizing Mesh using the UnSubdivide
06:44 - Use Boolean Modifier to Cut Dragon Eye
07:40 - Achieving Final Result
- Boolean
 0:16:25
Tutorial: Easy 2D Image to 3D Render Workflow (100% Open Source)
 0:06:53
Blender Tutorial - Turn Any 2D Image to 3D Model - Quick & Easy
 0:02:45
Turn Any 2D Image to 3D Model Using AI Free - Step by Step Tutorial (2024)
 0:16:03
Turn Any 2D Image to 3D Model: A Quick & Easy Blender Tutorial for Beginners
 0:01:24
Turn 2D images into Animated 3D Models - Cheat at Blender Tutorial
 0:08:01
Turn Any 2D Image to 3D Model in Blender - Beginner Tutorial
 0:00:24
Convert 2D to 3D in 1 second Online & for Free
 0:07:32
Easy 3D Logos in Blender: Use Any 2d Image
 0:03:01
How to turn 2D image into 3D print | Done
 0:01:03
Turn a 2D Image into a 3D Environment in Blender!
 0:03:15
HOW TO TURN 2D IMAGES INTO 3D WORLDS! (Blender Tutorial)
 0:01:05
Turn a 2D Image Into a 3D Building in Blender in 1 Minute!
 0:03:23
Transform 2D A.I. images in 360° equirectangular for panorama
 0:08:08
Turn 2D Images into 3D Objects with Monster Mash! (Free Web Tool)
 0:08:03
Convert a 2D image to a perfect 3D character model - Is it really AI?
 0:08:40
How to turn any 2D image into 3D! - Fspy/Blender Camera Projection Beginner Tutorial
 0:18:45
Turn a 2D image to 3D using Blender - Tutorial 2022
 0:03:00
3 Tools to Turn 2D Image to 3D Model Using AI Free - Step by Step Tutorial (2024)
 0:08:23
Blender Tutorial - Turn Any 2D Logo to 3D Model - Quick & Easy (Superman Edition)
 0:05:17
Turn 2D Images into 3D models in Blender using Perspective Plotter Addon
 0:09:20
Extrude 2D Images with Blender + Photoshop
 0:00:35
Turn 2D Images into 3D Models #ai #artificialintelligence #aitools #3dmodeling
 0:03:15
How to Turn Any 2D Image into a 3D Image Using AI in 3 Minutes!🔥(FREE)🚀
 0:05:24
Convert 2D Design to 3D | Blender 3.4 tutorial #blender #blender3d #blendertutorial
Комментарии