filmov
tv
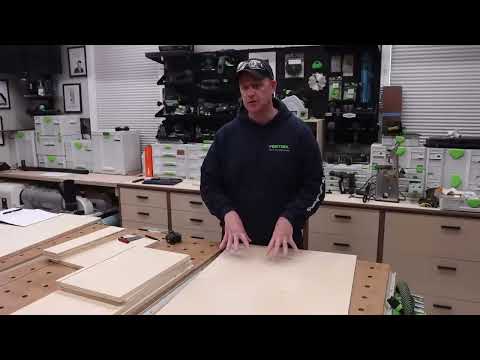
How to Build Basic Upper Cabinets | EASY DIY Wall Cabinets

Показать описание
Hey friends, let's build some basic upper cabinets! In my last video I shared the base cabinet build, so it only makes sense the uppers would follow :)
While these cabinets were built specifically for my laundry room, these same style, size, and type of cabinets can be used in a kitchen, bathroom, garage, or office.
**Follow Woodshop Diaries On**
SHOP WOODWORKING TEES AND BUILDING PLANS HERE:
**Helpful resources for this build:**
How to build frameless cabinets:
Tools & Materials:
*Affiliate links below
Tools:
Materials*:
¼″ plywood for back panels
1x2s & 1x3s (for face frames)
Material for doors–varies depending on style.
*material amounts will vary depending on your cabinet size and number of cabinets needed. In most cases, one ¾″ sheet of plywood will make about 2 cabinet boxes.
Paint Color: SW Stardew
**CHAPTERS**
00:00 Introduction
00:22 Upper Cabinet Dimensions
02:05 Cut Plywood to Size
02:41 Assemble Upper Cabinet Box
05:00 Assemble and Attach Face Frames
06:41 Prepare for Adjustable Shelves
07:17 Attach Back Panel
07:35 Assemble Cabinet Doors
08:56 Paint Cabinets
09:16 Install Doors on Cabinets
10:01 Hang Cabinets on Wall
10:52 Install Trim and Add Shelves
11:42 FINAL REVEAL
 0:12:44
How to Build Basic Upper Cabinets | EASY DIY Wall Cabinets
 0:15:26
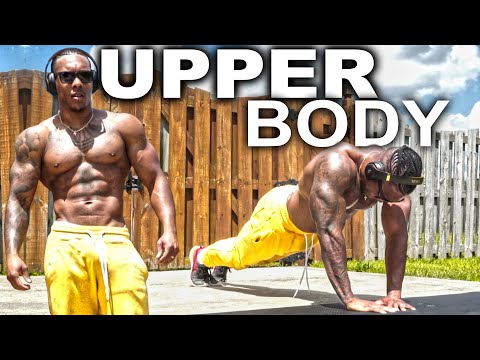
The Best Beginner's Upper Body Workout
 0:08:29
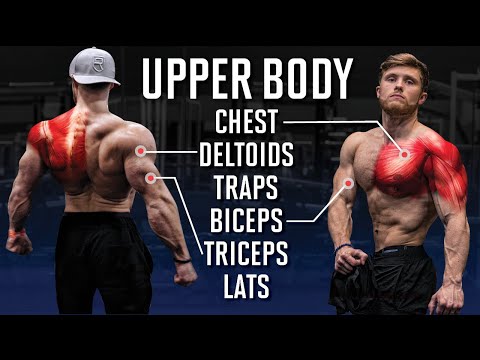
The Best Science-Based Upper Body Workout for Growth (Chest/Back/Arms/Shoulders)
 0:25:33
20 Minute Upper Body Dumbbell Workout - Great For Beginners
 0:00:51
Beginner friendly Upper Body Workout 💪🏼🫶🏻 #upperbodyworkout #beginnerworkout #dumbbellworkout...
 0:00:20
HOW TO TARGET UPPER AND LOWER CHEST
 0:00:10
upper body workout at home for male's #fitness #shorts #exercise #workoutathome #beginners #mal...
 0:00:37
UPPER BODY WORKOUT AT HOME ONE EAST TO THIS
 0:00:19
build upper body strength #workout #fitness
 0:13:54
10 Min DUMBBELL UPPER BODY WORKOUT at Home
 0:00:32
Shy Girl Upper Body Workouts | Beginner arm workouts Gym Friendly + at home workouts
 0:10:36
10 MINUTE UPPER BODY WORKOUT FOR BEGINNERS
 0:34:00
DAY 2 of Beginner EPIC | No Equipment Upper Body Workout
 0:12:24
The ONLY 3 Upper Body Exercises You Need for Mass
 0:00:37
Beginner Upper Body Workout
 0:20:37
20 MINUTE UPPER BODY WORKOUT(NO EQUIPMENT)
 0:18:48
Teen Beginners Bodybuilding Training - Upper Body - Chest, Arms, Shoulders
 0:16:40
Full UPPER BODY Workout (Tone & Sculpt) - 15 min At Home
 0:11:32
How To Build Upper Cabinets / DIY Wall Cabinets
 0:14:02
GET STRONG ARMS (Kids Strength Exercises for STRONG ARMS AND UPPER BODY)
 0:00:23
How to target all your chest muscles (upper, mid and lower)
 0:27:13
Beginners guide to frameless upper cabinets
 0:10:26
The Best Full UPPER BODY Workout For Max Muscle Growth (Science Applied)
 0:20:32
20 MINUTE UPPER BODY DUMBBELL WORKOUT
Комментарии