filmov
tv
EEVblog #1255 - Apple iPad 5th Gen Screen REPAIR

Показать описание
Dave replaces a cracked 5th gen iPad touch screen. Content rock bottom? But child happy, and one less new iPad that needs to be manufactured.
#Apple #iPad #Repair
Bitcoin Donations: 38y7DE8HEHNj8fGDtUr4PkCn9nWxiorvvy
Litecoin: ML7oQokTwB38bgzzjLDbRV97HKAHuwRfHA
Ethereum: 0x11AceA38DCA9DbFfB4F35f3F746af65F9dED28ce
Support the EEVblog through Patreon!
Buy anything through that link and Dave gets a commission at no cost to you.
Stuff I recommend:
Donate With Bitcoin & Other Crypto Currencies!
 0:23:01
EEVblog #1255 - Apple iPad 5th Gen Screen REPAIR
 0:00:56
Apple iPad 5th Generation Screen Repair Transformation!
 0:00:50
My iPad is broken-
 0:11:29
EEVblog #1261 - Dumpster Diving 55' LCD TV
 0:00:31
iPhone users be like | Memetober #25
 0:01:29
Broken iPad Screen Repair in Covina| Cracked Screen iPad Repair| iPad Repair Store Near Me
 0:01:22
Cracked Screen iPad Repair/ Authorized iPad Repair Shop in Covina/ iPad Repair Near Me
 0:29:26
EEVblog #1256 - GORGEOUS Mystery Test Gear Teardown!
 0:00:43
iOS users be like //shit post//
 0:54:48
EEVblog #1163 - Xmas Mailbag
 0:19:34
EEVblog #1252 - LED Panel Lighting Flicker Investigated
 0:16:22
EEVblog #1195 - Sony 4K 60' LCD TV Audio Repair
 0:25:35
EEVblog #1267 - How To Control a 747 Flight Simulator
 0:08:08
LED Flicker 3 - More Electric Boogaloo
 0:48:09
eevBLAB #66 - Renting vs Buying a Commercial Office Lab
 0:19:47
EEVblog #1269 - Solar Roadways SR4 DATA Hilarity!
 3:23:58
EEVblog LIVE SHOW - End of 2017
 0:33:37
Step by Step iPad 5th A1822 A1823 Screen Replacement
 0:19:54
EEVblog #1235 - How To Align Signals On A Digital Oscilloscope
 0:06:49
iPad 5 2017 LCD Display & Touch Screen Replacement
 0:19:44
EEVblog #1258 - MORE Dumpster Wandel And Goltermann!
 0:28:44
EEVblog #1243 - Sony Boombox REPAIR and Teardown
 0:08:30
DjBase's IPAD PRO Tweak That are Working For Unc0ver JailBreak 12.4
 0:39:34
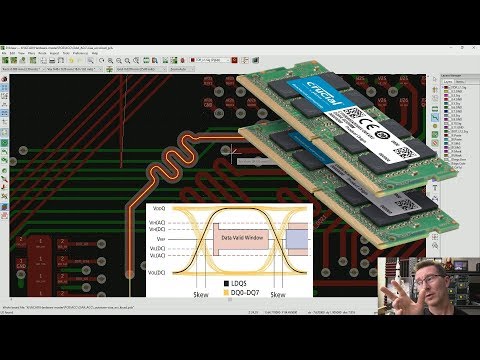
EEVblog #1247 - DDR Memory PCB Propagation Delay & Layout
Комментарии