filmov
tv
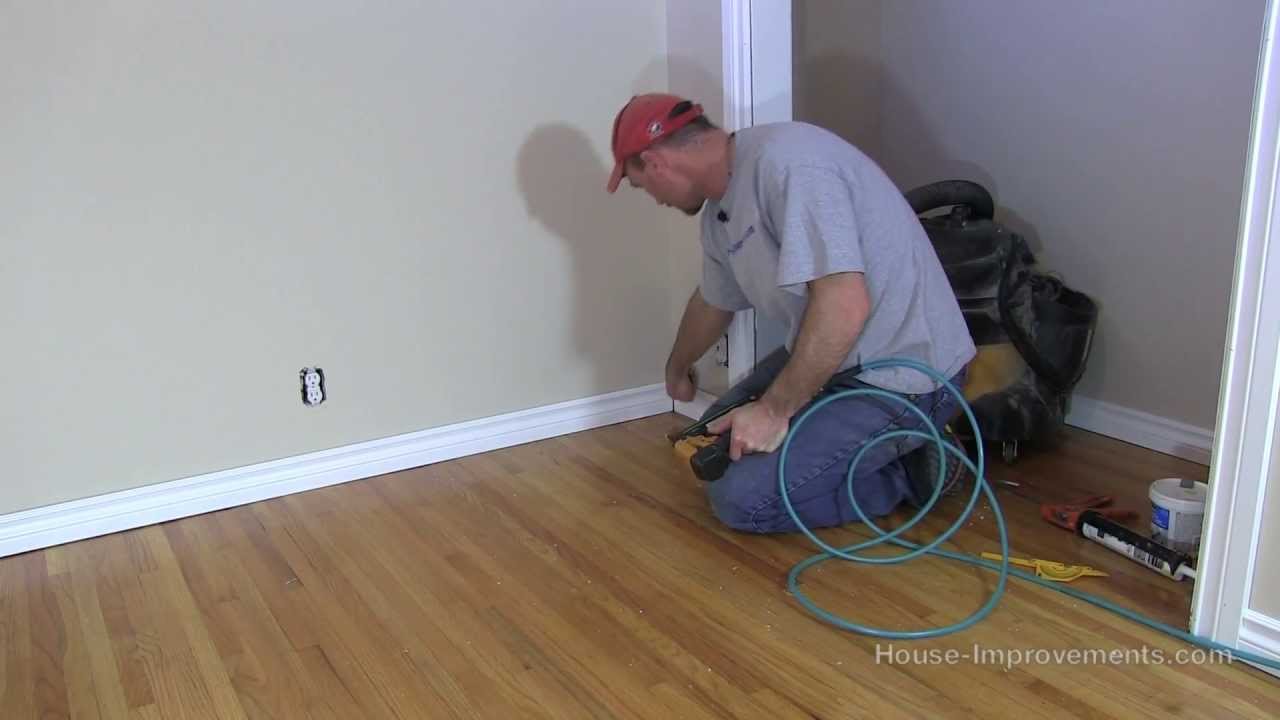
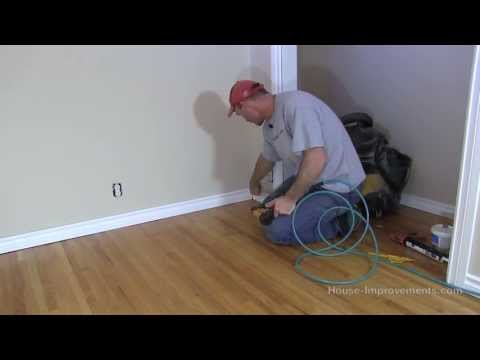
How To Install Baseboard
Показать описание
 0:13:21
How to Install Baseboards - Step-by-Step for Beginners
 0:10:17
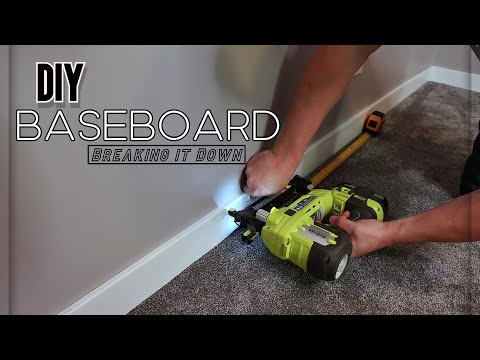
How To Install Baseboard Like A Professional With No Gaps! DIY Pro Tips And Tricks For Beginners!
 0:18:02
How to install baseboard for beginners
 0:05:16
How To Install Baseboard Like A Pro!
 0:17:22
How to install baseboard and corners like a pro
 0:03:57
How to Install Baseboards | The Home Depot
 0:10:18
How To Install Baseboard Corners Like A Pro As A Beginner! DIY Tips And Tricks
 0:41:54
Baseboard Installation from Start to Finish!!!
 0:19:18
How To Install Baseboard - THE EASY WAY!
 0:05:01
Get Perfect Inside Corners the Easy Way (No Coping!!!)
 0:06:18
How To Install Baseboard Without a Nail Gun or Fasteners!
 0:04:40
perfect inside miter joint hack - baseboard molding install
 0:10:15
Installing baseboards in HALF the time
 0:07:22
How To Install and Paint Baseboards- It Doesn't Have to Be Difficult!!!
 0:24:35
How to Install Baseboard Trim - Cope and Scribe - Old House Bedroom Remodel Problems
 0:01:00
Don't Cut Your Baseboards at 45 DEGREES! Do THIS INSTEAD!
 0:18:00
How To Install Baseboard
 0:07:45
The 4 Fatal DIY Baseboard Mistakes!
 0:11:14
Baseboards Used to Be Difficult
 0:07:10
How To Install And Finish Modern Baseboards | This Old House
 0:20:53
Pro Tips for Fast Square BASEBOARD INSTALLATION - To Cope or Not To Cope???
 0:10:32
How To Get The PERFECT Miter Angle On Baseboard EVERY TIME! Tool Every DIYer NEEDS!
 0:19:08
How to Install Baseboard Trim - Inside and Outside Corners
 0:06:47
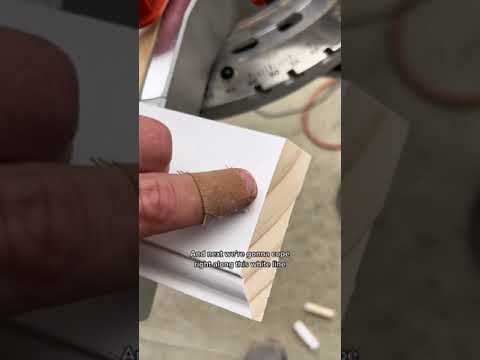
How To Make Perfect Baseboard Cope Joints!
Комментарии