filmov
tv
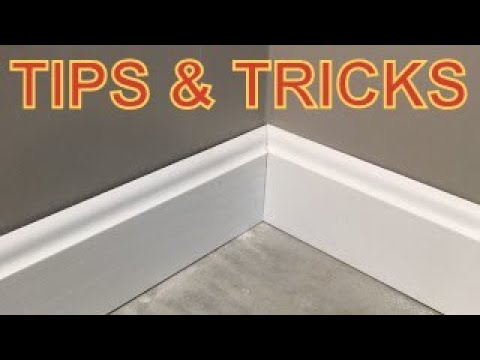
Get Perfect Inside Corners the Easy Way (No Coping!!!)

Показать описание
Here I demonstrate how to cut and install baseboard corners for perfect inside corners every time WITHOUT COPING.
--Contents of this video ----------------------------
00:00 - Why coping is a waste of time
00:36 - The secret to perfect inside corners
00:44 - How to cut baseboard inside corners with a miter saw
01:25 - How to install perfect baseboard corners
02:28 - Installing baseboard corner over carpet
03:03 - Why would any cope baseboards? The benefits of coping baseboards
--- Helpful Links ----------------------
There are two ways to cut baseboard corners for inside corners. You can cope them or miter them. Mitering your baseboards is far easier, but coping is considered better.
However, in most cases, coping baseboards is overly challenging and a waste of time. In this video, I demonstrate "The Popsicle Stick Trick" for getting perfect inside corners with a mitered joint. This will both save time and make your baseboard project easier.
The first step is to cut your baseboard inside corners at an angle of 44 degrees with a miter saw to compensate for the drywall mud buildup. Cut them just a hair shorter than the distance between the walls to avoid having to make multiple cuts.
Then, check to see if there is a gap in your mitered joint. If so, then this is where the popsicle stick trick works its magic.
Watch the video for full details.
---Related Videos ------------------------------
---About my Youtube Channel ----------------------
I create high-quality tutorials and tool reviews that save you time and money and help you get better results with your home projects. No BS, just straight-to-the-point info. Basically, I create DIY videos that don't suck.
---About Handyman Startup ---------------------------
Handyman Startup is a website designed to help you turn your DIY skills into a profitable handyman business. Learn things like how to start your business from scratch, how to get customers, and how to price your services - even if you only have limited handyman skills.
---Related Links ---------------------------------
 0:05:01
Get Perfect Inside Corners the Easy Way (No Coping!!!)
 0:07:47
THE SECRET TO PERFECT INSIDE CORNERS( 3-way corners)
 0:10:27
Pro Drywall Tip for PERFECT INSIDE CORNERS!!!
 0:05:46
Top 3 Beginner Mistakes on Inside Corners!!
 0:03:15
Two Ways To Do Drywall Inside Corners For Beginners
 0:01:39
My Secret To Perfectly Caulked Inside Corners!
 0:05:56
How To Cut Perfect Baseboard Inside Corners
 0:00:59
Coping Crown Molding on Inside Corners
 0:03:55
Coach's Corner: How to Improve Your Game Inside of 100 Yards to Break 80 (Episode 70: 8-26-2024...
 0:07:10
HOW TO TAPE DRYWALL (INSIDE CORNERS)
 0:06:17
How Pros Cut Molding Inside Corners
 0:06:12
How To Cut Baseboard Corners That Look Great
 0:07:26
Pro Tip For Grinding Perfect Inside and Outside Corners
 0:11:02
HOW TO COAT INSIDE CORNERS BY HAND (drywall)
 0:06:44
Perfect drywall inside corner secrets!
 0:24:18
Inside Corners with Drywall Corner Tools FAST AND PERFECT!!!
 0:09:00
Coating Inside Corners on Drywall
 0:00:31
Perfect Inside Corner w/ Metal Trim! #shorts
 0:01:01
45 inside corner flashing metal
 0:06:16
How To Cut Crown Molding For Beginners - Inside Corners
 0:01:01
Cool Trick for perfect corners when cutting wood trim.
 0:06:08
How to Cut and Scribe an Internal Corner on Skirting Boards
 0:11:10
The EASIEST way to TAPE INSIDE CORNERS EVER!!!
 0:06:10
HOW TO SEW & TURN SHARP CORNERS! THE PERFECT POINT / CORNERS
Комментарии