filmov
tv
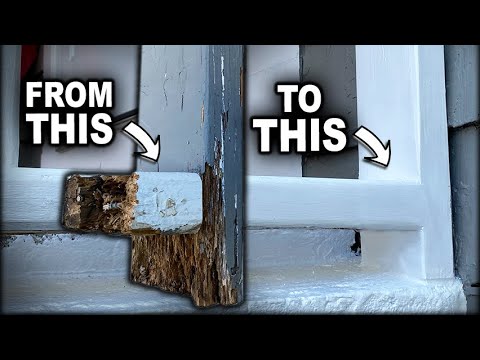
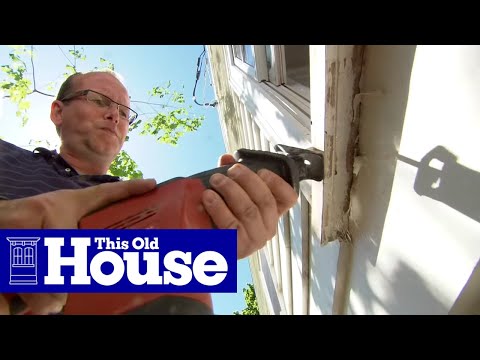
How To Repair A Rotted Door Jamb

Показать описание
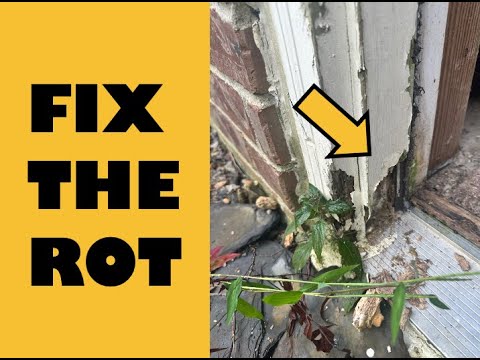
We have a double door in our basement that leads to a storage room. Over the years, the threshold and door jambs became water damaged. We replaced the threshold and learned how to repair the door jambs so water could no longer seep through!
This write up contains affiliate links. When you purchase through an affiliate link, we receive a small commission at no additional cost to you.
We purchased a replacement exterior door jamb from Lowe's for around $20 and cut it to size.
Steps On How To Repair A Rotted Door Jamb
Please take into consideration that we are NOT handymen but we are always willing to take on home repair projects in order to save a bit of money. Plus, we get to buy fun new tools with the money saved!
This is how we repaired our rotted wood door jambs.
1. Remove the door.
2. Use a square to draw a straight line, above the bad part of your door jamb.
3. Cut a straight line to remove the bad pieces of your door jamb. The DEWALT oscillating tool does a great job at this! You can also purchase a blade that will cut right through screws or nails that are in your way.
4. Cut a piece of a door jamb (you've purchased from a hardware store) to a manageable size to work with.
5. Use a contour gauge to find your cut lines around your threshold. If you are installing a threshold AFTER you repair your door jambs, this step may not be necessary.
6. Draw your cut line, from the contour gauge, onto the new door jamb piece.
7. Cut your door jamb, on the lines you drew. We used our DEWALT oscillating saw. A jigsaw would probably work better for this.
8. Dry fit your door jamb piece and make any adjustments needed.
9. Mark where you should cut the top of the door jamb piece to fit snugly on your door jamb.
10. Use a square to mark a straight line on your door jamb.
11. Cut your door jamb piece. We used a miter saw for this step.
12. Paint the cut ends of the door jamb piece with exterior paint. Although we sealed this door jamb with caulk, we didn't want to leave any stone unturned and end up with another rotted door jamb so we chose to paint the bare ends for more protection.
13. Place the door jamb piece in place and use shims, if needed, behind the door jamb piece. Our replacement piece was on concrete so we used an adhesive (that works on concrete) to adhere a shim.
14. Use a rubber mallet, if needed, to get the door jamb piece in the right spot.
15. Fill the crack. We used Bondo which was probably overkill. I think a regular wood fill would work just fine since you'll be painting over it with exterior paint. Be careful not to seal the groove where your weather stripping will go.
16. Sand for a smooth surface.
17. Caulk with a flexible, paintable exterior caulk.
18. Paint with exterior paint.
19. Replace your door!
Alternatively, you may choose to use Bondo to repair your rotted wood jambs. There are many ways to tackle this project from replacing the whole door, the whole jamb, a piece of the jamb, to using Bondo. Choose what works for you!
 0:07:44
 0:03:31
 0:10:36
 0:03:22
 0:03:43
 0:18:53
 0:07:27
 0:04:26
 0:12:51
 0:07:39
 0:04:39
 0:28:03
 0:05:26
 0:11:32
 0:00:57
 0:10:10
 0:14:33
 0:05:34
 0:07:16
 0:34:32
 0:04:25
 0:09:17
 0:09:51
 0:07:33