filmov
tv
How to Fix Rotted Wood with Epoxy | This Old House

Показать описание
This Old House general contractor Tom Silva saves a rotting window with a two-part epoxy filler. (See below or a shopping list and tools.)
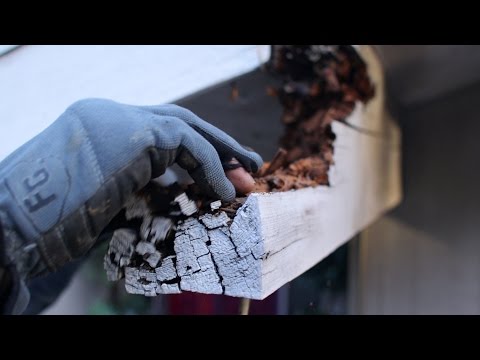
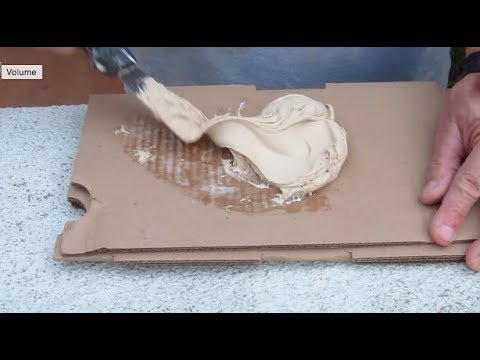
Tom showed Kevin how to repair a rotten windowsill and trim using a two-part "architectural" epoxy. The epoxy is designed to be flexible so that it will not separate from the wood as the wood expands and contracts with changes in humidity. Tom first grinded out the soft, decayed wood using a router. Next, he applied a bonding agent to ensure a good bond between the epoxy and the wood. Tom then traced the profile of the window trim onto a plastic putty knife and cut the knife to match the profile. Tom then dispensed the two-part epoxy using a special caulking gun onto the piece of plastic and mixed the two parts together. He then applied the epoxy to the windowsill and trim using his putty knives. Back in the loft, Tom recommended another application of epoxy for "touch up" and a light sanding before applying paint.
Shopping List for How to Fix Rotted Wood with Epoxy:
Tools for How to Fix Rotted Wood with Epoxy:
About Ask This Old House TV:
Homeowners have a virtual truckload of questions for us on smaller projects, and we're ready to answer. Ask This Old House solves the steady stream of home improvement problems faced by our viewers—and we make house calls! Ask This Old House features some familiar faces from This Old House, including Kevin O'Connor, general contractor Tom Silva, plumbing and heating expert Richard Trethewey, and landscape contractor Roger Cook.
Looking for more step by step guidance on how to complete projects around the house? Join This Old House Insider to stream over 1,000 episodes commercial-free.
Plus, download our app for streaming full episodes to your connected TV, phone or tablet:
Follow This Old House and Ask This Old House:
How to Fix Rotted Wood with Epoxy | This Old House
 0:06:37
Advanced Beam Repair - featuring the EndRot System by System Three
 0:07:44
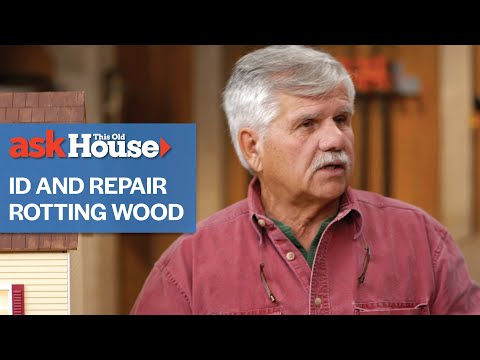
How to Identify and Repair Rotting Wood | Ask This Old House
 0:03:31
How to Fix Rotted Wood with Epoxy | This Old House
 0:09:42
How to rot repair, How to use Bondo and How-to Dustin...Bonus!
 0:12:51
How To Repair WOOD ROT and Water Damage With ABATRON
 0:03:43
How to Repair a Hole From Wood Rot, Fixing a Damaged 2X Framing Board
 0:08:58
Easily Repair Rotten Wood Ronseal Wood Hardener
 0:28:03
Patching Rotted Water Damaged Wood
 0:10:36
THE TRUTH ABOUT WOOD ROT (You need to watch this!!)
 0:04:26
HOW TO REPAIR ROTTED DOOR JAMB
 0:34:32
How To Repair Rotted Wood Door with Bondo Wood Filler
 0:06:09
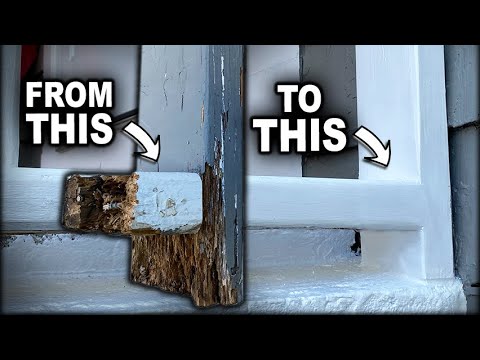
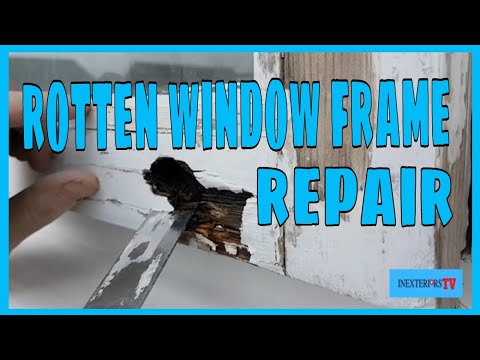
How to repair a rotten window frame. How to repair rotten wood.
 0:00:37
Quick Repair for Exterior Wood Rot 🪵 [Bondo Wood Filler]
 0:07:16
How to rock hard wood repair, repair rotted wood. Easy!
 0:07:57
How to Fix Wood Rot 4 of 4
 0:02:53
How to Repair Wood Rot
 0:02:43
How to Fix Wood Rot 2 of 4
 0:14:33
How to Repair Wood Rot. Dry Rot and Wet Rot.
 0:05:24
How to Fix Wood Rot 1 of 4
 0:07:39
How to Repair a Rotted Window Frame | Fix Rotted Window Sill From Outside
 0:05:05
How to Repair Damaged Deck Boards That Rot or Have Holes
 0:01:00
Exterior Wood Repair
 0:18:53
How to Repair a Rotted Wood Post: Easy DIY Guide
 0:09:17
Repair Trim Rot (Skirt Board and Corner Board)
Комментарии