filmov
tv
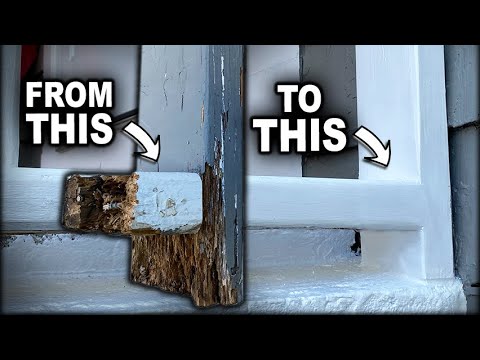
Patching Rotted Water Damaged Wood

Показать описание
In this video I cut out some rotted wood on my porch railings and patch it in with new pressure treated wood and finish it off with some Bondo, primer and paint.
*As an amazon affiliate I earn commission on qualifying purchases
Want to support my channel for free?
I use a program called TubeBuddy to optimize my videos in order to make it easier for people to find my content on YouTube. Are you a content creator and would like to try it?
I use Adobe creative cloud to create all my videos.
My YouTube gear:
DISCLAIMER:
This video and description contains affiliate links, which means that if you click on one of the product links and make a purchase, I will receive a small commission at no extra cost to you. This helps support this channel and allows me to continue to make videos like this. Thank you for your support!
Videos produced by The Fixer are provided for informational purposes only. All material provided within this video is for informational, educational, & entertainment purposes only. Some of these projects, materials, and techniques may not be appropriate for all ages or skill levels. Please use all safety precautions while following any instructions or concepts provided by this video. Viewers must be aware that by doing projects on their homes they are doing it at their own risk and The Fixer cannot be held liable if they cause any damage to their homes. It is the sole responsibility of the viewer to educate themselves on their local codes and regulations before undertaking any sort of project. Always have safety in mind and have fun!
 0:28:03
Patching Rotted Water Damaged Wood
 0:12:51
How To Repair WOOD ROT and Water Damage With ABATRON
 0:07:44
How to Identify and Repair Rotting Wood | Ask This Old House
 0:10:36
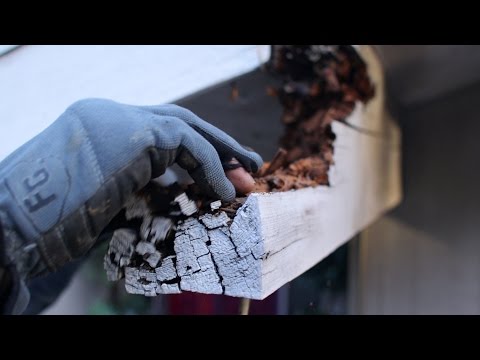
THE TRUTH ABOUT WOOD ROT (You need to watch this!!)
 0:09:42
How to rot repair, How to use Bondo and How-to Dustin...Bonus!
 0:03:31
How to Fix Rotted Wood with Epoxy | This Old House
 0:04:26
HOW TO REPAIR ROTTED DOOR JAMB
 0:06:37
Advanced Beam Repair - featuring the EndRot System by System Three
 0:08:58
Easily Repair Rotten Wood Ronseal Wood Hardener
 0:03:43
How to Repair a Hole From Wood Rot, Fixing a Damaged 2X Framing Board
 0:34:32
How To Repair Rotted Wood Door with Bondo Wood Filler
 0:05:05
How to Repair Damaged Deck Boards That Rot or Have Holes
 0:05:49
Repair Wood Rot on Exterior Trim | Replacing Trim from Water Damage | Dry Rot
 0:07:16
How to rock hard wood repair, repair rotted wood. Easy!
 0:10:10
Rotted window sill repair with PC Products
 0:46:05
How to Replace Water Damaged Window Sill and Trim
 0:18:53
How to Repair a Rotted Wood Post: Easy DIY Guide
 0:04:07
Repair Rotting Exterior Door Jamb with Bondo Filler - DIY Wood Water Damage Fix
 0:07:57
How to Fix Wood Rot 4 of 4
 0:06:51
Can you epoxy Rotten Wood!?
 0:10:03
How to Repair Broken Trim with Bondo for Wood
 0:11:49
Easily Repair Wood Rot & Water Damage
 0:14:33
How to Repair Wood Rot. Dry Rot and Wet Rot.
 0:02:43
How to Fix Wood Rot 2 of 4
Комментарии