filmov
tv
Nested Virtualization Using Windows 11 and VMWare Workstation Pro 17 - Nested VMs in Windows 11
Показать описание
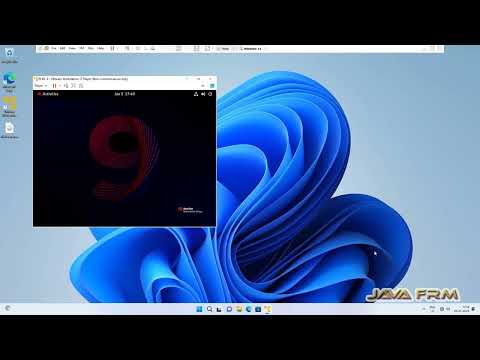
In this video we are going to see How to enable Nested Virtualization in Windows 11 and VMWare Workstation Pro 17 and
install RHEL 9 VM inside Windows 11 VM.
Below steps are shown:
1. First Check Virtualization is Enabled and system info should show like
Hyper-V Requirements: VM Monitor Mode Extensions: Yes
Virtualization Enabled In Firmware: Yes
Second Level Address Translation: Yes
Data Execution Prevention Available: Yes
2. If Docker is running in Windows, disable Docker Desktop service and turn off Windows Features Virtual Machine Platform, Windows Hypervisor Platform.
3. Install Windows 11 Pro on VMWare Workstation Pro 17 and go to VM Settings - Hardware -- Processors and enable Virtualize Intel VT-x/EPT or AMD-V/RVI.
4. Install VMWare Workstation Player 17 with VMWare Tools.
5. Install RHEL 9 VM in VMWare Workstation Player 17 which is running in Windows 11 VM.
Important Note: Nested Virtualization will degrade your Machine performance. Dont Blow up your PC unless you have enough Memory, CPU Cores and Hard disk space.
Nested Virtualization Using Windows 11 and VMWare Workstation Pro 17 - Nested VMs in Windows 11
 0:05:20
Solved : Virtualized Intel VT-X/EPT is not supported on this platform
 0:00:51
How to Enable Nested Virtualization in Microsoft Windows Hyper-V using PowerShell
 0:01:22
How to Enable Nested Virtualization in VMware Workstation Player/Pro
 0:00:42
Enabling Nested Virtualization on Your Windows 11 VM
 0:11:24
A VM inside a VM inside a VM - Nested Virtualized Explained!
 0:03:50
How to enable nested VTX/Amd-V On Virtualbox | Virtualbox enable nested vtx/amd-v greyed out
 0:03:38
Enable Nested Virtualization in Hyper V
 1:29:37
Computer Science Linux File Systems Basic & Essential Commands| class11|Python
 0:01:20
Enable Nested Virtualization on Microsoft Hyper-V
 0:10:51
Nested Virtualization Overview
 0:06:03
Virtualized Intel VT x /EPT is not supported on this platform. Fixed !!
 0:00:34
Virtualized Intel VT-x/EPT is not supported on this platform - Windows 11 Fix
 0:04:04
Windows 11: How To Enable Virtualization (VT-x) in Bios
 0:00:59
Enable and Disable Nested Virtualization in Hyper-V Virtual Machine
 0:02:25
How to enable (deploy) nested virtualization in VMware Workstation Pro
 0:09:52
How to fix Virtualized Intel VT xEPT is Not Supported on this Platform ? - step by Step Guide
 0:02:29
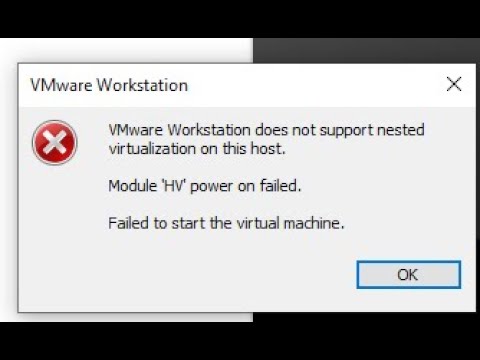
Fix VMware Workstation Does Not Support Nested Virtualization On This Host
 0:04:15
Enable Nested Virtualization on Windows to run WSL 2 (Linux) and Hyper-V on a VM.
 0:11:42
VirtualBox nested Intel virtualization is here!
 0:03:04
Solution of VmWare does not support nested virtualization on this host. Module hv power on fail.
 0:18:47
How to Install Hyper-V (Nested Virtualization) on Windows Server 2022
 0:04:53
Fix VMware virtualization errors 'intel vt-x/ept is not supported / module hv power on failed&a...
 0:11:00
How to enable Nested Virtualization in an Azure VM
Комментарии