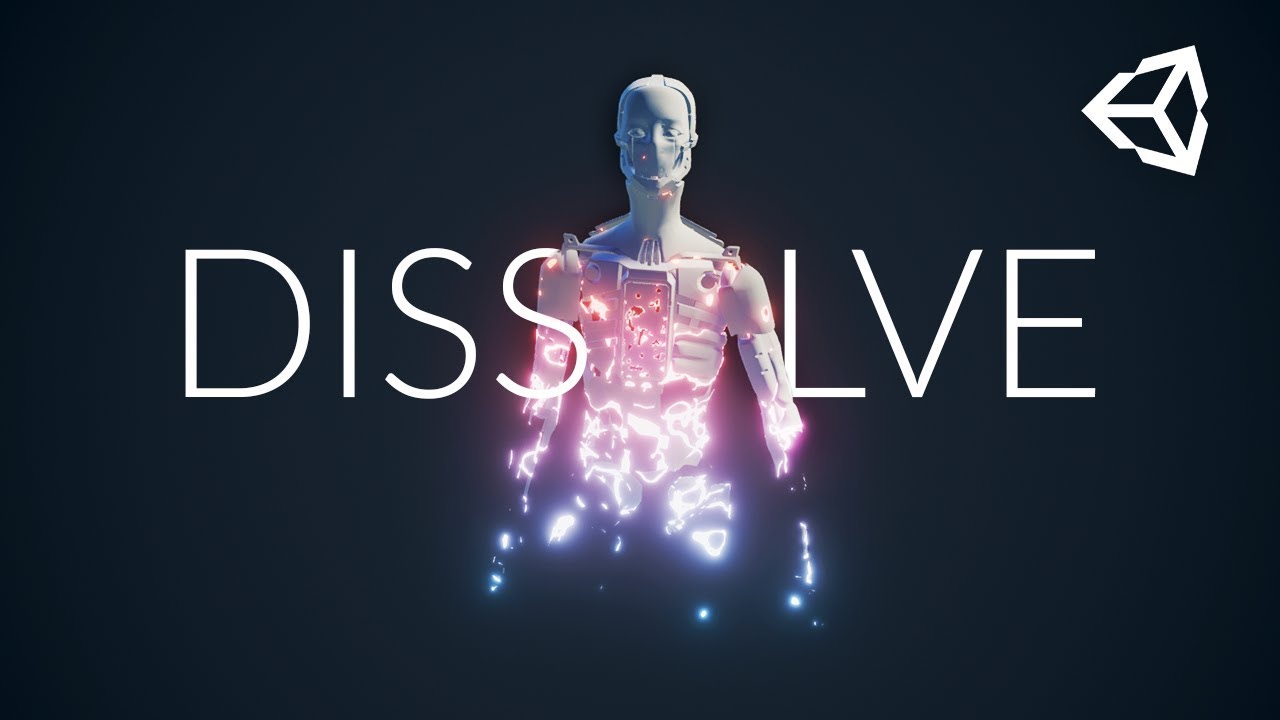
DISSOLVE using Unity Shader Graph

preview_player
Показать описание
Let’s learn how to create one of my favourite effects: Dissolve!

····················································································

········································­­·······································­·­····

► All content by Brackeys is 100% free. We believe that education should be available for everyone.

········································­­·······································­·­····
♪ "ES_Brooklyn Flava 2 - Mattias Andreasson" by Epidemic Sound

♪ "ES_Dress Code_Black - oomiee" by Epidemic Sound
Рекомендации по теме
Комментарии
Автор

Summary from all the comments glimpsed here. Using Unity 2021.3.16f1 URP, but this should apply to everyone from 2020 onwards and HDRP too.

SETTING UP
1. Shadergraph needs to be installed from Package Manager
2. Creating the Shadergraph: Create > Shader Graph (note: Not Shader - if you don't see Shadergraph, go back to Step 1) > URP > Lit Shader Graph

CHANGES TO NOTE
- PBR Material block does not exist anymore, and instead it is now split into Vertex and Fragment blocks. Nodes like 'Alpha', 'Alpha Threshold Clip', 'Emission' are likely to be missing. Right-click on the Fragment block to add them
- All the nodes still exist, and the spaghetti mapping still works, so just copy that. However, you will not get the same results as there are configurations that need to be made. If your Alpha and Alpha Threshold Clips are greyed out, this is your cue too:
- In your Shadergraph panel, overlayed in a modal right next to your nodes working area, you should see 'Graph Inspector'. If you don't see it, that's because it's not toggled on. On the top right of the Shader graph panel, you should see 3 buttons - Blackboard, Graph Inspector, Main Preview. Hit Graph Inspector obviously.
- In the Graph Inspector modal, click on the tab 'Graph Settings'. Navigate down to the section 'Builtin', then ensure you have these values:
- > Material: Select lit
- > Surface Type: Opaque
- > Render face: Both
- > Alpha clipping: Check that checkbox

CONVERTING NODES TO VALUES
- If you do not see that left modal in the video, go back to the three buttons on the top right of the Shader graph panel and hit 'Blackboard'. Then that modal should pop up
- Alternatively, just create a float node, relink it to your Shadergraph web, then right-click on that node and convert to property

Hope this helps!

satoshihatake
Автор

For everyone in 2022 using HRDP:
Its now called Lit Shader Graph and not PBR Shader anymore.
Besides that, you have to add a "Emission Node" in the End where you Input the Color and crank up the Emission to something like 1000 to see it.

timothy_synth
Автор

For anyone doing this on the 2019 version, you'll need the Universal render pipeline, the HDRP, and the shader graph packages installed. Also, one tiny difference on the very end: the "two sided" checkbox is not where it is in the video anymore. You need to click the settings icon on the main node, its in there.

hope this helps!

charismajyyks
Автор

In UPR Project on Unity 2020.3.16f1 create URP shader. In my case it will be Lit. Next, open Graph Inspector and choose Surface-Tranparency and toggle "Alpha Clip". Then u will able to change aplha and aplha clip threshold!

romansalnikov
Автор

If you are using Lit Shader Graph but aren't finding the "Alpha" and the "Alpha Clip Threshold" option, go to Graph Inspector -> Graph Settings -> Surface Type -> Select "Transparent" and also check the "Alpha Clipping" option. Alternatively, you can right click on the "Fragment" node and select "Add block node" and then select "Alpha" and "Alpha Clip Threshold".

Isaac-gqqb
Автор

Plz more shader graph tutorials most people would love it.... right?

damniexist
Автор

BTW For anyone who is using 2022 unity the PBR Graph is now lit Shader and you will notice that the Master node is gone and you have Vertex and Fragment. to add stuff like Alpha and Alpha clip threshold you will have to right click on the fragment node or just left click it and hit space. the Vector 1 is now float, to change the surface type you can go to the window on the top right and click Graph Settings to access settings such as Surface, Workflow, etc. Hope this helps :)

OctopusDeveloper
Автор

@Brackeys I've honestly learned more about how to code effectively from your channel than I have in my actual coding classes at Uni. Thank you so much for your clear and understandable tutorials and explanations, I look forward to learning more from you in the future!

cranberri_inari
Автор

(Unity 2020) If the alpha clip threshold is not working for you. On the graph inspector (top right), tick the box "Alpha Clip".

DDARKNESSY
Автор

The one idea that comes to mind is using this to create an easy "3d printing" effect. When a player "prints" something, an object is instantiated on the "print bed" before having a vector property of the shader increase/decrease to move the emissive boundary upwards, making it appear to a player that the object is being built in front of them by some form of futuristic technology. Now that I think of it, something like that is used by Subnautica for their printing animations.

skyebedard
Автор

At the end of 2021 still watching Brackeys, because he just don't miss.

Bradfordgavin
Автор

Would be cool to see this shader. or a similar one, in a 'enemy death' or 'burned to a crisp' tutorial. Focused on how to activate shaders from script and use them in certain situations.

VisserStudio
Автор

That's some pretty nifty tricks in there. Time-offsetting the dissolve for the border is nice. I would have tried it with an outline/edge detection approach, but this is a lot more efficient and also simpler. I like it!

AlanDarkworld
Автор

Absolutely love tutorials like this. I am getting more into Unity, but I found shaders to be challenging for me. Now that Unity is moving to graphs it’s becoming easier and these tutorials really are helping out. Thanks a lot and keep me coming !

yusefmustafa
Автор

I have been searching for this effect the last 2 days but could not find a simple way to do it. Fortunately Brackeys never lets me down, this is insane :) Thank you!

ramonsohal
Автор

For anyone who is wondering why the PBR Graph isnt showing? When creating a project, make sure to pick Universal Render Pipeline (PBR) rather than picking 3D!

TinJ
Автор

Wow I just digged my head into this wonderful place on Unity 2 hours ago, THIS IS ABSOLUTELY AMAZING like how it's extremely intuitive!! Thanks for the clears tutorials, it's awesome!

ryujn
Автор

I have never used shaders before, but you helped me to start using shaders! Thank you!

artemyashin
Автор

For anyone trying to do this on low poly models which have surfaces mapped to one pixel you will need to use a position node for the input to the simple noise instead of the UV, otherwise you will have complete surfaces disappearing rather than them dissolving.

markpuddick
Автор

Yes, shader graphs please, this series is a gold mine both for you and us.

notlunaticdancer