filmov
tv
NEW Sony a7R V - Tips & Tricks for Pixel Shift Multi Shooting for Stunning Images
Показать описание
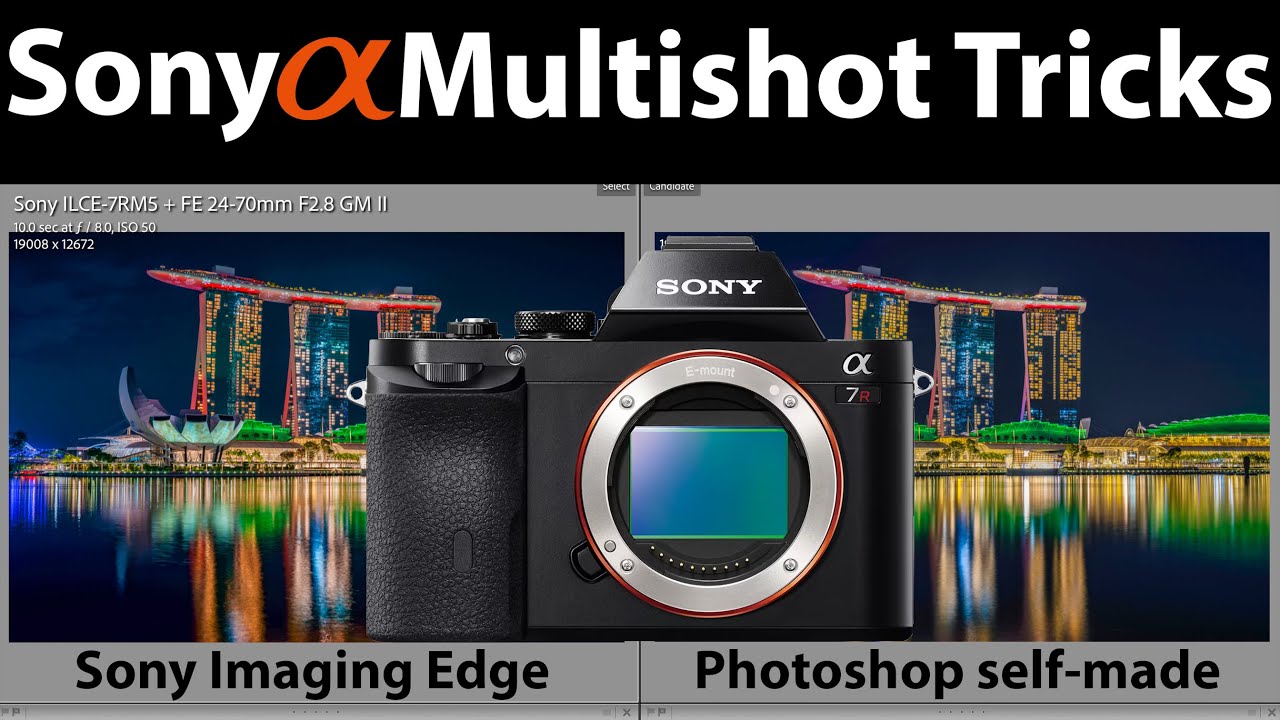
This video is a comprehensive tutorial on how to get the best out of the Pixel Shift Multi Shooting feature of the Sony A7R V, the Sony A1 and various other Sony Alpha cameras. On the Sony A7R V the Multi Shooting feature generally works very well, in contrast to previous Sony Alpha cameras. But what to do if Sony’s Imaging Edge software produces a blurry or low quality stacked high resolution image, maybe even with unwanted artefacts? In this video I show an example of such a case and how to nevertheless produce a super-high resolution image via an action in Photoshop. I also show two stunning images taken in Zurich and Singapore where Imaging Edge actually delivered a perfect quality super-high resolution image. This video teaches you everything you need to know about Sony’s Pixel Shift Multi Shooting feature.
See also my new video "Sony a7R V + Sony 20-70 f/4 vs Sony 24-70 f/2.8 GM II":
Content:
00:00 Introduction
02:03 The Pixel Shift Multi Shooting feature on the Sony A7R V
02:52 How Pixel Shift Multi Shooting works
03:29 Images from two shooting locations: Zurich and Singapore
04:33 Looking at a single shot night photography taken in Zurich
04:52 Looking at 16 frames shot in Multi Shooting mode
05:48 Lesson learnt: never shoot an image series in AWB
06:07 Sony’s Imaging Edge Multi Shooting software: only .ARW files
06:44 I typically do not use Sony’s Imaging Edge for post-processing
07:44 Processing Multi Shooting frames in Imaging Edge
09:23 The stacked image out of Imaging Edge is blurry and not good
10:49 The 16 frames from Multi Shooting are really good and useable
11:23 It takes 5 steps to stack and compose the 16 frames in Photoshop
11:56 Step No.1: loading the 16 frames into a stack in Photoshop
12:46 Step No.2: increasing the image size to the target resolution
13:46 Step No.3: auto-aligning the 16 layers / images
14:24 Step No.4: giving each layer an equally distributed opacity weight
15:42 Step No.5: flattening 16 layers into one layer, exporting the image
16:25 Suggesting automation of the process via a Photoshop action
16:46 Imaging Edge Multishot image vs Photoshop Multishot image
18:20 Processing 16 Singapore images in Sony’s Imaging Edge
18:56 Processing 16 Singapore images via my Photoshop stacking action
20:18 Comparing the results from Imaging Edge and Photoshop stacking
20:34 In this case, Sony’s Imaging Edge did a really good job
22:28 Another example where Sony’s Imaging Edge worked very well
See also my other related videos and subscribe to my channel for more content.
NEW Sony a7R V - 70 Tips & Tricks & Settings
NEW Sony a7R V vs Sony A1 | Full Comparison
Music (if applicable):
#Sony #SonyA7RV #SonyA1 #SonyA7RIV
Комментарии
 0:00:13
 0:10:06
 0:07:33
 0:28:55
 0:00:26
 0:05:01
 0:19:57
 0:16:43
 0:00:19
 0:07:12
 0:09:59
 0:00:16
 0:07:43
 2:01:30
 0:06:19
 0:07:33
 0:09:59
 0:20:27
 0:23:12
 0:11:59
 0:09:20
 0:02:47
 0:16:06
 0:14:34