filmov
tv
How to Desolder and Clean Copper Pipe and Fittings

Показать описание
Welcome to my channel, Homes for Beginners where I show you how to do repairs around the house yourself. Please don't forget to hit that LIKE button and SUBSCRIBE for future videos.
In this video I will be showing you how to desolder copper water pipe along with cleaning off the old solder and prepping the joint for soldering. We’re currently redoing all the plumbing in the house, some of the pipes were desoldered for removal. Desoldering maybe needed if components need to be removed or changed, there is a leak at a connection, or you’re removing pipe just like us. When working on water pipes, make sure you have turned the water supply off.
If you are working within studs, floor joists, or other flammable areas, it’s always important to take proper safety precautions so nothing becomes damaged or you cause a fire. When working around wood, I use a spray bottle with water to coat the wood. Then I put a steel barrier in place as a primary form of protection. While the steel does get hot, the flame won’t directly come in contact with a flammable object. Also, make sure any spider webs and dust have been cleaned away from the area too.
For this I am using a propane torch, I tend to use the camping style tanks as they have a larger base, keeping the torch upright with minimal risk of tipping over.
Lighting the torch is done by opening the valve of the torch a small amount until you can hear the gas flowing, then using a striker, ignition the gas.
When using a propane torch such as this, while it’s hard to see, the hottest point in the flame is the inner blue flame. The tip of the inner blue flame should be touching the pipe you want to heat up.
In my example, I can hold the pipe above the flame, however you may be required to hold the torch in place instead.
Heat the joint, I prefer to go at a slight angle towards the lowest point of the soldered connection as heat rises. The soldered joint is small enough where it’s not required to move the flame around. The reason I hold the flame at an offset from the soldered joint is to prevent any dripping solder from falling inside the torch.
The copper pipe will become hot, to make it manageable by hand, I’m wearing leather welding mitts. They won’t burn like other styles of gloves and have some resistance to the hot pipe.
Once that joint is hot enough, then pull apart the connection. You’ll need to be quick at this as the joint can cool off and the gloves are only resistant to the heat, they won’t stop the heat transfer when holding on close to the joint area for longer periods.
The same process can be used on the valve and you can also use the assistance of interlocking pliers. Just be careful when using pliers as you can mare or deform the pipe. When working with a valve, the amount of time required to heat up the joint will most likely be longer as the material is thicker. Some valves can be disassembled so you don’t damage the seals or you can have a wet cloth wrapped around the valve portion to keep the section cool. If you’re careful, other valves can be heated as is without any issues. Use the same process as between, heat the soldered section, allow the solder to liquify, then pull the connection apart.
If you are working with pipes still in place, the water must be drained from the system. Even a small amount of water present in the line, especially around the joint will cause problems where it can’t heat up properly. If you’re unable to heat the joint for separation, then you may need to work on a higher joint or just cut the pipe.
I prefer using a file to remove any thicker build-up of solder, being careful not to damage the copper pipe. Any damage to the copper pipe or making the pipe thinner will jeopardize its structure.
Next is using 180 grit emery paper to remove the rest of the solder. Not all of it needs to be removed, it just needs to be removed enough where it can fit into a new fitting. I already have a new fitting to test it out. Wrap the sandpaper around the pipe so it takes off material evenly.
Test the fit, once it’s good, you can finish up with a scuffing pad, this is rated at 400 grit. The scuffing pads are a great way of cleaning up copper pipes before and after soldering, they leave a clean satin finish behind.
Internal cleaning would have a similar procedure, but it is a little more work-intensive and time consuming. A file it’s recommended as it’s harder to use, you’ll have to roll a piece of sandpaper instead and twist it inside the soldering surface. A round wire brush can sometimes work too.
When done, once those connections are cleaned, they’re then ready for solder. Any leftover solder on the surface will liquefy and flow back into the joint with the new solder.
© Homes for Beginners 2019
All Rights Reserved
No part of this video or any of its contents may be reproduced, copied, modified or adapted, without the prior written consent of the author.
 0:02:19
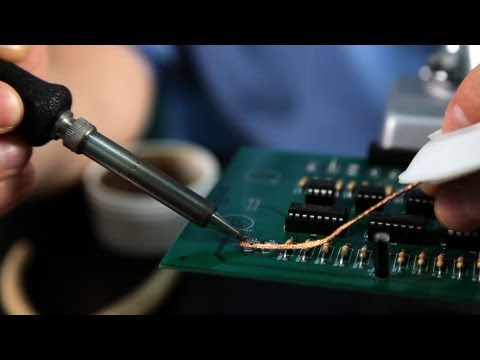
How to Remove Solder | Soldering
 0:05:40
How to Desolder and Clean Copper Pipe and Fittings
 0:03:20
Desoldering | Soldering Basics | Soldering for Beginners
 0:04:00
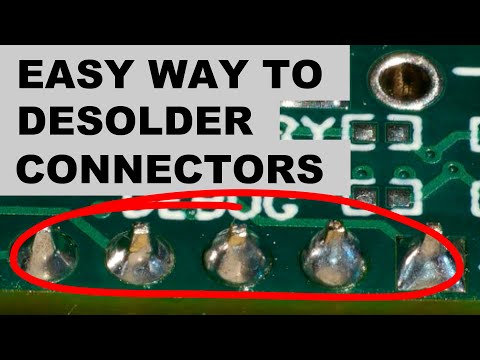
Easy Way to Desolder and Remove Through Hole Connectors or Components
 0:03:38
Collin’s Lab: Desoldering
 0:00:58
Desoldering Pump - Collin's Lab Notes #adafruit #collinslabnotes
 0:15:54
How to clean Soldering Tip
 0:01:15
How to Use Solder Wick for Desoldering (Remove Solder with Wick)
 0:05:08
How to make / use desoldering wire to remove solder off circuit boards guide
 0:05:17
How To DESOLDER Copper Pipe and RESOLDER Copper Fittings
 0:02:09
How to Desolder with a Desoldering Pump/Solder Sucker
 0:02:06
How To UNSOLDER Copper Fittings, SUPER EASY! | GOT2LEARN
 0:03:25
Using Flux | Soldering Basics | Soldering for Beginners
 0:03:46
Soldering & Desoldering Tutorial | Beginners How To Video | Temp, SMD, Flux
 0:02:02
How to Remove Through-Hole Components | Soldering
 0:00:47
Soldering tips and tricks - Tip5 Don't try to solder a wire when flux from solder was evapora...
 0:05:46
10 Soldering Tips to Instantly Improve Your Soldering Skills
 0:16:11
Soldering Crash Course: Basic Techniques, Tips and Advice!
 0:08:07
7 Stupid Errors in soldering with tips
 0:08:34
How To Clean Up Excess Solder If You Have Soldered The Way Most People Tell You
 0:20:11
How To Remove Solder Flux / Great PCB Cleaning Methods HD
 0:04:27
How To Desolder A Mechanical Keyboard (Switches) Like a Pro!
 0:16:12
10 STUPID ERRORS To AVOID in Soldering and TIPS
 0:00:58
Soldering Iron Tips - Collin’s Lab Notes #adafruit #collinslabnotes
Комментарии