filmov
tv
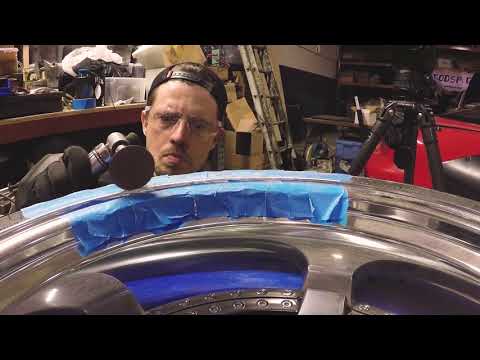
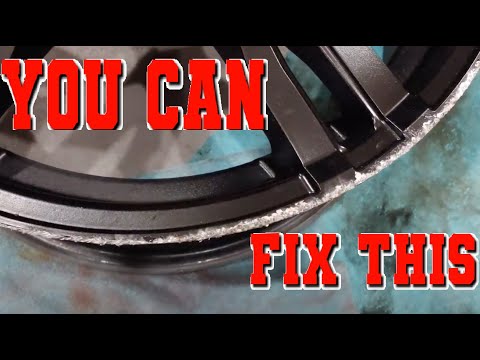
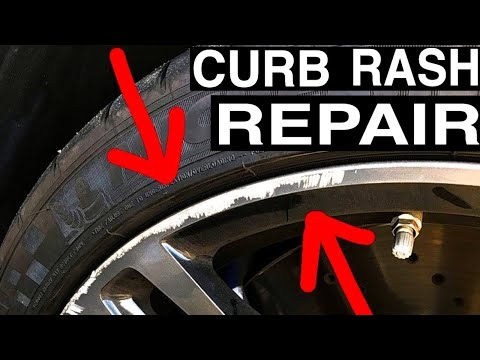
How to remove curb rash on any rim with a rotary polisher

Показать описание
Easy to follow step by step process of how a Rotary Polisher/Sander can be converted into a powerful Kerb damage removal machine.
This video covers the whole process from repair to refinish in a step by step format with narration.
********PRODUCT LINKS AS SEEN IN THE VIDEO********
This video covers the whole process from repair to refinish in a step by step format with narration.
********PRODUCT LINKS AS SEEN IN THE VIDEO********
 0:09:21
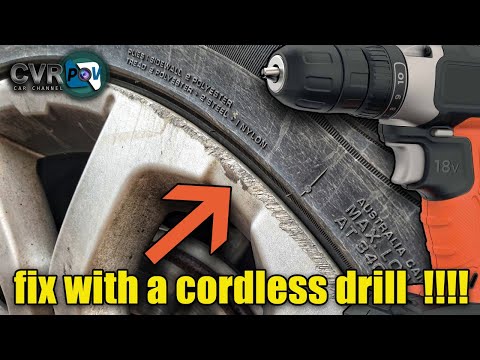
How to remove curb rash on any wheel rim with a cordless drill!!
 0:14:07
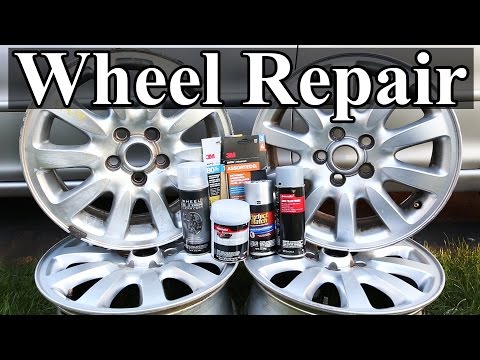
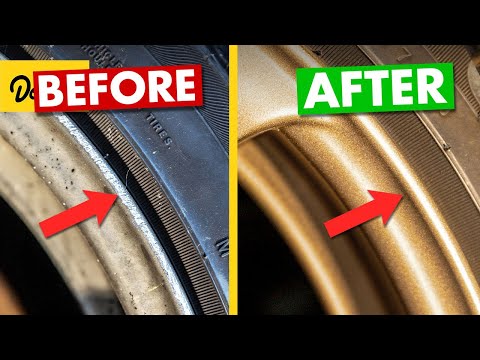
How to Repair Rims with Curb Rash or Scratches
 0:03:06
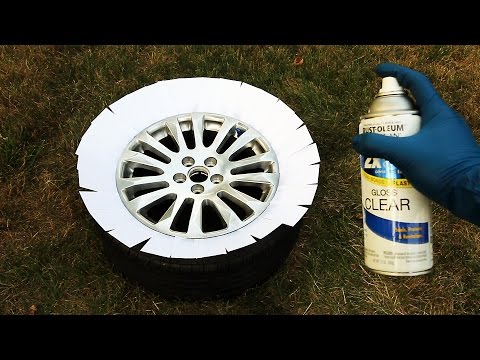
Fix Tesla rim curb rash for around $20. model 3 repair
 0:15:01
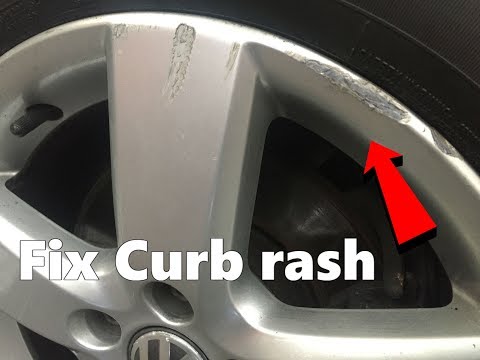
How to Repair Wheels with Curb Rash and Scratches
 0:10:49
Curb Rash and Wheel Scuff Repair: Behind the Scenes
 0:14:26
Wheel Restoration || How to Repair and Restore Wheel Curb Rash and Rim Scratches
 0:12:56
How to remove curb rash on any rim with a rotary polisher
 0:06:14
Easy DIY Curb Rashed Wheel Repair!
 0:05:57
Protect Your Tesla Model Y Wheels with Curb Rash Guards - Easy Installation!
 0:25:52
How To Fix - Remove - Repair - Restore Curb Rash From Rim With Cordless Drill - DIY!
 0:10:30
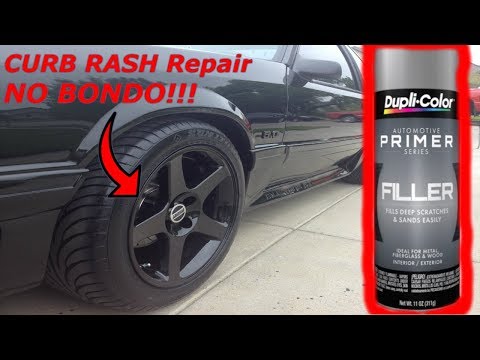
How To Remove Wheel CURB RASH...Fast!
 0:00:18
How to fix curb rash for FREE!
 0:21:04
DIY Curbed Wheel Fix - Was It Worth It?
 0:12:05
Fix Curb Rash Wheels at Home - Tutorial
 0:01:00
DIY Wheel Scuff Repair 🛞
 0:06:23
How to Repair Curb Rash on any wheel rim
 0:15:23
Wheel Repair - How To Repair Curb Rash / Road Rash - The right way
 0:10:04
Curb Rash Repair on Black Wheel
 0:03:59
Fix For Curb Rash And Scratches on Aluminum Rims | Without Painting
 0:15:39
DIY Wheel Scuff 'Repair'
 0:08:30
HOW TO FIX CURB RASH | Scratches on rim
 0:10:50
How To Repair Curb Rash & Scratches on Alloy Wheel Rims. DIY Tutorial
 0:03:40
DIY Aluminum Wheel Restoration for Under $10 How to Repair Wheel Curb Rash & Rim Scratches By Ha...
 0:13:35
How to fix curb rash on American Force Forged Wheels
Комментарии