filmov
tv
How to Replace A Starter On A Honda Civic 2006-2011

Показать описание
How to Replace A Starter On A Honda Civic 1.8L 2006 2007 2008 2009 2010 2011. Starter Replacement Step by Step on a honda civic. Starter Location, honda wont start. How to Change A Starter.
Backyard Chevy is a participant in the amazon affiliates program. As an Amazon Associate I earn from qualifying purchases.
I assume no liability for anything you choose to do to your own car. All Repairs you perform to your car are performed at your own risk.
Backyard Chevy is a participant in the amazon affiliates program. As an Amazon Associate I earn from qualifying purchases.
I assume no liability for anything you choose to do to your own car. All Repairs you perform to your car are performed at your own risk.
 0:13:11
How to Diagnose and Replace a Starter
 0:03:12
How to Replace a Bad Starter in Your Car
 0:03:09
How to Replace a Starter in Your Car
 0:05:09
How to Replace Starter 2003-2008 Toyota Corolla
 0:13:02
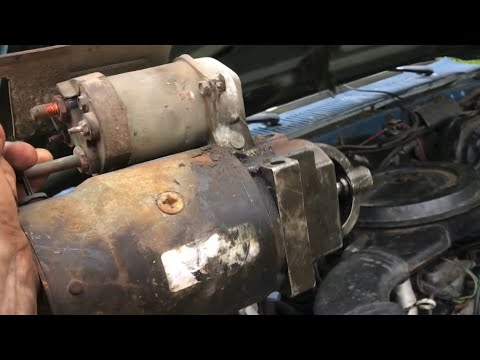
HOW to REBUILD Starter Motors and HOW they Work
 0:00:37
“removing” STARTER chevy 350, 327, 305
 0:01:51
When to Replace Your Starter
 0:07:21
How to Replace A Starter On A Honda Civic 2006-2011
 1:26:38
Let's Build a Starter Base is Minecraft Survival 1.21
 0:11:42
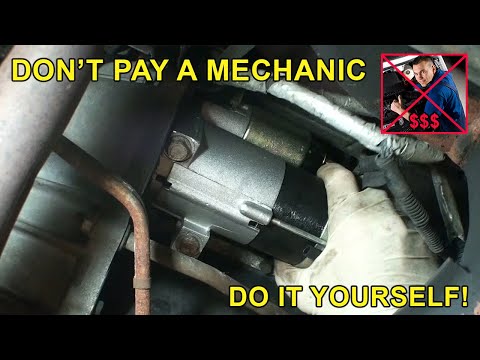
How to Install / Remove & Replace a Starter
 0:06:04
How to make old Starter Motor Work like New. How to fix, rebuild and clean starter motor.
 0:06:50
Fast overview of Tundra/ Sequoia 5.7L Starter Replacement (without removing exhaust) NNKH
 0:15:25
How to Replace the Starter on a Harley Davidson Evolution Softail
 0:03:48
Ford F-150 5.0L Starter Replacement. HIDDEN bolt TIPS! Must Watch! #auto #automotive #mechanic
 0:05:30
Starter Replacement on Jeep Wrangler JK JKU 2007-2011
 0:04:27
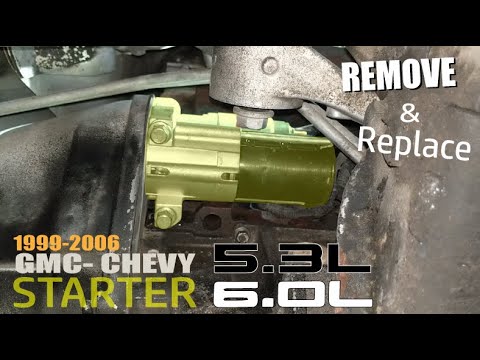
1999-2006 GM/Chevy: Starter Replacement
 0:03:05
How to replace your starter on your John Deere Lawn tractor D100 series (Briggs and Stratton motor)
 0:02:52
How To Replace Starter On Toyota Camry 4 Cylinders Engine 2002, 2003, 2004, 2005, 2006.
 0:03:50
HOW TO REPLACE STARTER TOYOTA SIENNA 04 05 06 07 08 09 10
 0:00:34
Chevy Equinox Starter Replacement
 0:00:46
How to change a starter on a John Deere tractor
 0:05:22
How to Replace Starter 2003-2010 Mercury Grand Marquis
 0:02:55
SYMPTOMS OF A BAD STARTER
 0:05:55
How to Replace Starter 2002-2009 Chevy Trailblazer
Комментарии