filmov
tv
Installing Plywood Deck on Harbor Freight Utility Trailer

Показать описание
Join Steph as she adds a plywood bed and back end rail to the utility trailer!
This video is professionally closed captioned.
Follow us on social:
Visit our website:
FYI: We are not professionals, and we don’t claim to be. This is what we found worked for our project. Yours may need a little different approach. Safety first!
This video is professionally closed captioned.
Follow us on social:
Visit our website:
FYI: We are not professionals, and we don’t claim to be. This is what we found worked for our project. Yours may need a little different approach. Safety first!
 0:08:26
Installing Plywood Deck on Harbor Freight Utility Trailer
 0:00:16
It’s happening! A trailer, 40 2x4x8s, 6 2x6x8s, 10 1/2inch plywood, & a dream… #magicalmobileart...
 0:00:17
Installing trex decking
 0:14:07
PART 2: Harbor Freight trailer Side Walls, Wiring, Plywood decking, motorcycle chocks, & more.
 0:00:13
Wood Plastic Composite Decking:Build the nice looking Floor #compositedecking #wpcfloor #bestoo
 0:00:05
Roof Decking | Plywood installation | Your Boston Roofer #roof #plywood #decking #roofing
 0:00:33
How I customized my Harbor Freight Build-it-yourself trailer #woodworking #woodworkingcommunity #DIY
 0:00:10
WPC Decking #installation #woodplasticcomposite#decking #wpcfence #wpcflooring #outdoorflooring
 0:00:25
Installing plywood! #2023 #diy #framing #construction
 0:00:25
Part Two: Plywood Removal & New Wood Platform Installation | Elevated Deck Remodel 🔨🏡
 0:00:22
How To Install Composite Decking.
 0:00:05
Deck Baluster Installation #framing #renovation #deck
 0:00:49
DECK IN A DAY [part 01] - How to Build a Ground Level Deck // DIY Floating Deck
 0:00:15
Composite Decks
 0:01:45
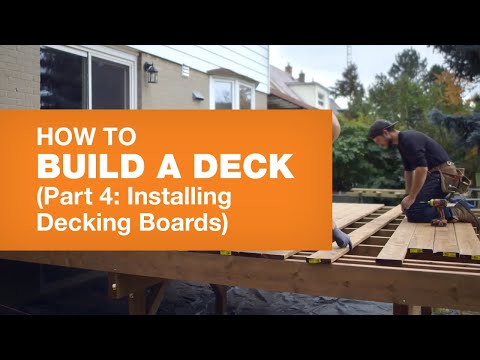
How to Install Decking Boards (How to Build a Deck Part 4/5)
 0:04:38
How To Install Plywood On Your Pontoon Boat
 0:00:30
Using Liquid Rubber Deck Coating To Waterproof My Plywood Deck #diytips #diyprojects
 0:05:15
WHAT PLYWOOD SHOULD I INSTALL ON MY PONTOON???
 0:00:25
The Fastest and Cheapest Way to Build a Deck or Patio in 2023!
 0:00:17
wpc decking #wpc #mexytech #garden #backyard #wood #deck #decking #outdoors
 0:01:00
How to install a guard rail post on a wood deck
 0:00:13
Installing the Deck on the 16ft Plywood Carolina Dory
 0:06:02
How to install Trex composite decking
 0:00:28
Framing Day 🥳 #building #decks
Комментарии