filmov
tv
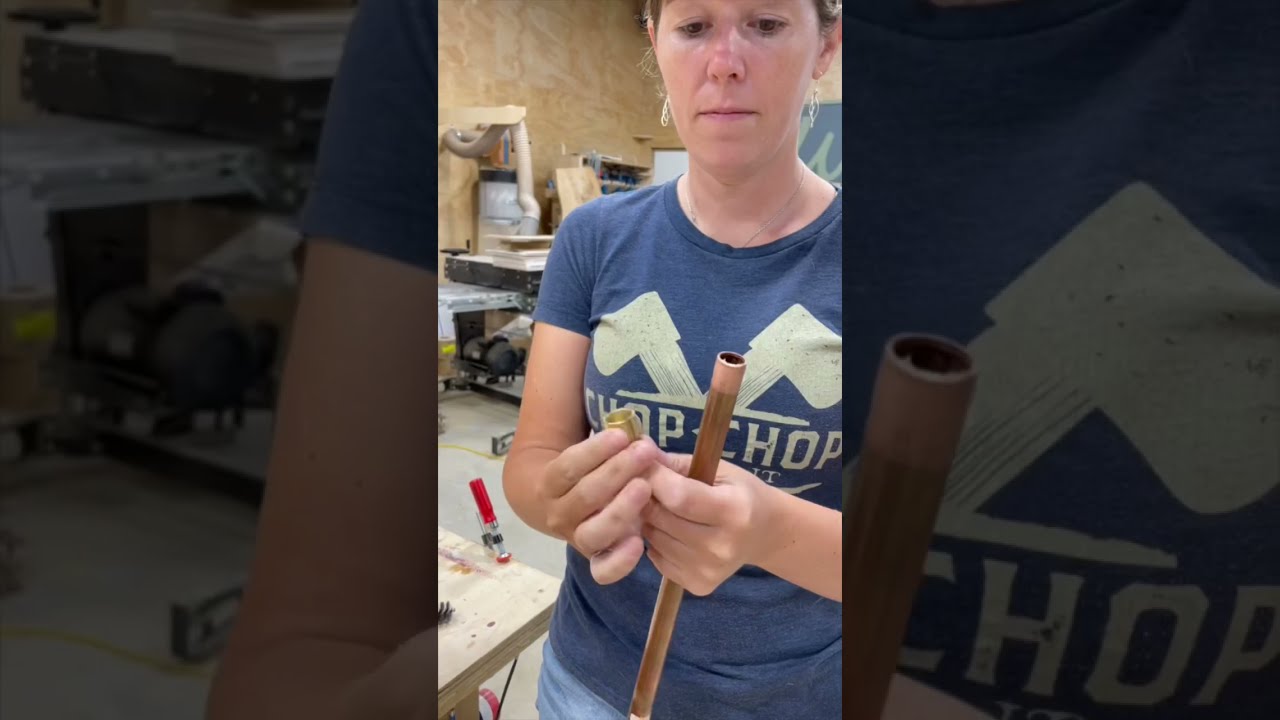
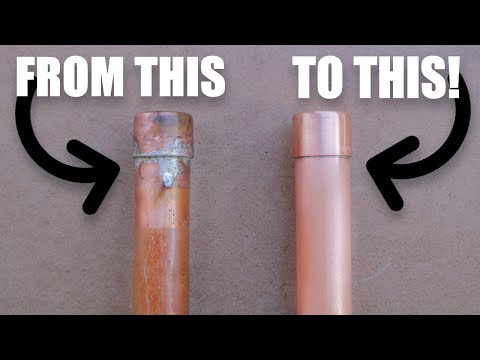
How to Solder Copper Pipe #shorts
Показать описание
Quick tutorial on how to solder copper pipe for plumbing, using flux, a torch and solder.
Want to support me? Support the Companies that support me:
Welcome to the official April Wilkerson YouTube channel! I’m April and I’m the creator of Wilker Do’s. I am an obsessed DIYer and Woodworker. I'm not professional or have any training, so I just pick the project I want to tackle and figure it out step by step. On this channel you will find a variety of content like DIY home improvement, How-To’s, construction, design and more!
#aprilwilkerson #solder #plumbing
 0:05:05
How to Solder Copper Pipe The CORRECT Way | GOT2LEARN
 0:03:22
Solder Vertical Copper Pipes for Beginners
 0:05:54
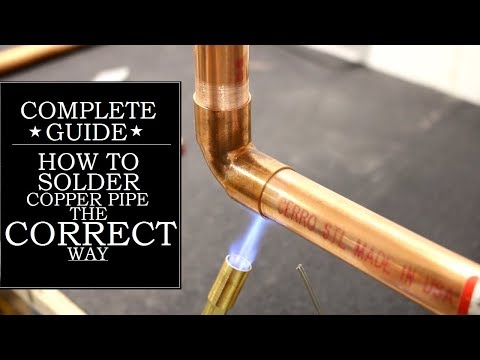
How To Solder Copper Pipe (Complete Guide) Plumbing 101
 0:11:56
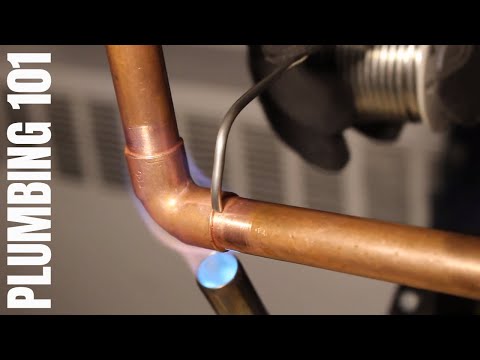
How To Solder Copper Pipes Like A Pro
 0:10:46
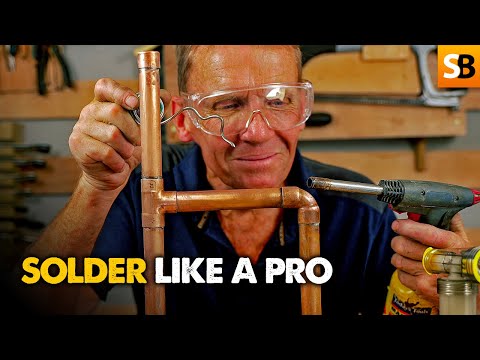
How To Solder Copper Pipe Like a Pro (Tips & Tricks) | GOT2LEARN
 0:01:53
How to Solder a Pipe | Ask Richard | Ask This Old House
 0:11:49
6 SOLDERING MISTAKES ON COPPER PIPE
 0:00:19
Copper Pipe Soldering Tips - #shorts
 0:00:20
How To Solder Copper Pipes Like A Pro #diy #shorts
 0:01:00
SOLDERING MISTAKE #2 (heat quantity)
 0:13:48
How to CORRECTLY Solder A Vertical Copper Pipe (Complete Guide) | GOT2LEARN
 0:01:01
Plumbing basics: Soldering copper into an old fitting #plumbing #hvac #heating
 0:03:57
How To Solder Copper Pipes | The Home Depot with @thisoldhouse
 0:01:01
How To Solder - Plumbing Tips #plumbing #soldering #howto #tutorial
 0:04:13
How to solder / sweat copper pipe for beginners in 7 easy steps
 0:15:30
How to Solder Copper Pipe in a Wall (Complete Guide) | GOT2LEARN
 0:00:26
How To Un Solder a Copper Fitting #shorts #plumbing #plumber #soldering #copper #loop
 0:00:41
How to Solder Copper
 0:11:06
7 STEPS TO SOLDER COPPER PIPE
 0:00:34
HOW TO SOLDER COPPER PIPE | Real World Plumbing #howto #plumbing #asmr
 0:02:35
How to solder a hole in a copper pipe. Plumber's Tricks. DIY
 0:08:26
UNMISSABLE TIP How To Solder Copper Pipe Without Runs
 0:00:23
How to solder copper pipe. #shorts #youtubeshorts #diy
 0:01:15
How to Solder Copper Pipe
Комментарии