filmov
tv
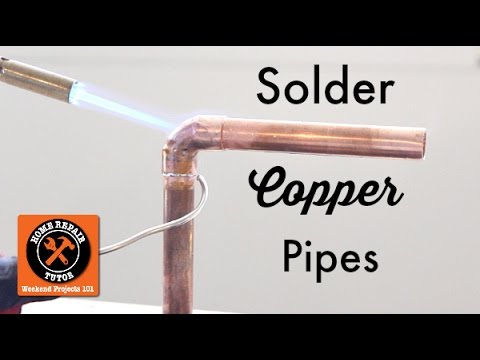
How To Solder Copper Pipe Like a Pro (Tips & Tricks) | GOT2LEARN

Показать описание
Here's a solder like a pro without having a messy looking joint!
Join my plumbing forum for FREE!
Amazon affiliate links to all the products I used in this video:
DISCLAIMER: Got2Learn is NOT responsible for any damage done to a property of which the plumbing wasn't done by a professional, I do not recommend doing your own plumbing if you are unsure about what you are doing, always hire a LICENSED contractor when doing any type of plumbing so you can be covered by insurances if something does happen, these videos are for entertainment purposes only!
 0:05:05
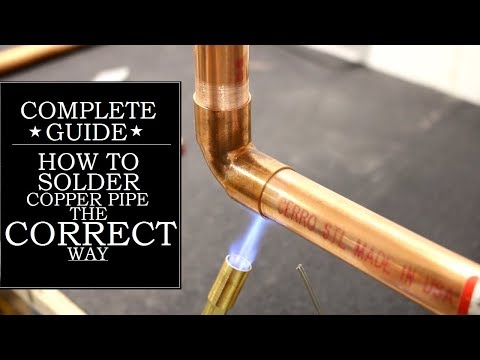
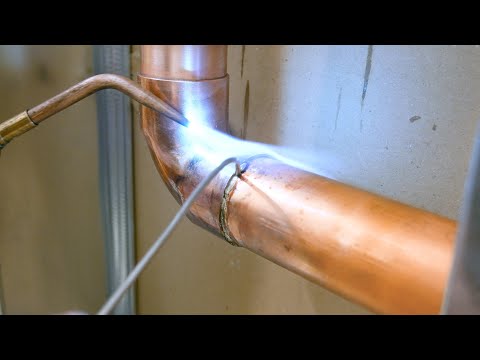
How to Solder Copper Pipe The CORRECT Way | GOT2LEARN
 0:05:54
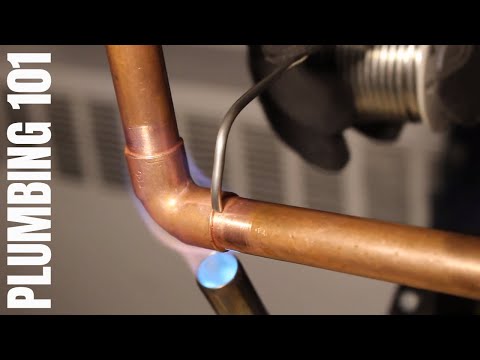
How To Solder Copper Pipe (Complete Guide) Plumbing 101
 0:11:56
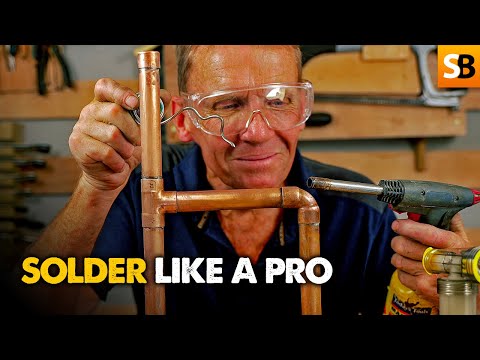
How To Solder Copper Pipes Like A Pro
 0:10:46
How To Solder Copper Pipe Like a Pro (Tips & Tricks) | GOT2LEARN
 0:03:22
Solder Vertical Copper Pipes for Beginners
 0:01:53
How to Solder a Pipe | Ask Richard | Ask This Old House
 0:13:48
How to CORRECTLY Solder A Vertical Copper Pipe (Complete Guide) | GOT2LEARN
 0:03:57
How To Solder Copper Pipes | The Home Depot with @thisoldhouse
 0:11:49
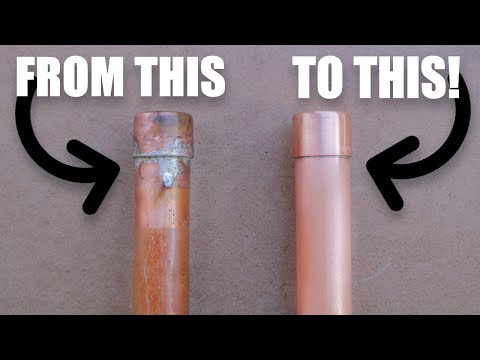
6 SOLDERING MISTAKES ON COPPER PIPE
 0:00:19
Copper Pipe Soldering Tips - #shorts
 0:04:13
How to solder / sweat copper pipe for beginners in 7 easy steps
 0:09:32
How To Solder Copper Pipe In Tight Spaces (How To Solder Copper Pipe Like A Pro) Plumbing 101
 0:08:26
UNMISSABLE TIP How To Solder Copper Pipe Without Runs
 0:02:35
How to solder a hole in a copper pipe. Plumber's Tricks. DIY
 0:15:04
How to solder copper, secret soldering and how not to solder
 0:15:30
How to Solder Copper Pipe in a Wall (Complete Guide) | GOT2LEARN
 0:11:06
7 STEPS TO SOLDER COPPER PIPE
 0:11:03
How to Solder Yorkshire Fittings | Solder Ring fittings | Capillary Fittings
 0:09:46
How to Solder Copper Pipe (Important Tips!!) -- by Home Repair Tutor
 0:04:31
How To Solder Copper Pipe Between 2 Studs With No Movement | GOT2LEARN
 0:07:05
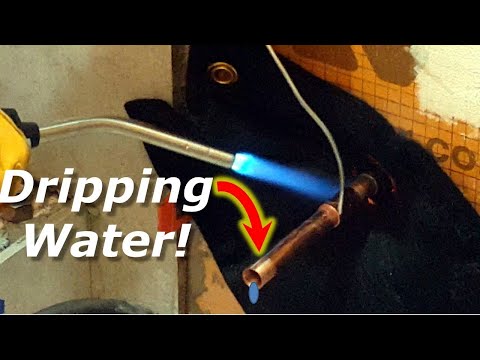
Insane Plumber's Trick: Solder Copper Pipes Dripping Water
 0:05:40
How to Desolder and Clean Copper Pipe and Fittings
 0:06:36
How To CORRECTLY Solder a 2' Copper Joint (Step By Step) | GOT2LEARN
 0:01:01
Plumbing basics: Soldering copper into an old fitting #plumbing #hvac #heating
Комментарии