filmov
tv
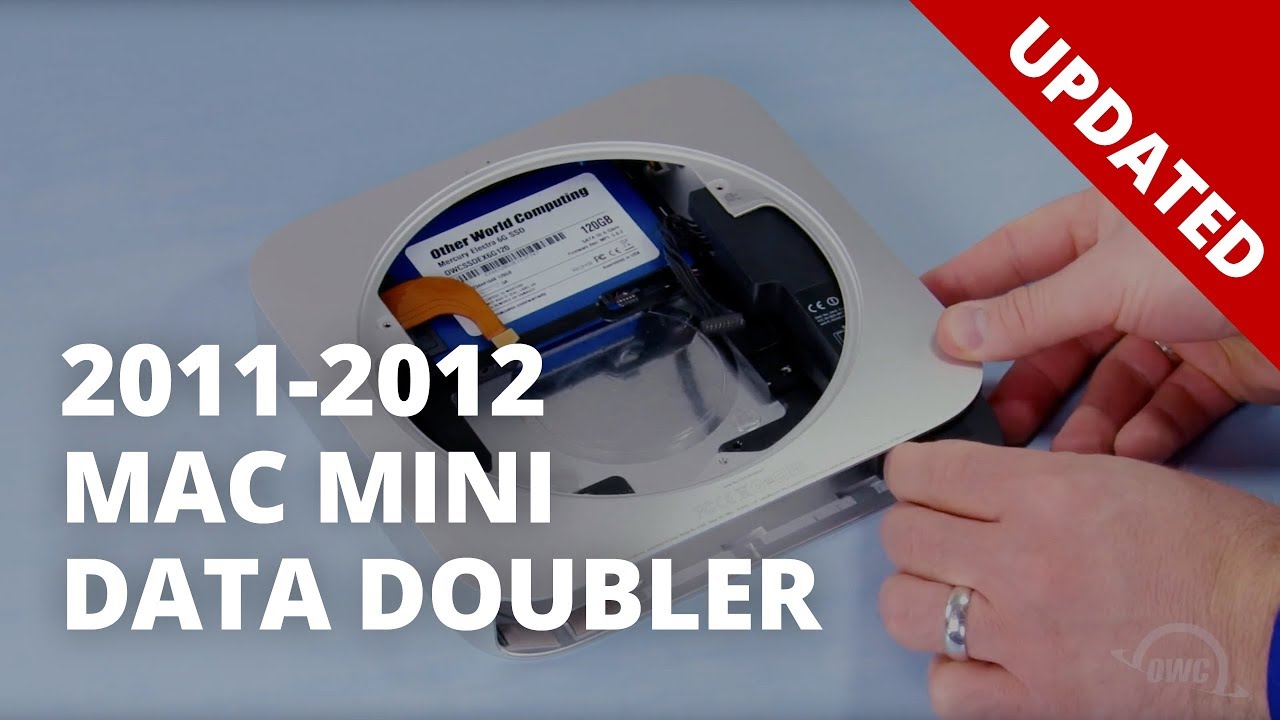
How to Install a Second Drive Inside a 2011-2012 Mac mini with the OWC Data Doubler
Показать описание
Add a second drive to your MacBook, MacBook Pro, or Mac mini.
The innovative Data Doubler is the precision-engineered solution to expanding your Mac’s internal storage. Replace the optical drive in your Mac with the Data Doubler and an OWC SSD, and increase capacity and performance. Data Doubler gives you incredible storage possibilities.
Video Jump Points:
00:00 – Title, Notes, Difficulty Level, and Tools Required
00:08 – Introduction / Overview
00:31 – Part 1 – Removing the Lower Drive Bracket
03:15 – Part 2 – Installing a New Drive in the Drive Bracket
07:09 – Drive Formatting Instructions
07:17 – Closing, Legal Stuff, and Copyright
Add up to an additional 1.5TB of internal storage to your MacBook or MacBook Pro. Add a Solid State Drive (SSD) for near-instantaneous boot and app load. Even create a RAID array!
Configuration flexibility is yours when you replace your MacBook Pro's internal SuperDrive with
the OWC Data Doubler.
 0:03:31
How to Install and Activate a Second Hard Drive in Windows 10
 0:15:51
How To Install a Second SSD into Your PC
 0:08:50
How to Install and Activate a Second Drive on a Windows 10 PC
 0:07:45
How to Install & Set Up a Second NVMe M.2 SSD - Windows 11
 0:08:00
How to Install Two Operating Systems on a Desktop Computer or Laptop 💻💽🤔
 0:13:49
A Beginners Guide: Upgrade Your PC Storage - How to install M.2 SSD, 2.5' SSD & 3.5' H...
 0:05:42
How To Install a Second M.2 SSD in a Laptop
 0:07:28
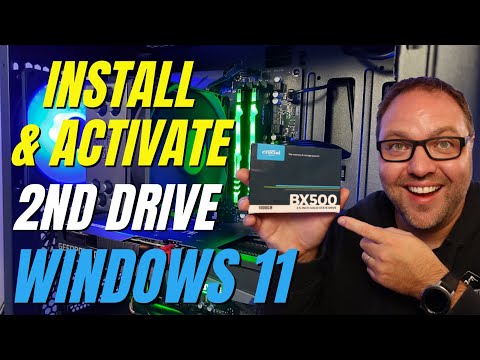
How to Install & Activate a Second Drive on a Windows 11 PC
 0:01:06
iPhone Easy App- How to install the second screen protector
 0:05:44
How to Install 2 Hard Drive in 1 Laptop | Dual Drive Setup Tutorial (SSD + HDD)
 0:01:22
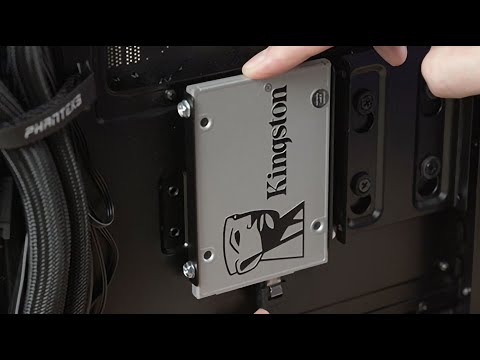
How to Install a 2.5' SATA SSD in a Desktop PC – Kingston Technology
 0:04:46
How to install windows on an external hard disk (HDD)? | Windows to go
 0:03:40
Install Windows directly from the Hard Drive - No CD/DVD/USB Needed - MBR Partitions ONLY!
 0:16:26
How to Install a New Window| Quick and Easy
 0:16:18
How to install 2 SSD drives in a laptop that has 1 SSD slot (SSD + SSD), Asus VivoBook upgrade video
 0:16:40
Wiring EXTRA Car Audio Battery w/ My Girlfriend's 3000 Watt Subwoofer Install (How To Wire 2nd ...
 0:07:46
How to Install a Second Drive Inside a 2011-2012 Mac mini with the OWC Data Doubler
 0:15:05
How To Add, Install & Configure Extra M.2 NVME Drive Slots To A PC
 0:16:28
How to install an M.2 SSD - Step By Step Setup Guide and Windows 10 Install
 0:08:12
Car Battery Isolators Explained: How to install on your car!
 0:02:42
Nitro 5 - How to install a second M.2 Drive
 0:04:37
How To Install a Desktop Hard Drive
 0:04:03
Dell Optiplex SFF Install Second SSD, Hard Drive
 0:03:25
How to Install the Last Two Rows of Flooring
Комментарии