filmov
tv
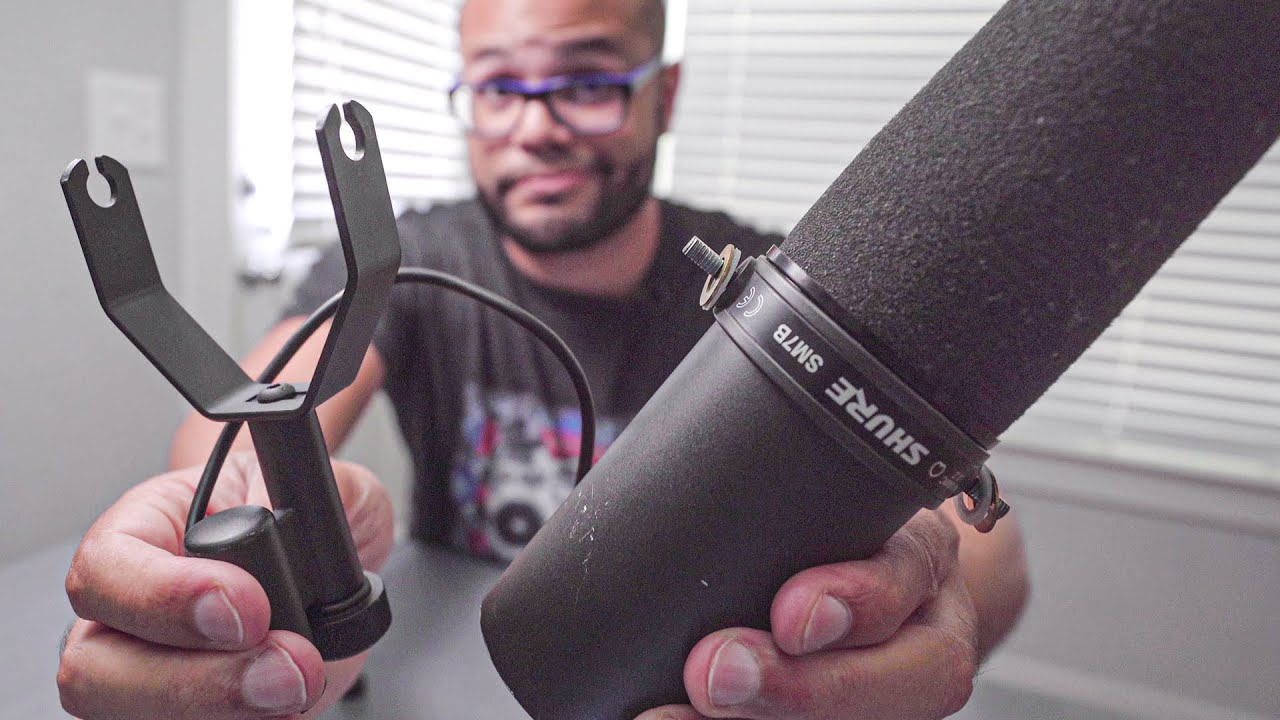
Shure SM7b Mount - How To Invert, Flip, Adjust, Reverse, or Modify
Показать описание
I show you how to invert, modify, reverse, or adjust your Shure SM7b xlr mount so the logo and xlr input are where and how you want it on a mic stand.
IG | Twitter: @javiermercedesx
DISCLAIMER: This video and description contains affiliate links, which means that if you click on one of the product links, I’ll receive a small commission.
#microphone #shure #sm7b
IG | Twitter: @javiermercedesx
DISCLAIMER: This video and description contains affiliate links, which means that if you click on one of the product links, I’ll receive a small commission.
#microphone #shure #sm7b
 0:04:24
Shure SM7b Mount - How To Invert, Flip, Adjust, Reverse, or Modify
 0:02:05
The Missing Piece in Your Shure SM7B Setup (It's small but makes a HUGE Difference!)
 0:01:01
How to mount the SM7b on the Röde PSA-1
 0:06:15
Complete Shure SM7B Setup (Everything you need to use this mic for podcasting)
 0:08:31
How To Properly Set Up Shure SM7B Microphone
 0:10:53
Shure SM7B Wobble Fix - How To - Simple
 0:10:58
How to Set Up the Shure SM7b for Beginners (FAQ Series)
 0:00:25
Shure SM7B Microphone Upgrade
 0:23:29
Zeitlupen-Casino & Dreiecks-Leere! #9 ASTRO BOT
 0:01:08
How to Make the Rode PSA-1 Compatible with a Shure SM7B Microphone
 0:05:10
How To Setup The Shure SM7B In Only 5 Minutes
 0:00:36
The Best $99 Mic Arm for Streaming - Elgato Wave Mic Arm LP
 0:01:38
Adjusting the SM7B Frequency Response Switches | Shure
 0:02:31
How To Invert Your Shure SM7B Mount For A Mic Stand
 0:14:28
How To Setup Shure SM7B | Complete Beginner's Guide!
 0:02:47
EASIEST WAY to Spot A Fake Shure SM7B
 0:08:56
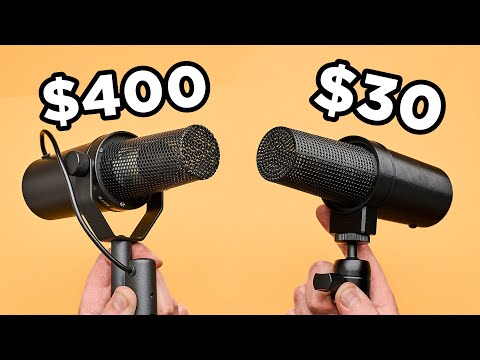
$30 DIY Shure SM7B Microphone!
 0:04:02
SM7B Loose Mount Fix Timestamps in Description
 0:07:22
Getting the Most From Your Shure SM7B Microphone
 0:07:18
Rode PSA1+ Boom Arm & Shure SM7B | Setup & Demo
 0:00:41
DO NOT Buy the Shure SM7B
 0:05:42
Complete Shure SM7dB Setup for Beginners
 0:00:56
Shure SM7B Microphone Tips
 0:13:11
RODE PSA1 Boom Arm + SHURE SM7B SETUP and REVIEW
Комментарии