filmov
tv
Create Realistic Black Holes in Blender | Full Tutorial

Показать описание
Howdy everybody! I've been working on this project for a bit now and I'm really happy with how it's turned out. This is one of the most realistic black hole tutorials on YouTube, covering every aspect of the gravitational lensing and accretion disk as well as some cool compositing tips that'll help elevate your renders to the next level!
I Hope y'all enjoy and as always, happy Blending : )
I Hope y'all enjoy and as always, happy Blending : )
 0:36:38
Create Realistic Black Holes in Blender | Full Tutorial
 0:00:26
We Are Living Inside Of A Black Hole 🤯🌎
 0:01:00
NASA’s Black Hole Simulator
 0:00:23
Distant Star turns into black hole at awkward moment #vfx
 0:01:16
scientist creates a real black hole...
 0:00:30
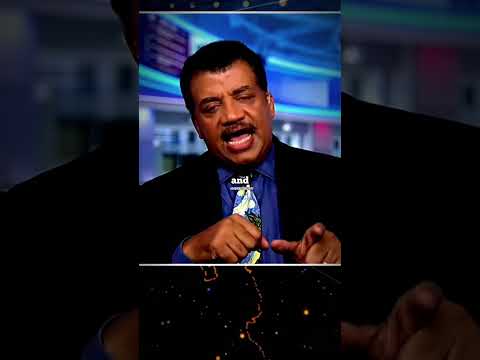
Interstellar Black Hole | Veritasium | Astrophysics #astronomy #astrophysics #neildegrassetyson
 0:00:34
Scientists discovered a WHITE HOLE and it’s TERRIFYING #space #blackhole #whitehole
 0:00:45
These Black Holes are REALLY Close to Earth!
 0:00:15
First real image of black hole by EHT #eventhorizontelescope #blackhole #image #shorts #ytshorts
 0:00:59
What is INSIDE a Black Hole?
 0:00:25
Capturing the black hole ton618 #astronomy #astrophoto #nebula #space #spacescience
 0:01:00
I found out how big BLACK HOLES actually are 😳⚫️
 0:00:21
Black Hole vs Sun
 0:09:19
How to Understand What Black Holes Look Like
 0:04:04
How to Make a Realistic Black Hole with REAL TIME GRAVITATIONAL LENSING In Roblox
 0:00:18
INTERSTELLAR BLACK HOLE CRAZY TRANSITION 🤯🔥 #Shorts
 0:14:32
What Actually Happens When You Drop Something into a Real Black Hole?
 0:00:35
What do black holes sound like? NASA releases recording of black hole in distant galaxy
 0:00:46
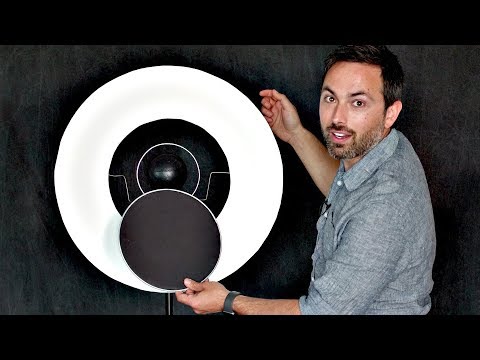
Creating a White Hole
 0:04:49
Fastest and Easiest way to create a Black Hole in Blender.
 0:00:59
Dropping Things In a Black Hole Is Weird
 0:01:00
This Is the Closest Black Hole to Earth, and You Can See It with a Simple Telescope
 0:00:52
What if the Moon turned into a Black Hole?
 0:13:27
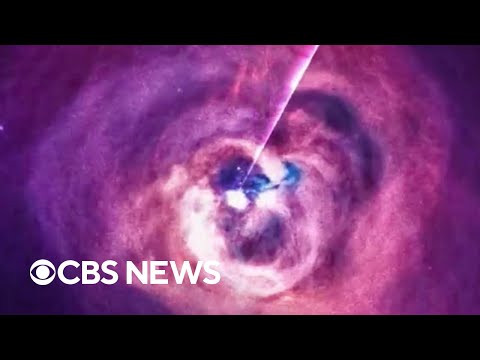
Building Black Holes in a Lab
Комментарии