filmov
tv
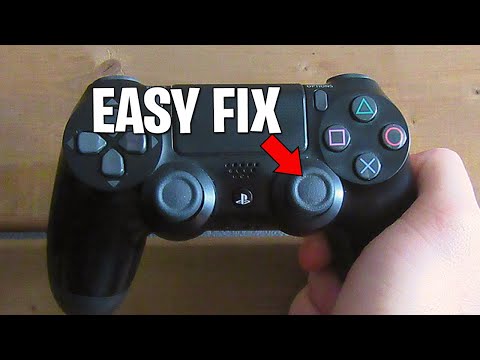
How to Fix Analog Stick Drift on a PS4 Controller | Repair & Get Rid of Jittery Sticking DualShock 4

Показать описание
12 Solutions (some new) for resolving analog stick problems with a Sony DS4 Gamepad. Many involve cleaning from the outside, but also taking the controller apart and cleaning on the inside. Soldering fixes are also discussed. I also show how to properly test the controller, I explain dead zones, and I get honest about the risks involved with self-fixing. Finally, I include teardown instructions, as well as how to put it back together.
Other DualShock 4 repair videos:
7 Ways to Fix R2/L2 Trigger Button:
How to Fix Circle, X, Square, or Triangle:
Other PS4 How-To Videos:
How to Transfer Screenshots from PS4 to PS5 (or to PC):
How to Transfer Data From PS4 to PS5:
References From the Video:
YouTuber Who Shows How to Fix Battery Connector:
YouTuber Who Teachers Soldering:
..............................................................................................
Ways to support the channel:
Patreon:
PayPal donation link:
Use "Buy Me a Cup of Coffee" to make a one-time donation:
Product Links:
All Amazon links above are affiliate links. I get a small amount of money if you end up using them to make purchase (it does not have to be for the item I link to, as long as you click my link then move to another item, it works)
..............................................................................................
Timestamps:
00:00 How to Use This Tutorial
00:55 Will This Work?
01:28 How to Test Your Controller
02:46 Solution 1
04:41 Solution 2
06:18 Solution 3
07:00 Solution 4
08:44 Solution 5
09:31 Solution 6
09:55 Solution 7
11:07 Warnings
12:30 Solution 8 + Take Apart
18:55 Solution 9
22:48 Solution 10
28:19 Solution 11
28:54 Solution 12
33:34 Why No Solution 13?
34:46 Put Back Together
Additional keywords:
Solder, thumbstick, alcohol, disassembly, discs, contacts, debris, dirt, traces, take apart, problem, issue, running, run, sprint, sprinting, slow, slowing, generation model differences, repair, L3 R3, jitter, faulty
#ps4 #controller #dualshock4
 0:00:59
The Easiest Way to Fix Analog Stick Drift!
 0:00:15
another stick drift fix
 0:00:23
How to Fix Stick Drift
 0:02:03
5 Easy Ways to Fix Drift on ANY Controller (Analog Stick Fix)
 0:01:21
How To Fix Controller Drift PS4! PS4 Analog Stick Drift Easy Fix!
 0:06:37
How to Fix Analog Drift or Analog Stutter on PS3 / PS4 / PS5 Controller (Cleaning Solution)
 0:01:56
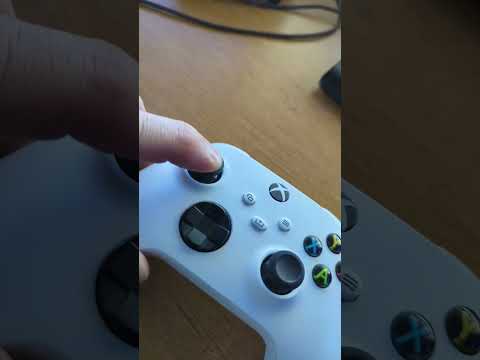
How To Fix Controller Drift Xbox! Xbox Analog Stick Drift Easy Fix!
 0:00:51
this could stop stick drift, so why don't they use them?
 0:00:39
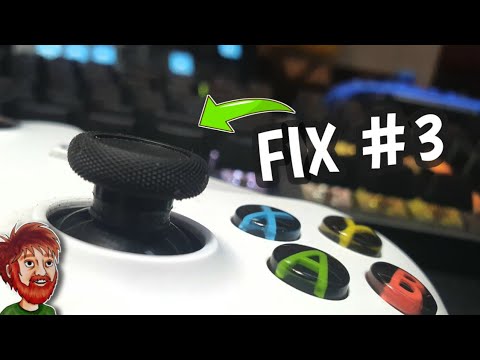
How To Fix Controller Stick Drift Xbox Series XS 🛠️
 0:01:56
How To Fix Controller Drift PS5! PS5 Controller Analog Stick Drift Easy Fix! (No tools required!)
 0:30:18
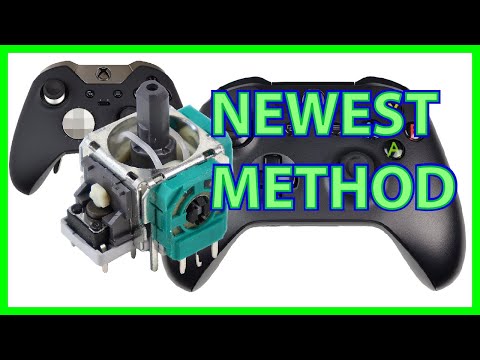
How to Replace Xbox One Controller Analog Joystick - NEW METHOD - Fix Stick Drift, Broken, & Loo...
 0:08:30
How to Fix Analog Drift on XBOX Series X/S Controller (moving on its own, jittery, wrong direction)
 0:02:06
Fix Your Xbox Controller Thumb-sticks (without opening it up)
 0:00:40
quick ps5 thumbstick replacement
 0:00:48
Why Do Joysticks Drift?
 0:03:44
How To Fix Controller Drift PS4! PS4 Analog Stick Drift Easy Fix! (Easy Cleaning Method!)
 0:09:40
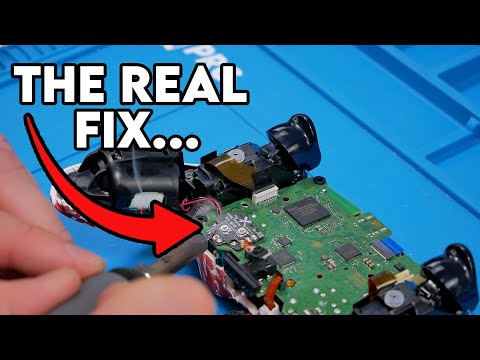
How to Repair 🛠️ Xbox One Analog Stick Input ( Stick Drift ) - XB1
 0:08:08
IS THIS THE UNIVERSAL- STICK DRIFT FIX?🤨
 0:14:57
Analog Stick Drift - Will Cleaning Fix It? Clean vs Replace Challenge
 0:00:57
fix for stick drift (xbox, ps, joycon)
 0:01:35
How to Replace Thumbsticks on Xbox Gamepad - Series S/X One S/X - Analog Stick Controller Tutorial
 0:00:15
PS5 Stick Drift Controller Fix #ps5 #sony #playstation #eldenring #drift #pokemon
 0:00:15
Fix Controller Drift The Easy Way
 0:02:42
How To Fix Controller Drift PS4! PS4 Analog Stick Drift Easy Fix!
Комментарии