filmov
tv
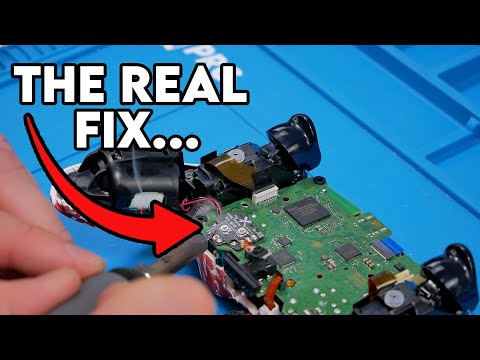
How to Fix Analog Drift or Analog Stutter on PS3 / PS4 / PS5 Controller (Cleaning Solution)

Показать описание
In this video, I show you the causes of analog drift or analog drift on a PlayStation 4 PS4 controller. This solution just requires you to disassemble your controller and to have 99% isopropyl alcohol on hand to clean the part.This tutorial is more than just blowing pressurized air into the analog stick, and it is probably going to solve your problem or at least tell you what you have to do to fix it. I hoped this video helped you out!
TIMESTAMPS
00:00 - Explanation of the Issue
00:05 - Video Begins
00:22 - The Problem
00:59 - Opening the Analog Stick
01:24 - Rotational Contact
03:37 - Residue
05:22 - Putting Back Together
06:07 - Testing the Controller
TIMESTAMPS
00:00 - Explanation of the Issue
00:05 - Video Begins
00:22 - The Problem
00:59 - Opening the Analog Stick
01:24 - Rotational Contact
03:37 - Residue
05:22 - Putting Back Together
06:07 - Testing the Controller
 0:08:30
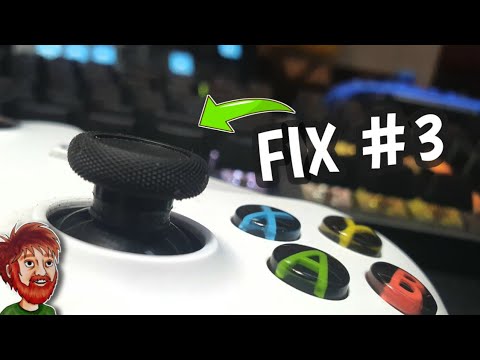
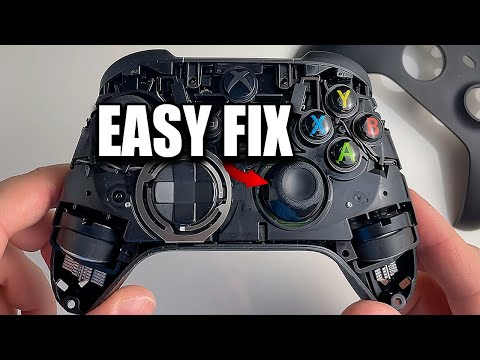
How to Fix Analog Drift on XBOX Series X/S Controller (moving on its own, jittery, wrong direction)
 0:00:59
The Easiest Way to Fix Analog Stick Drift!
 0:02:03
5 Easy Ways to Fix Drift on ANY Controller (Analog Stick Fix)
 0:01:21
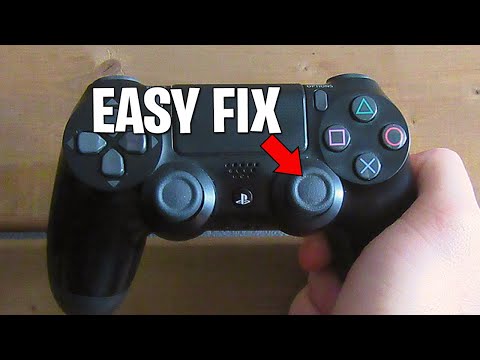
How To Fix Controller Drift PS4! PS4 Analog Stick Drift Easy Fix!
 0:13:04
How to FIX ANALOG DRIFT in PS4 Controller! (100% Works!) (Cleaning Method)
 0:08:08
IS THIS THE UNIVERSAL- STICK DRIFT FIX?🤨
 0:01:56
How To Fix Controller Drift PS5! PS5 Controller Analog Stick Drift Easy Fix! (No tools required!)
 0:06:37
How to Fix Analog Drift or Analog Stutter on PS3 / PS4 / PS5 Controller (Cleaning Solution)
 0:11:24
How to FIX PS5 Controller Stick Drift & Moving on its own (Best Method)
 0:01:56
How To Fix Controller Drift Xbox! Xbox Analog Stick Drift Easy Fix!
 0:00:15
another stick drift fix
 0:15:38
How to Fix Joystick Drift Permanently!
 0:05:44
How Manufacturers Can Fix Joystick Drift - Permanently!
 0:02:42
How To Fix Controller Drift PS4! PS4 Analog Stick Drift Easy Fix!
 0:01:38
How to Fix Xbox Controller Stick Drift! Xbox Series X/S Controller Analog Stick Drift Cleaning Fix!
 0:11:08
How to Fix Analog Stick Drift - 3 Ways
 0:00:58
The TRUTH Behind Joystick Drift
 0:03:44
How To Fix Controller Drift PS4! PS4 Analog Stick Drift Easy Fix! (Easy Cleaning Method!)
 0:02:07
How to fix stick drift PS5 (NO TOOLS) (2023)
 0:00:51
this could stop stick drift, so why don't they use them?
 0:00:48
Why Do Joysticks Drift?
 0:00:21
Joystick drift- PS5 - Quick Fix - WD40Contact
 0:08:52
How to Fix Analog Drift on XBOX One or Elite Controller Series 1 (moving on its own, stopping)
 0:00:15
PS5 Stick Drift Controller Fix #ps5 #sony #playstation #eldenring #drift #pokemon
Комментарии