filmov
tv
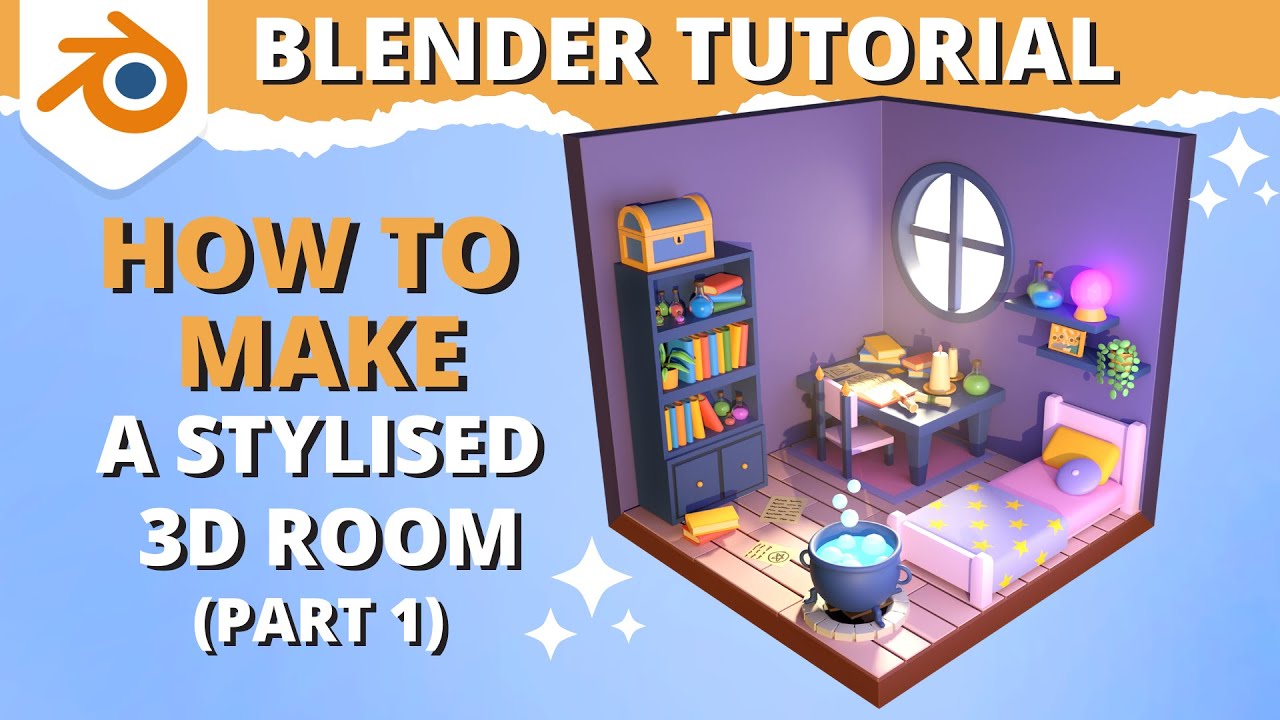
Blender Tutorial - How to Make a 3D Room for Beginners (Part 1)
Показать описание
In this Blender 3.0 Tutorial series I'll show you how to make a 3D Room from start to finish!
✷ROOM REFERENCE✷
(Please do not re-post, copy or claim my work as your own. But do feel free to share with me if you model it!)
This is Part 1/3 of this tutorial series. In this one I show you how to model the main objects in the room! In Part 2 we'll model the rest of the objects. And finally in Part 3 we'll apply materials and light our scene.
If you have any questions, leave them in the comments and I'll do my best to help :)
Also remember to subscribe if you found the video useful!
✷MY NEW COURSE ON SKILLSHARE✷
✷MY NEW COURSE ON UDEMY✷
✷MY SOCIALS✷
•Patreon•
•Instagram•
•Twitter•
•Gumroad•
✷MORE TUTORIALS✷
✷SOFTWARE✷
•Download Blender•
✷DETAILED HOTKEY MANUAL✷
✷VIDEO CHAPTERS✷
00:00 - Intro
00:21 - Settings
00:55 - Blender Navigation Basics
01:50 - Reference Image
02:30 - Walls
03:34 - Bed
16:47 - You da best!
17:09 - Bookcase
20:28 - Books
26:18 - Potions
33:32 - Table
35:47 - In the Next Video
#blender #tutorial #3D #3dmodelling
 0:08:36
ABSOLUTE Beginner Basics.. Blender For Noobs
 0:18:33
Learn Blender 3D in 20 Minutes! Blender Tutorial for Absolute Beginners (2023)
 0:35:17
Tutorial: Blender MODELLING For Absolute Beginners - Simple Human
 0:14:49
Blender 3D - Create a 3D Isometric BEDROOM in 15 minutes | Beginner Tutorial
 0:17:58
Blender Beginner Modelling Tutorial - Part 1
 0:51:55
Let's Learn Blender! #4: 3D Modelling in Edit Mode!: Part 1
 0:00:58
Easy Blender Trick 🔥 #shorts #blender #tutorial
 0:01:00
Learn Blender Rigging and Animation in 1 Minute!
 0:19:36
Blender 3D Beginner Tutorial: Smooth 3D Living Room
 0:09:15
Blender Tutorial for Beginners - Creature Sculpting Part 1
 0:00:58
How to make a realistic pool in Blender (60 seconds)
 0:24:20
Part 1-Blender Beginner Tutorial (Basic Navigation & Shortcuts) Updated Tutorial Link in Descrip...
 4:11:34
Free Blender Course for Beginners (3D Design Tutorial)
 1:22:19
Blender Day 1 - Absolute Basics - Introduction Series for Beginners ( compatible with 4.1)
 0:25:39
How to make an abandoned house in Blender - Tutorial
 0:36:39
Blender Tutorial - How to Make a 3D Room for Beginners (Part 1)
 0:44:51
Animation for Beginners! (Blender Tutorial)
 0:02:39
What actually Happen When you follow Blender Guru's Donut Tutorial
 0:36:11
Sculpting with Blender For Beginners (Tutorial)
 1:00:16
Part 3-Blender Beginner Tutorial (Modelling the House)
 0:12:20
Blender Basics | Die Grundlagen | [Deutsch/German] | Blender Beginner Tutorial
 1:05:01
Tutorial: Blender MODELLING For Absolute Beginners | Low Poly Girl
 0:10:51
If I Started Blender In 2024, I'd Do This
 0:14:09
Create A Low Poly Well | Beginners Tutorial | Blender 2.8 | Easy
Комментарии