filmov
tv
Washer Not Draining? Drain Pump Replacement #DC31-00054D

Показать описание
This video provides step-by-step instructions for replacing the drain pump on Samsung washing machines. The most common reasons for replacing the drain pump is if the washer is not draining and unclogging the pump and hoses does not fix the problem, if the washer is leaking water, and if the washer is making noise when it is draining water.
All of the information in this drain pump replacement video is applicable to the following brands: Samsung
Tools used: multi-screwdriver, Phillips head bit, needle-nose pliers, flat-head bit, pliers
Connect With Us!
Don't forget to like and comment on this video, and subscribe to our channel!
All of the information in this drain pump replacement video is applicable to the following brands: Samsung
Tools used: multi-screwdriver, Phillips head bit, needle-nose pliers, flat-head bit, pliers
Connect With Us!
Don't forget to like and comment on this video, and subscribe to our channel!
 0:06:03
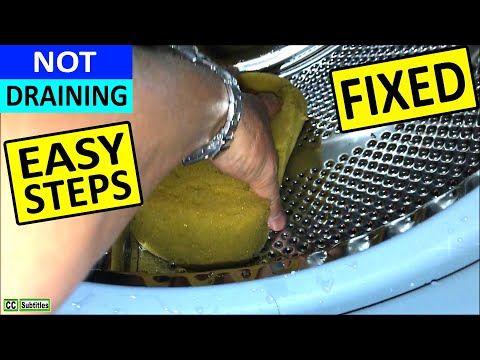
Washing Machine not Draining Water - Fixed
 0:08:20
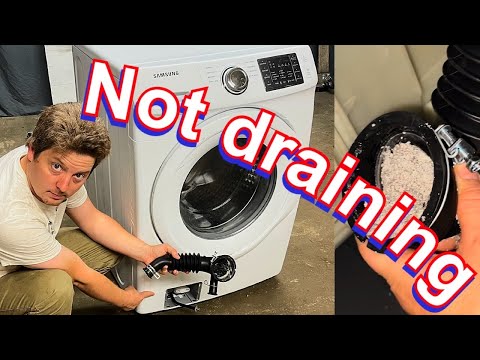
Washer Not Draining? Drain Pump Replacement #DC31-00054D
 0:04:24
Washing Machine Not Draining Water Properly - How to Fix
 0:05:41
Front Load Washer NOT DRAINING? Easy how to repair. It May not be the Filter. Samsung or LG Loader
 0:10:43
Front Load Washer Repair - Not Draining or Spinning - How to Unclog the Drain Pump
 0:08:17
Whirlpool Washer Won't Drain - How to Drain the Washer, Diagnose and Fix
 0:02:52
Front Load Washer Won't Drain - How to Test the Drain Pump
 0:15:42
How to Fix GE Washer Not Draining | Washes But Does Not Drain | Model #GFW550SSN0WW
 0:12:50
Front Load Washing Machine not Draining Water - Washing Machine full of Water
 0:10:39
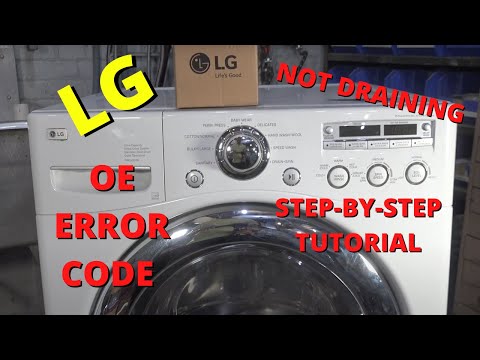
How to Fix LG Washer OE Error Code No Drain Not Draining Tutorial Repair Guide
 0:03:15
Washer Not Draining? Replace Washer Drain Pump #3363394
 0:00:18
Maytag washer not draining
 0:14:46
Beko washing machine not draining or spinning? E05 error code problem fixed!
 0:10:28
Beko Washing Machine not Draining Water - Fixed
 0:04:52
Fisher & Paykel Washer Repair - Water Not Draining - Drain Pump Diagnostic & Repair
 0:13:27
GE Front Load Washer Won't Drain or Spin - Ideas to Troubleshoot & Fix
 0:01:36
Washer - Unit Not Draining - Drain Pump Assembly Repair
 0:09:03
How to Replace the Drain Pump on a Samsung ecobubble Washing Machine
 0:01:51
Washer Won’t Drain — Washing Machine Troubleshooting
 0:12:07
Top 4 Reasons Why Your GE Washer Is Not Draining
 0:14:54
Washing Machine Repair - Replacing the Drain Pump (LG Part # 4681EA2001T)
 0:10:11
Hotpoint Washing Machine not Draining Water - Fixed
 0:03:02
Whirlpool Washer Won't Drain? Drain Pump #W10536347
 0:14:21
Bosch Washing Machine not Draining Water - Fixed
Комментарии