filmov
tv
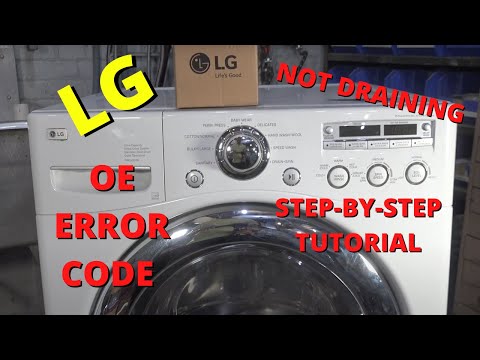
How to Fix LG Washer OE Error Code No Drain Not Draining Tutorial Repair Guide

Показать описание
Here is a tutorial on how to fix your LG Washer from showing the OE Error Code. Step by step, everything you need to know and nothing more. If your LG washer is slow drain, no drain, or making weird noise when draining this should take care of your problem. Fixes the OE Error code, although a variety of other codes could be triggered with a no drain situation. Information on ordering parts below.
Other codes include: OE Error code, LE Error code, UE Error code, FE Error code, IE Error code, PE Error code.
Beware the aftermarket pumps do not last as long as the Genuine LG Pumps. The pump motor I sell is GENUINE LG, bought from a reputable distributor, and comes sealed in a LG box.
Other codes include: OE Error code, LE Error code, UE Error code, FE Error code, IE Error code, PE Error code.
Beware the aftermarket pumps do not last as long as the Genuine LG Pumps. The pump motor I sell is GENUINE LG, bought from a reputable distributor, and comes sealed in a LG box.
![[LG Washers] How](https://i.ytimg.com/vi/Ojb_Paa87CI/hqdefault.jpg) 0:00:48
0:00:48
[LG Washers] How To Reset An LG Washer
 0:00:41
LG Washing Machine dE Error - Fix
 0:04:20
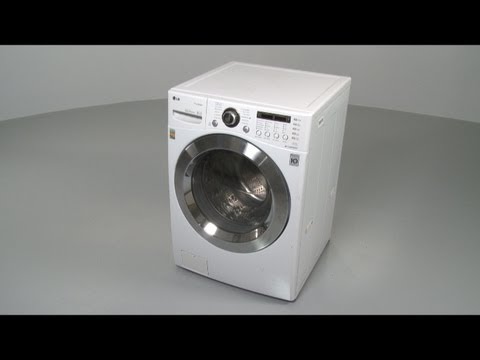
LG Front-Load Washer Disassembly (Model # WM3360HWCA) – Washing Machine Repair Help
 0:07:03
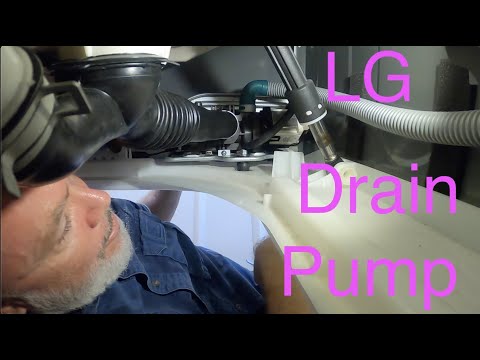
LG Washer Drain Pump Fix in 7 Minutes
 0:13:28
LG Washer Door Boot Seal Replacement AGM30030702
 0:02:02
[LG Front Load Washers] Troubleshooting An OE Error Code On An LG Washer
 0:34:38
LG Washer Repair – How to Replace the Spider Assembly (LG # 4434ER0003C)
 0:10:39
How to Fix LG Washer OE Error Code No Drain Not Draining Tutorial Repair Guide
 0:06:09
LG Washer Not Spinning So Easy a Monkey Can Fix It
 0:01:37
[LG Front Load Washers] Troubleshooting An LE Error Code On An LG Washer
 0:03:05
Diagnostic Mode, Error Codes & Troubleshooting on a LG Washer by a Factory Technician
 0:30:42
LG Washer Repair - How to Replace the Bearing
 0:40:05
How to Replace Bearings LG Front Load Washer
 0:05:50
LG Front Load Washer LE Error code Repair Tutorial How To Fix
 0:10:18
LG Washer Drain Pump Replacement AHA75853803
 0:12:56
LG Top-Load Washer Disassembly – Washing Machine Repair Help
 0:06:25
LG Front Load Washer Motherboard Repair
 0:06:43
✨ LG WASHER-DRAIN MOTOR BROKEN - EASY REPAIR ✨
 0:01:18
[LG Front Load Washer] Troubleshooting UE Error (Unbalanced Load Error)
 0:06:00
Replace LG Front-Load Washer Door Boot Seal #MDS47123604
 0:07:30
How To Put Your LG Front Load Washer In To Self Test Mode | Diagnostic Mode
 0:08:15
Play/Pause Button Won't Respond on LG Washer | Motherboard Repair
 0:14:54
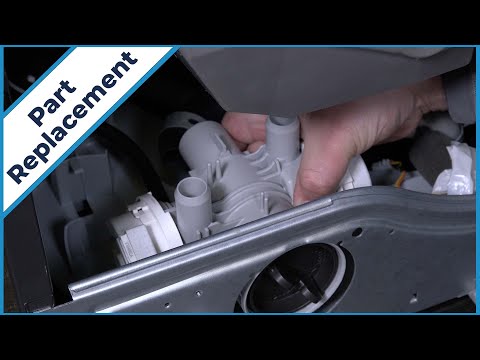
Washing Machine Repair - Replacing the Drain Pump (LG Part # 4681EA2001T)
 0:04:30
LG Washer Troubleshooting: No High Speed Spin & Service Mode
Комментарии