filmov
tv
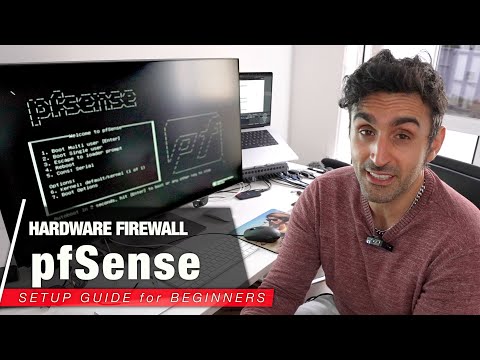
Install pfSense Firewall and Router in VirtualBox

Показать описание
#pfSense #VirtualMachine #VirtualBox
02. Extract the downloaded pfSense .gz
03. Launch Virtualbox
04. Create a New VM by selecting Machine ≫ New
Name: pfSense
Machine Folder: C:\VMs
Type: BSD
Version: FreeBSD (64-bit)
Memory Size: 1024 MB
Hard disk: Create a virtual hard disk now
05. Click Create
06. On the Create Virtual Hard Disk dialog
File size: 8 GB
Hard disk file type: VDI
Storage on physical hard disk: Dynamically Allocated
07. Click Create
08. Select the VM and Click Settings
09. Select Display
10. Slide the Video Memory to 128 MB
11. Select Storage
12. Click on the CD-ROM drive
13. Select the disc dropdown to the right ≫ Choose a virtual optical disc file...
14. Browse to and select the downloaded pfSense .iso file
15. Click OK
16. Select Network
17. Set the attached to dropdown to Bridged Adapter
18. Click the Adapter 2 tab
19. Check the Enable Network Adapter and set the attached to dropdown to Bridged Adapter
20. Click OK
21. Make sure the pfSense VM is selected and click Start ≫ Normal
22. Press Enter to Accept the Copyright and distribution notice
23. Select Install pfSense ≫ Press Enter
24. Select the keyboard mapping to use ≫ Press Enter
25. Select Auto (UFS) Guided Disk Setup ≫ Press Enter
26. Wait for pfSense to copy files and install
27. At the Manual Configuration prompt select No ≫ Press Enter
28. Select Reboot ≫ Press Enter
29. From the VirtualBox menu select Devices ≫ Optical Drives ≫ Remove disk from virtual drive
30. Reset the VM by selecting Machine ≫ Reset from the VirtualBox menu
31. Welcome to the pfSense terminal
--------------------------------------------------------------------
Configuring Network Interfaces and Web UI
--------------------------------------------------------------------
01. At the pfSense menu, select Set interface(s) IP address by typing 2 and pressing Enter
02. Enter the number that corresponds to the LAN interface ≫ Press Enter
03. Enter a LAN IP address on the same subnet as your LAN
04. At the bit count prompt type 24 ≫ Press Enter
05. Leave the IPv4 upstream gateway blank press Enter
06. Leave the IPv6 address blank and press Enter
07. At the DHCP server prompt type n ≫ Press Enter
08. At the revert to HTTP prompt type y ≫ Press Enter
09. The http address of the pfSense Web UI will be displayed
10. Press Enter to return to the main menu
11. Minimize the pfSense VM and open a web browser
12. Navigate to the web UI http address
13. Log into the web UI with the username admin and password pfsense
14. Select System ≫ User Manager from the top navigation
15. Click the edit icon across from the admin user
16. Setup and confirm a new password for the admin user
17. Scroll to the bottom of the page and click the Save button
18. Click the Logout icon in the top right of the page
19. Log back into the web UI using the new password
20. Enjoy exploring pfSense
### Connect with me and others ###
 0:11:55
 0:45:31
 0:14:08
 0:17:27
 0:15:04
 0:16:46
 0:31:49
 0:16:15
 0:12:34
 0:18:00
 0:11:16
 0:20:24
 0:25:06
 0:22:00
 0:17:44
 0:15:55
 0:03:14
 0:15:45
 0:38:04
 0:37:33
 0:35:34
 3:35:47
 0:09:33
 0:27:31