filmov
tv
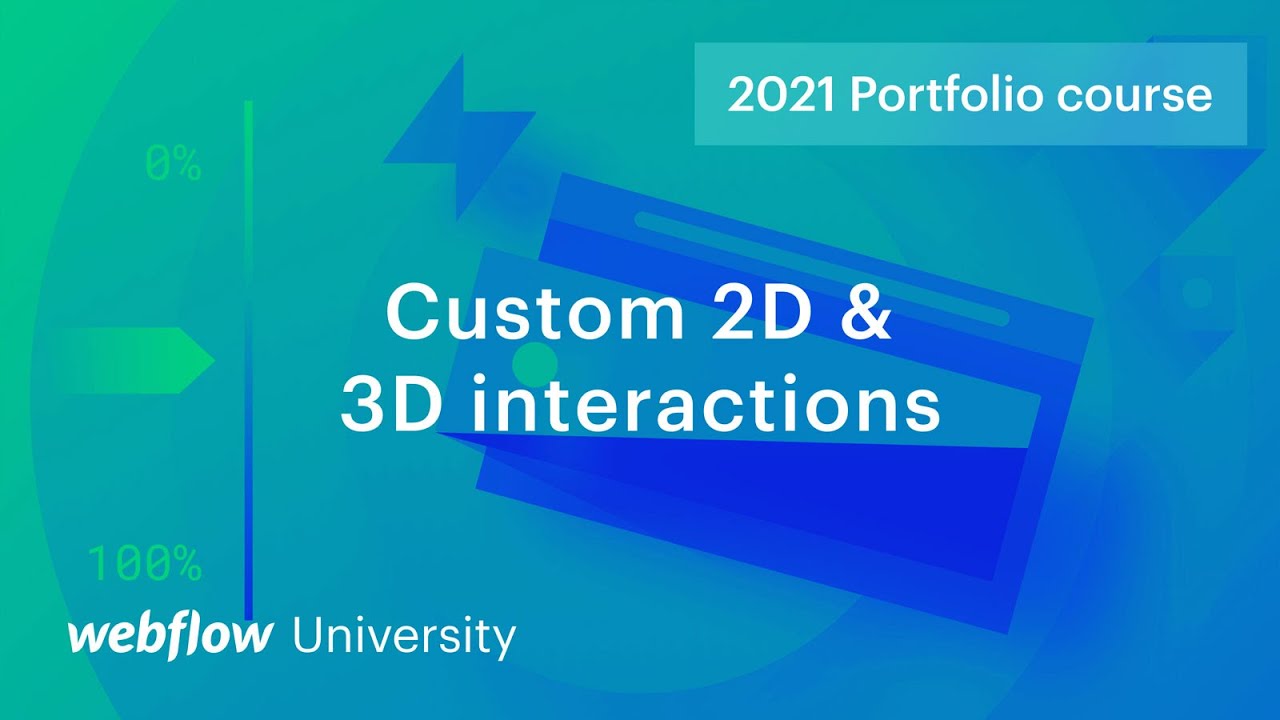
Creating custom 2D & 3D interactions — Build a custom portfolio in Webflow, Day 13
Показать описание
In this lesson, we’ll visually animate our elements directly on our page and create mind-melting 2D and 3D interactions that are triggered by mouse hover, page scroll position and page load.
00:00 - Day 13, begin
00:38 - Timed interaction (based on page load)
12:41 - Continuous interaction (based on page scroll position)
19:20 - Glow hover effect (based on mouse hovering over the card element)
26:54 - Recap
#21dayportfolio
Note: We’re transitioning to a new UI, and are in the process of updating our Webflow University content.
----------
 0:03:35
Archicad 22 tutorial - Create your own object with customizable 2d symbol
 0:06:53
Blender Tutorial - Turn Any 2D Image to 3D Model - Quick & Easy
 0:10:40
How to Create a Custom 2D Drawing Template | Autodesk Inventor 2022
 0:27:56
Creating custom 2D & 3D interactions — Build a custom portfolio in Webflow, Day 13
 0:05:53
How to Turn 2D Images into 3D Objects - Tinkercad Tutorial
 0:12:34
Custom 2d and 3d object combined
 0:08:07
2D TO 3D FACE-BUILDER IN BLENDER!
 0:03:15
HOW TO TURN 2D IMAGES INTO 3D WORLDS! (Blender Tutorial)
 1:11:29
Enhancing 3D Brain MRI Visualization: Implementing Real-Time Rendering with Optimized Techniques
 0:05:27
How to Make a 2D Vtuber Model
 0:13:21
Step-by-Step ZBrush Tutorial | Turning 2D Concepts into 3D Characters
 0:43:02
How to create custom 2D skins in World of Tanks
 0:08:03
Convert a 2D image to a perfect 3D character model - Is it really AI?
 0:16:28
How To Create 2D & 3D Animations For Beginners | Create Studio
 0:09:09
3D Objects from 2D Images Quickly in BLENDER!
 0:38:45
Code-It-Yourself! 3D Graphics Engine Part #1 - Triangles & Projection
 0:09:20
Extrude 2D Images with Blender + Photoshop
 0:18:28
Designing Your First Functional 3D Printed Parts | Basic Fusion 360 3D Printing
 0:01:24
Turn 2D images into Animated 3D Models - Cheat at Blender Tutorial
 0:12:36
Customize 2d to 3d files. Bambu Studio Tutorial Intermediate Level
 0:11:59
I Made Minecraft 2D
 0:05:24
Convert 2D Design to 3D | Blender 3.4 tutorial #blender #blender3d #blendertutorial
 0:04:18
Make 2D Images Into 3D with AI, Instantly!
 0:12:19
How to Convert 2D to 3D Logo in Photoshop
Комментарии