filmov
tv
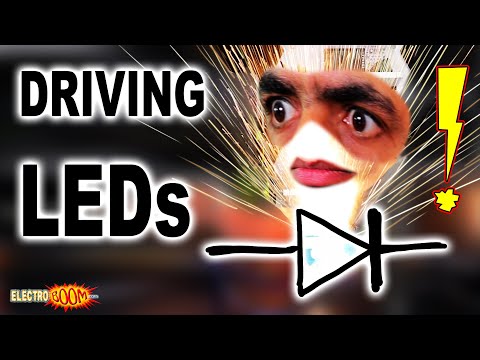
How to Turn an LED On

Показать описание
Below are my Super Patrons with support to the extreme!
Sam Lutfi
J4yC33
By: Mehdi Sadaghdar
 0:17:00
How to Turn an LED On
 0:02:50
Arduino Blinking LED Tutorial
 0:00:52
Bending LED Flexible Strips | Inspired LED
 0:05:19
How To Convert T8 Fluorescent Lights to LED ● Explained in Simple Terms
 0:14:12
Building DIY LED lights
 0:01:39
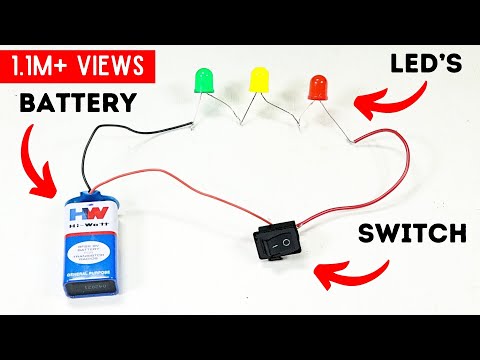
How to connect LED light with switch using battery
 0:02:05
How to fix led strip light remote (very simple)
 0:05:54
LED Light Remote Explained
 0:00:28
LED Turn Signal Light Conversion
 0:02:28
proper way to wire led lights
 0:03:53
Arduino Tutorial: LED Sequential Control- Beginner Project
 0:05:06
How to Turn on 2 LED lights with Arduino and Breadboard
 0:05:21
Fluorescent to LED Conversion
 0:05:54
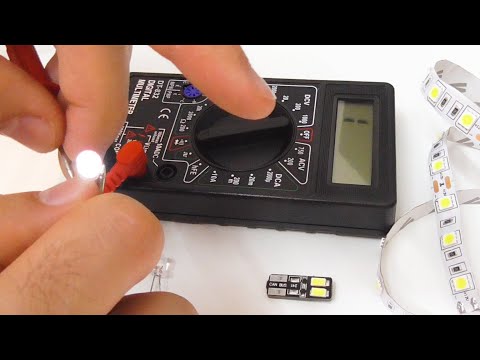
How to test LEDs using a cheap digital multimeter (Cylindrical, SMD LED)
 0:03:13
How to Connect Multiple LED's with 9V Battery, Switch in Series Connection | Simple Electric Ci...
 0:04:32
How To Make An LED Circuit Using Breadboard At Home | Easy DIY
 0:01:02
How to Install a Magnetic Switch for LED Lighting in Cabinets and Drawers | Inspired LED
 0:01:57
How to Bend LED Strips Around Corners
 0:05:10
How to Fix Your LED Turn Signal Bulbs that Don't Flash. Make Them Blink! | @WiringRescue
 0:01:35
Battery Replacement For RGB Led Remote | RGB remote Cap Open | Led Strip Lights
 0:02:17
How to Connect Single LED to 9V Battery with Resistor & ON/OFF Switch | Connection Tutorials
 0:02:53
How to Wire an LED Strip to a Switch
 0:05:38
LED Strip Light RGB Controller Installation Guide step by step, led strip lights amazon, led strip
 0:19:47
Watch this before buying LEDs
Комментарии