filmov
tv
How to Fix Small Holes | Drywall Repair
Показать описание
Drywall Repair before painting. Learn how to fix holes, scratches and dings before painting so you have a perfect result!
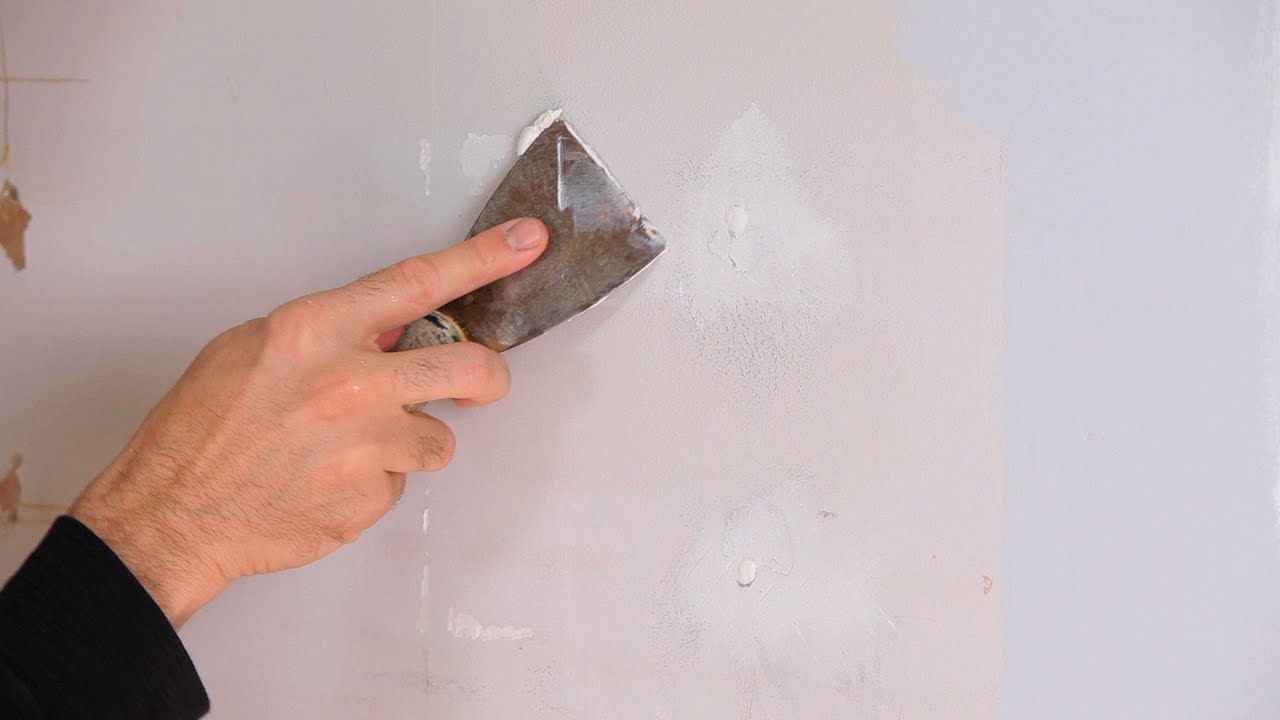
Alright let's take a look at this wall. We could have just slapped paint on this wall, but to really do a good job let's take the time and learn how to fill the nail holes and smooth out the blemishes and make a really smooth nice finish. These here are your mud knives. Spatula, scraper tool, mud pan. Pretty basic tools. This is your basic joint compound, plaster repairers and something that I like to use for smaller holes, bring Pat. Let's took a look at this. Now these were bolt holes from a television mount, much bigger than nail holes. I'm going to scrape this open of it with my scraper and see what we've got. I'm going to scrape it's a bit to loosen the particles.
These are definitely larger holes. Now I'm going to take a wet rag I'm going to what this down. I've got the wall board, the sheet rock underneath and the paper backing of the sheet rock or drywall is loose and it's kind of peeling off. I'm going to let that down and I might use the backside of my scraper here to push that in to make sure that my hole in indented rather than having particles sticking out. And these are the little tricks that you can do that will really make a nice paint job and are often overlooked by the average homeowner...
Let's take some of this ready patch. Ready patch dries faster, it's harder, doesn't crack, but it is a little harder to sand so you wouldn't use this on big wide areas. Let's put one coat of ready patch here... Now it's not perfect, but that's going to dry as our first cold and we'll sand that down. Now this is what you call really getting to know your wall. These deep holes may take three hour, three or four hours to dry and we'll come back to sand over that and do a skim second coat on top. Okay these mounting holes for the television are just about dry. I'm going to hit it with a little bit of sandpaper and I'm going to go ahead and put this skim coat, second coat topping and make it nice and smooth and beautiful.
Alright and we're going to wait for that to dry and do another light sanding and she's ready to paint. Okay these television mount holes, the first coat of plaster was dry, I sanded down slightly and put a second skim coat on top of the joint compound. I let that set, sanded it again nice and smooth and I went ahead and used a mini-roller and puts a water-based primer just over that whole area. So that's good, that is solid, that is smooth, it's invisible and is ready for paint.
 0:00:15
How to Fix Small Holes in Drywall | The Home Depot Canada
 0:03:41
How to Fix Small Holes | Drywall Repair
 0:03:56
How to fix small holes in drywall 👍
 0:01:38
Patch Screw Holes In Drywall In 4 Easy Steps | The Spruce #HowToPatchScrewHolesInDrywall
 0:11:53
3 BEST Ways To Fix Drywall Holes + Why You NEVER Do This!
 0:00:22
Quick Tips: How to Repair Small Holes in Window Screens
 0:02:33
How To Fill Holes In A Wall or Ceiling Quickly & Simply! - Patch Kit
 0:15:38
How to Fix Holes in Drywall - 4 Easy Methods
 0:17:59
Ron Hazelton's HouseCalls Season 1 - Automatic Irrigation System - DIY Built-In Entertainment S...
 0:02:00
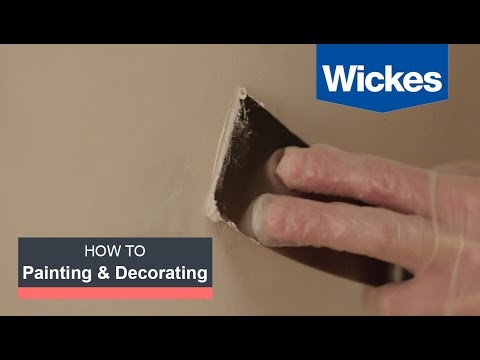
How to Repair Small Holes and Cracks in Walls with Wickes
 0:07:21
Fix Small Nail Holes in Walls FAST, AND Make Them Disappear
 0:07:58
How to Patch Small Holes in Walls | Ask This Old House
 0:05:37
Fixing Big Holes from Drywall Anchors!
 0:03:34
How To Repair A Hole In A Plaster Wall - DIY At Bunnings [How-to-guide]
 0:01:20
How to Sew Up Holes
 0:00:52
Spray Foam Drywall Patch, How To Fix Lots Of Holes Fast!
 0:04:27
How to Use DAP DryDex Spackling to Fix Drywall Holes
 0:03:10
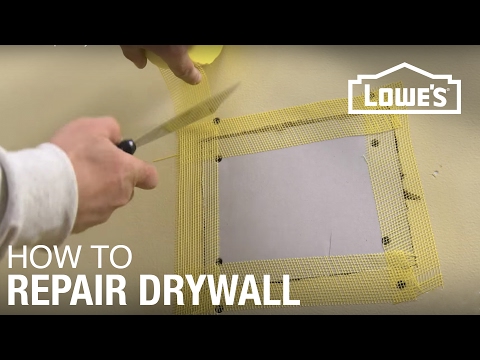
How to Repair Drywall
 0:01:42
How to fill small holes in the wall
 0:12:14
How to Patch a Hole in a Wall | Mitre 10 Easy As DIY
 0:08:55
how to fix small holes in drywall
 0:15:03
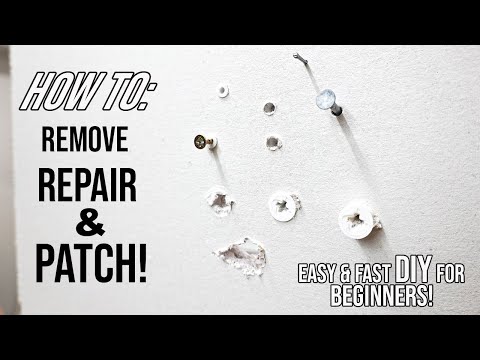
How To Remove And Fill Drywall Anchor Holes | DIY Fast And Easy Repair For Beginners!
 0:05:51
How To Cover up Nail Holes on Walls | Spackle Tips for Beginners
 0:01:30
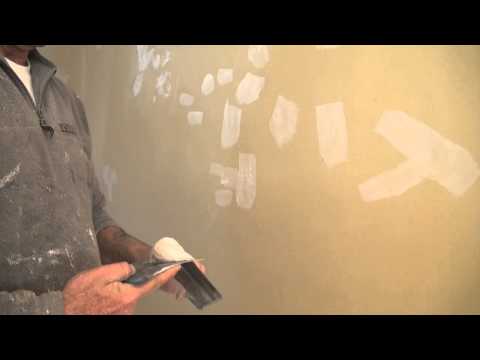
Preparing walls for painting - How to fix, patch or fill holes and dents in drywall or solid plaster
Комментарии