filmov
tv
BUILD YOUR OWN CAMBER GAUGE TOOL!

Показать описание
Related Videos:
At Home Alignment – Coming soon!
Tools Used:
- Bench Vise
- Angle Grinder or Cut Off Tool
- Drill
- Drill Bit
- Digital Caliper
- File
- Measuring Tape
Parts Used:
- Steel Angle Bar
- Stainless Steel Bolts
- Stainless Steel Nuts
OUR TOTAL COST $37
The DIY Rep in this Video is Ally!
To send letters, products for review/use, other correspondence - please use this address:
everythingdiy
P.O. Box 186
Pasadena, CA 91102
FTC Disclaimer:
All products mentioned were purchased by us. None of the companies mentioned are paying us for this video. All opinions are our own.
Other Disclaimers- Everything you do is at your own risk. Everything DIY or its affiliates are not responsible for any personal injury or property damages incurred.
SAFETY FIRST EVERY TIME
 0:06:15
BUILD YOUR OWN CAMBER GAUGE TOOL!
 0:02:45
Digital Caster Camber Gauge by KAISAL - Easy DIY Wheel Alignment
 0:06:56
HOW TO USE CHEAP CAMBER TOOL | HOW TO SET CAMBER
 0:03:40
DIY $20 Camber Gauge
 0:17:09
FREE ALIGNMENTS FOREVER - Stop Paying For Crappy Work
 0:10:52
Make Your Own Camber Gauge
 0:09:01
How to Make a cheap DIY alignment tool
 0:13:14
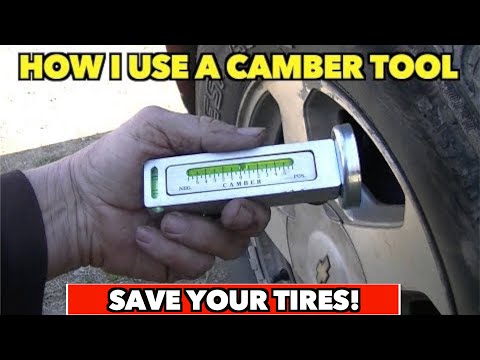
$13.50 Camber Tool....How I use it to get better steering, longer tire life.
 1:02:08
Triple Locked 2012 Lexus GX460 - Overland Build - Detailed Walk-Around
 0:07:37
DIY At Home Vehicle Alignment!? TMR Customs Toe Alignment Tool
 0:18:43
How to build a wheel alignment kit at home! Getting the right camber and alignment with ease.
 0:20:20
Alignment Explained (+ DIY Guide)
 0:09:42
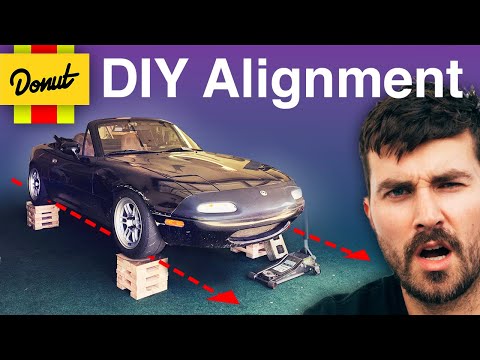
DIY Alignment
 0:18:09
HOW to ALIGN your own car using a string and line kit DIY
 0:07:04
How To Adjust Camber On a Car Using Camber Bolts
 0:04:43
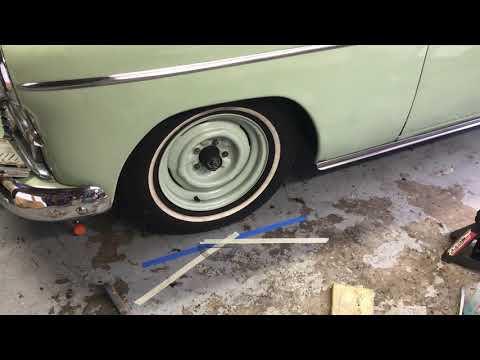
DIY Caster camber measurements
 0:03:44
PERFECT diy front end alignment SIMPLE tools
 0:05:02
Specialty Products Company: FasTrax Camber and Caster Gauge
 0:20:26
How to Measure Caster, Camber, and String Align in ONE KIT! New QuickTrick Gen 5
 0:09:03
DIY alignment using 4 foot levels
 0:11:49
Check your camber with a phone app / super precise + bonus track footage
 0:15:42
DIY Car Alignment with No Special Tools CAMBER CASTER TOE and THRUST
 0:13:59
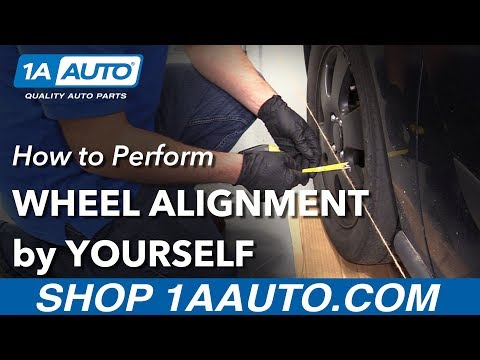
How to Perform Wheel Alignment by Yourself
 0:05:59
DIY Perform A Vehicle Front End Alignment Using String and a Ruler - Front End Replacement Part 3
Комментарии