filmov
tv
How to use 2 channel relay to control AC and DC loads in Arduino

Показать описание
This video shows you How to use 2 channel relay to control AC and DC loads in Arduino.
The best thank you for me is to not skip ads and Subscribe 🔔 to my channel, like 👍 the video and do not skip the ads.. It is greatly appreciated. 🔔 😊.
I will reply to all Subscriber's 🔔 questions. So make sure to Subscribe.😊 .
**** Free Course ****
*** Purchase Arduino Start Kit ***
****** Purchase Authentic Arduino Uno from ****
*** Purchase Arduino Uno Compatible
Purchase 2 channel 5V relay from:
****Related Videos ****
Chapters of this video:
00:00 Start
00:53 Hardware Explained
05:55 AC wiring explained
07:46 Code Explained
10:20 Demonstration
Tutorial by Ahmad Shamshiri form Canada
****************************
****************************
Get other projects code and learn Arduino
#robojax #robojaxRelay #robojaxMotor
 0:01:48
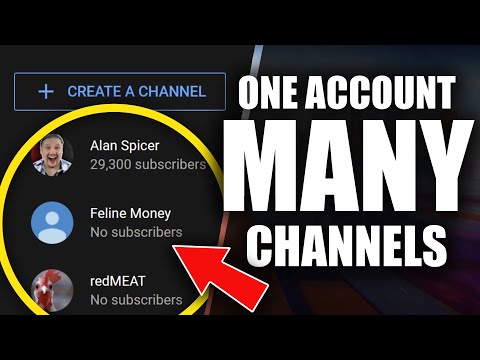
How To Make Multiple YouTube Channels With One Google Account (Second Channel) - Full Guide
 0:11:01
If You Want to Start Multiple YouTube Channels, WATCH THIS FIRST!
 0:01:43
How To Create Multiple YouTube Channels Under One Email Account
 0:06:03
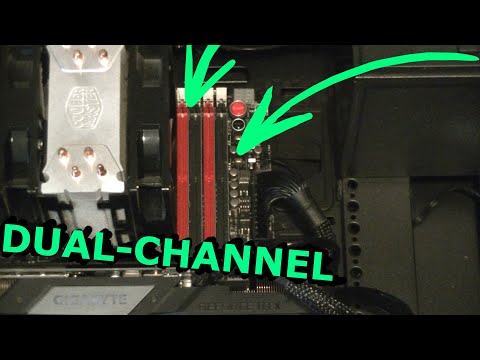
Single Channel vs Dual Channel vs Quad Channel Memory (2020) [Simple Guide]
 0:07:35
Should You Have Multiple YouTube Channels ( Pros and Cons )
 0:02:06
How To Make A SECOND YouTube Channel with the SAME EMAIL
 0:03:13
How Do You Bridge a 2 Channel Amplifier? | Car Audio Q & A
 0:04:00
How to Make Your RAM Run in Dual-Channel Mode
 0:02:58
How to Make a Second YouTube Channel
 0:11:51
How to use 2 channel relay to control AC and DC loads in Arduino
 0:07:49
How to Use Multiple Audio Interfaces Simultaneously
 0:06:28
How to Run Multiple YouTube Channels in a Mobile | Adsense,Bank Account and Much More
 0:03:56
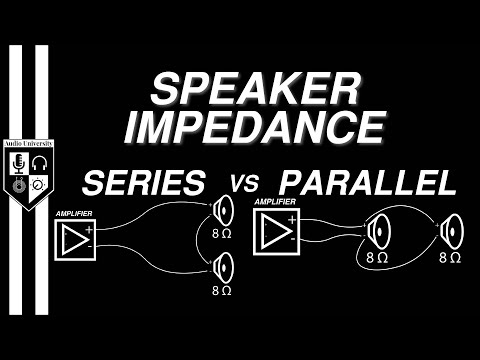
SERIES vs PARALLEL: Speaker Impedance Explained
 0:12:29
You Can't Get Great Two-Channel Audio from a Home Theater System?
 0:02:15
Insert Channels for Multitrack Output from an Audio Mixer
 0:05:50
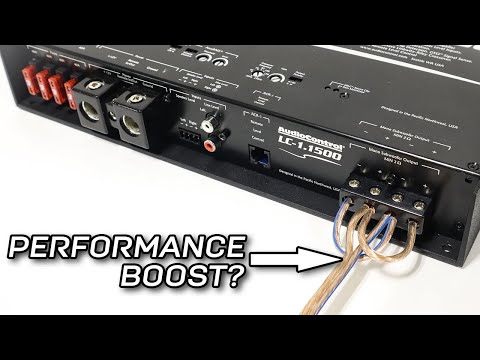
The RIGHT WAY to wire subwoofers to a monoblock amplifier
 0:03:25
Split multi-channel audio to separate tracks in Premiere Pro
 0:03:07
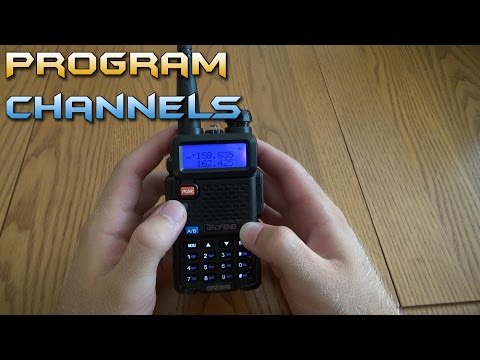
Programming Channels on the BaoFeng UV-5R - DCS and CTCSS
 0:18:04
7 Reasons HT Receivers are Better for Music than 2 Channel Receivers - and 1 Reason they Aren't
 0:10:06
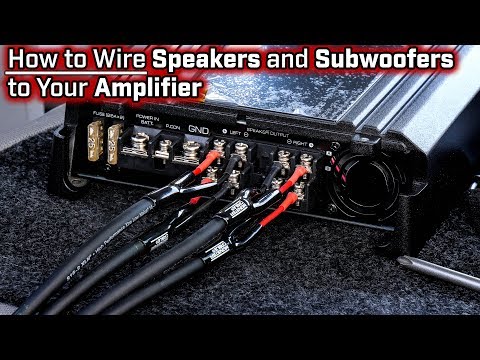
How To Wire Speakers and Subwoofers to Your Amplifier - 2, 3, 4 and 5 Channel - Bridged Mode
 0:07:04
How To Set Up An Amplifier [Bridge vs Parallel vs Stereo]
 0:07:21
The best way to connect a subwoofer
 0:04:22
Why We Typically Recommend a Stereo Pair or Dual Subwoofers for Home Theater and 2 Channel Systems
 0:15:38
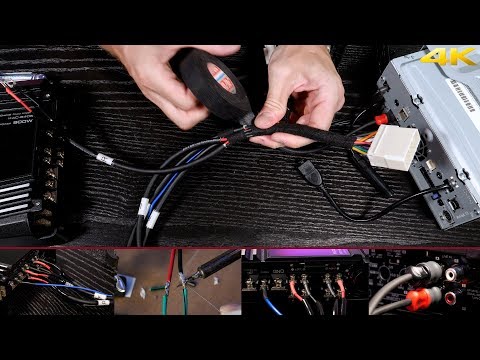
Wiring a 2 or 4 channel amp to your stock speaker harness without cutting the factory wiring
Комментарии