filmov
tv
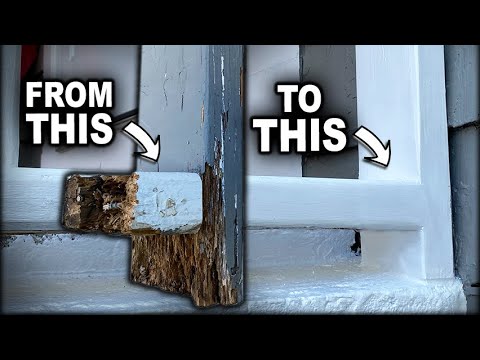
How to Replace Water Damaged Window Sill and Trim

Показать описание
In this video, I fix my rotted wood window sill and trim. Parts of the wood were so saturated with water that they felt like a sponge so I decided to change out all four pieces. I wanted to make sure that this window was water proofed as much as possible so I added a few extra things. To the top I added a rain cap then extra caulking and Flex Tape to seal the window.
Watch some other rot repair videos here-
To receive 10% off your next purchase, use the discount code, THEFIXER10 .
(Affiliate link)
(*Affiliate links)
*As an Amazon Affiliate, I earn commission on qualifying purchases.
DISCLAIMER:
This video and description contains affiliate links, which means that if you click on one of the product links and make a purchase, I will receive a small commission at no extra cost to you. This helps support this channel and allows me to continue to make videos like this. Thank you for your support!
Videos produced by The Fixer are provided for informational purposes only. All material provided within this video is for informational, educational, & entertainment purposes only. Some of these projects, materials, and techniques may not be appropriate for all ages or skill levels. Please use all safety precautions while following any instructions or concepts provided by this video. Viewers must be aware that by doing projects on their homes they are doing it at their own risk and The Fixer cannot be held liable if they cause any damage to their homes. It is the sole responsibility of the viewer to educate themselves on their local codes and regulations before undertaking any sort of project. Always have safety in mind and have fun!
 0:04:55
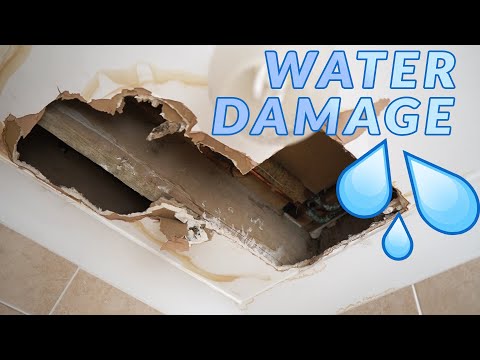
How To Repair a Water Damaged Ceiling After a Leak - Water Damaged Plasterboard / Drywall
 0:01:08
How To Fix a Water Damaged iPhone
 0:08:04
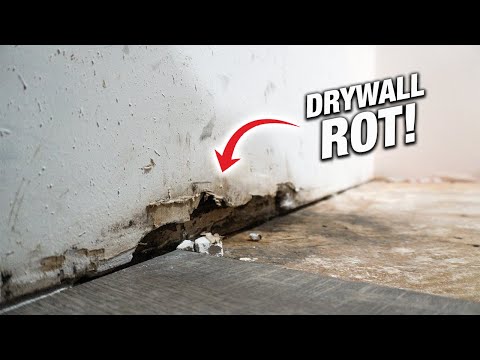
How To Fix Rotten Moldy Drywall From Water Damage! DIY For Beginners!
 0:24:46
Fixing Water Damaged Rotted Wall and Subfloor
 0:01:02
How to Fix Bubbly Veneer on Furniture Caused By Water Damage! Easy Tutorial
 0:06:02
how to repair water damaged particle board furniture
 0:00:16
Water Damaged Cabinet - Repair & Prevent
 0:04:26
How to Repair Kitchen Cabinets - MDF Water Damage
 0:01:44
How to Replace a Commercial Ice Maker Water Pump | PartsFe
 0:46:05
How to Replace Water Damaged Window Sill and Trim
 0:05:22
Damaged Laminate Flooring Repair - DIY - How to Fix Water Damaged Laminate Flooring - Pet Pee
 0:14:31
Water Damage Bathroom Floor Repair - Fixing Hidden Water Damage
 0:10:03
My iPhone Got Wet! How To Fix iPhone Water Damage.
 0:10:23
How to repair water damaged drywall in one day!!
 0:06:21
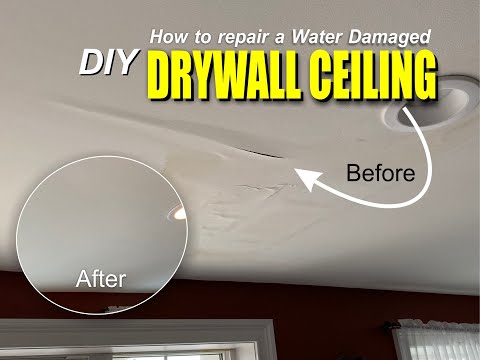
DIY Water Damaged Drywall Ceiling Repair: Easy Step-by-Step Guide
 0:13:54
Floor Water Damage Repair | Repair or Replace?
 0:12:52
How to Repair a Water Damaged Ceiling
 0:28:03
Patching Rotted Water Damaged Wood
 0:11:48
I Bought A Liquid Damaged Switch On Purpose! Let's Fix It!
 0:24:08
How To Repair WATER DAMAGED DRYWALL CEILING- Step by Step
 0:19:20
How To Stop A Water Leak And Fix A Water Damaged Drywall Ceiling
 0:02:57
how to repair water damage particle board
 0:07:09
How To Repair Water Damaged Baseboard and PREVENT FUTURE DAMAGE!
 0:00:59
Water Damaged Cabinet Repair
Комментарии