filmov
tv
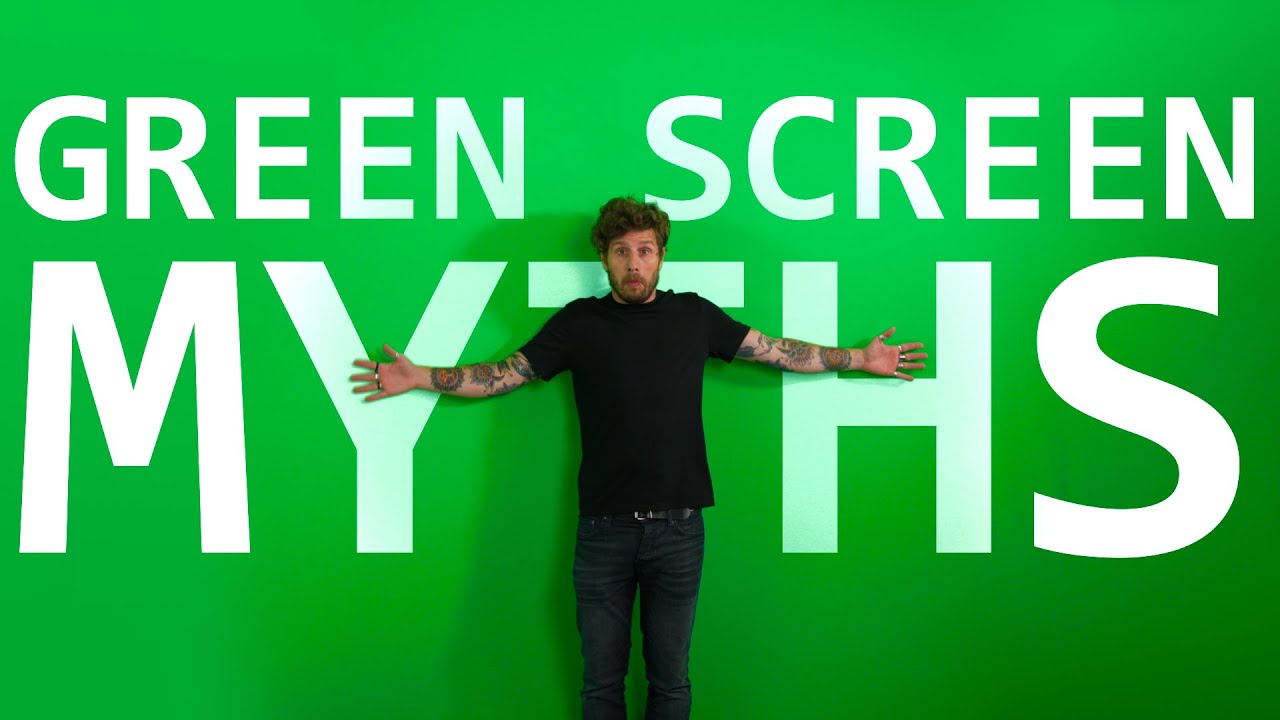
ADVANCED Green Screen Tips and Tricks for VFX (Myths - BUSTED)

Показать описание
Today we are going to bust some green screen myths
Green Screen Myths BUSTED
Green Screen Best Practices (Advanced)
Don't believe everything you see or read on the internet
Try to get it as even as possible. Read nothing more and you will find a list of some green screen ideas. And I have used in the video description. Hey, and it always makes sense to also buy some of those here. You can only get the middle of the green screen super flat. Well, then place your actor there.
No, the middle makes the most issues. Well, they move your actor to the side, but now I can see the floor. Hey, have you actually realized that? I have not keep my feet and the chair because there was no green screen? Again, we only need green screen where we need it. If your green screen is too small, then decide on what's most important.
And in this case, it's my head and my hands. Because also, the more green you have, the more green spills you will have and also the harder it will be to get the lights just right. So off to number two, setting up the lights. Where shall I put that Right after number two, setting up the camera, because that defines what you see in the end.
And this has a lot of impact on the lights as well it as well as the placement of the lights. So two things are important to you. First of all, the video codec, the best codec gives you the best results. And unfortunately, that's how it is. That may also be the reason why today's movies are not shot with the newest smartphone.
So I'm filming this on a smartphone and this on the Canon EOS, R5 C, both on their best settings and I really hope you see the difference. You can see the difference. So here's a Protip before placing your actor in front of the camera, quickly do a keying test only with one click. Now you see. So and second is the resolution.
Because the bigger the stencil, the easier it is to cut out. So think outside of the box. Here are simply rotate the box to get almost twice the size. Oh, what about shutter speed to get less motion blur for an easier key? Okay, just real quick. If you have a fast shutter keying will be easier, but the result will look as if you have set your shutter 12 Wrong number because while you have.
But I can fix that in post-production. Also, this is true if the movement is not that fast and not too much movement overall. But wait, if this is the case anyways, then you really don't have to reduce the shutter anyway. And if you really want to cut the shutter by half, you also only have half the amount of light coming in and that may be your bigger problem.
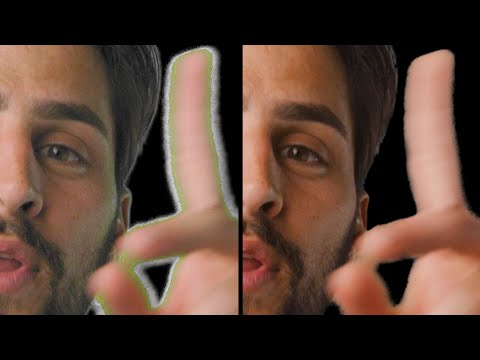
That's my room light as well as the green screen light. But having the green screen close to the actor also causes some more spill. Yes, because there's a difference between close and close. You also don't want to cast too much shadow on the green screen. And as soon as that is gone, you should be far away enough. And by the way, your spur concerns when keying in after effects, the key light effect removes spilled by default.
Oh, and if you disable that feature, there's also dedicated effect called Advanced Boo Killer. Basically, those effects are there, so you have a little bit more freedom to play with while shooting. So in a nutshell, if you have super expensive light that gets the job done and your studio is super big, great use that. If you are a YouTuber and your bedroom is just and you and you need five cheap lights to do the same thing, well I don't care on awesome sets.
The more often you do it, the better you get. Because if you only try to follow the instructions, you will not learn how to light a green screen. You will just learn how to follow instructions. Enough movie quotes for most lights. This works best. If you're not, shoot them straight on the green as this provides you with some hotspots.
And now comes the super cool visual effects on set trick that no one ever talks about. Hey, until now, how bright should the green screen be? You ever thought about making the green darker when there's something dark in the background and make it brighter? If there's something bright in the background? Is that too bright and is this too dark?
This is 160 ISO. Hey, wait. Now the image just got darker and we need either more light again or bring up the iso again. And this is with the way higher iso you. No, here's the shot as you see it. A little too dark. Yeah, here it is with 400 iso. Perfect. Now it is a one click on both of them.
Whoa. Holy moly. The far iso looks great on camera and like a big Swiss cheese in post-production. But wait, the one that was simply a little bit too dark looks great in terms of kin. Oh. Oh great idea. Now was just a small adjustment. It is as bright as the other one, but it looks way better. You know, it is simply easier to make it a little brighter than removing all the grain.
And for now, I wish you a lot of fundamentals and a lot of fun in After Effects.
#greenscreen #postproduction #aftereffects #keying
Комментарии
 0:10:40
 0:07:59
 0:16:05
 0:07:17
 0:34:20
 0:21:00
 0:08:31
 0:34:09
 0:00:43
 0:00:32
 0:14:37
 0:06:29
 0:08:15
 0:40:13
 0:02:28
 0:30:26
 0:00:30
 0:12:31
 0:00:57
 0:08:50
 0:06:22
 0:02:55
 0:05:38
 0:09:51