filmov
tv
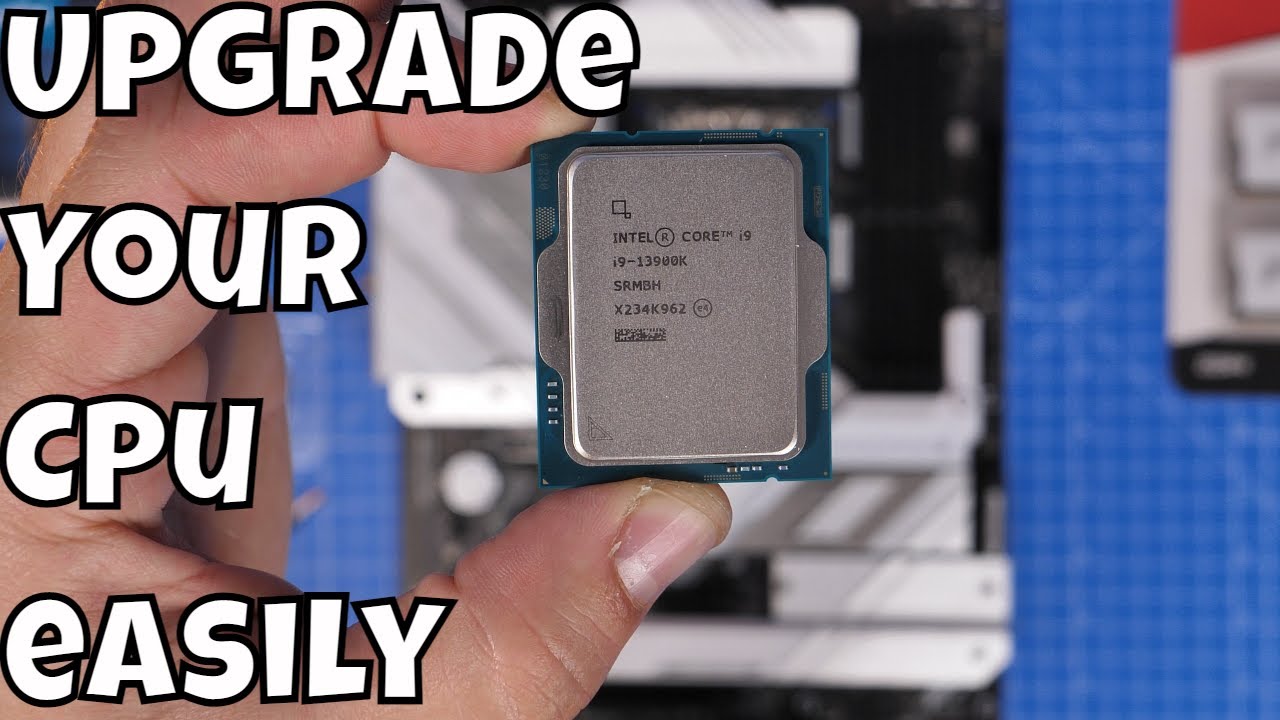
How to upgrade your CPU easily - essential things to know when upgrading an Intel CPU
Показать описание
Upgrading your CPU is theoretically an easy way to make your system faster or better without building an entirely new PC, but there are a few things you need to know first. For example, whether your motherboard can support a new CPU and, if so, do you need a BIOS update first?
Things I'm covering in this video:
Motherboard socket types
Checking for CPU compatibility list (see manufacturer's site)
BIOS updates and how to do them
Steps for removing and swapping your CPU.
This is a brief guide on how to easily upgrade your Intel CPU. First check what new(er) generation CPU you can afford that will work with your motherboard, check for BIOS updates, and follow the steps in this video.
Then follow these steps for the actual replacement:
TURN OFF YOUR PC and unplug it!!
- Attach an anti-static strap to yourself and to an earthing point - a radiator works perfectly.
- Unscrew the CPU cooler/heatsink and detach any cables that might get in the way.
- Set the screws aside and carefully pull the cooler off.
- Use Noctua thermal paste cleaning wipes to remove thermal paste from your old CPU/cooler
- Remove the lever holding the CPU in place, lift up the flap and gently remove the old CPU by lifting it by the corners.
- Ready the new Intel CPU, remembering the gold arrow in the bottom corner should point that way when installed. You're installing the new CPU in the same way the old one came out.
- Carefully and gently push the CPU into place.
- Replace the flap and ease the lever back into place to hold it down.
- Ready the new thermal paste.
- Apply a small amount of thermal paste in a pattern that will cover the entire CPU but not come out of the edges.
- Replace the CPU cooler, reattach and tighten the screws to keep it in place.
Remember to plug all necessary cables back in.
Please note links listed here include affiliate links which may earn me a commission. Find out more below.*
Things to buy and use for this:
Noctua thermal paste wipes (for removing paste):
Thermal Grizzly paste:
Related videos:
0:00 Helloooo
0:30 CPU Socket type
2:30 CPU-Z
3:48 Motherboard compatability
5:27 BIOS Update
6:00 Basic steps to take
8:04 CPU install
8:41 Remove the cooler
9:10 Thermal paste cleaning
9:45 Removing & installing the CPU
10:15 New thermal paste
10:45 Installing the cooler
🏆Big thanks to my super awesome YouTube members:
SirSpawnsALot, Meatykeyboard, Beaster Bunny, JayShank007, Rawrr483, DStarastins, McFarty, Riggsy79, Chief Hao, Kraken Tortoise, Aaron Yarden, Paolo madamba and you? 🏆
PLEASE NOTE
Affiliate links*:
Disclosure: Shopping links within the description of this video generate a commission at no extra cost to you. These are added for your convenience but other retailers are available. As an Amazon Associate I earn from qualifying purchases.
Products:
Products featured may also have been sent for free for review/testing purposes. Often these have to be returned by me, but not always. I endeavour to avoid bias in my videos wherever possible and try to give honest, subjective opinions.
 0:05:42
How To Upgrade Your CPU Step By Step | AMD Ryzen CPU Installation 2022
 0:13:04
A Beginners Guide: How to Upgrade an Intel CPU (core i3, i5, i7, i9)
 0:12:07
How to upgrade your CPU easily - essential things to know when upgrading an Intel CPU
 0:07:09
How To CORRECTLY Upgrade Your CPU, Motherboard, and Graphics Card
 0:15:23
How to Upgrade Your PC: How to Upgrade GPU, CPU, RAM, SSD & More! How to Upgrade PC
 0:04:20
How to Upgrade an AMD Ryzen CPU (AM4 Socket)
 0:18:04
How To Upgrade Your PC 2024 | How to Upgrade GPU, CPU, RAM, SSD & More
 0:17:10
How to upgrade a CPU and update BIOS
 0:01:00
How to upgrade your computers GPU in under 60 Seconds!
 0:03:45
How To Boost Processor or CPU SPEED in Windows 10/11 | Make Computer 200% Faster | Boost FPS
 0:11:13
Upgrade your CPU... in four simple steps | Processor install
 0:17:44
CPU Upgrade: How to Change a Desktop PC Processor
 0:04:02
How To Enable All CPU Cores Windows 10 - Boost PC PERFORMANCE 2022 (Do At Own Risk)
 0:15:42
A Beginners Guide: How to Upgrade an AMD (Ryzen) CPU
 0:00:28
installing a Ryzen CPU into an Intel motherboard #shorts
 0:17:36
When To Upgrade Your CPU For Gaming? Life Cycle of the CPU! — Tech Deals
 0:08:03
How To Know When It's Time To Upgrade Your CPU
 0:00:13
How YO UPGRADE YOUR CPU? DIY FOR NOOBS! ONLY 10 STEPS TO A BE PRO #pc #pcbuild #cpu #intel #pcgaming
 0:01:40
How To Make A CPU
 0:05:37
How to Upgrade an Intel CPU. (Upgrading an i7-10700K to an i9-10900K)
 0:07:30
How to Upgrade a Laptop CPU / Processor! XD
 0:01:00
Intel vs AMD for 2024?
 0:08:53
🔧 How To OPTIMIZE Your CPU/Processor For Gaming & Performance in 2023 - BOOST FPS & FIX Stut...
 0:02:59
Upgrading Your Laptop - CPU / Graphics / RAM / Disk
Комментарии