filmov
tv
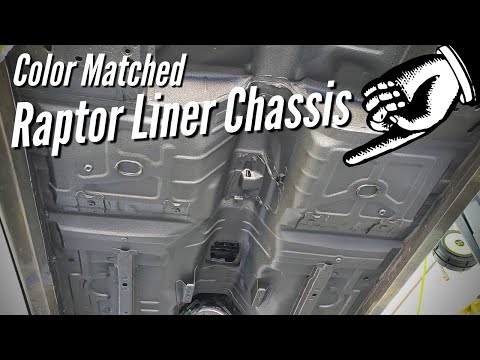
How to Prep, Mix & Spray Tintable Raptor Liner ( Raptor Liner Undercarriage )

Показать описание
How to Prep, Mix & Spray Color Matched Raptor Liner ( Raptor Liner Undercarriage ) In this video I'm going to show you how to prepare, mix in color and spray tinted raptor liner on an undercarrage. The Raptor Liner is a 2 part bedliner system meaning the bedliner needs to be mixed with a hardener for it to dry properly. I tinted this car using Ford TK (Mineral Grey) paint. That is the same color as the outside of the car. I would suggest checking the color match of the paint that you are using to tint the Raptor Liner with. The paint job on this undercarriage came out a little darker than anticipated but still looks exceptional.
Links to the products used in this video:
Help support the channel, buy using my Amazon links
As an Amazon Associate I earn from qualifying purchases and your cost is exactly the same.
00:00 Intro
00:11 Surface Prep
1:23 Raptor Liner kit contents
3:34 How to mix Raptor Liner
7:57 Undercarriage that I'm going to spray
9:07 How to Spray Raptor Liner
12:28 Initial Results After Spraying
13:58 Spraying Black Raptor Liner
14:21 Final Results
15:52 Ending Cards
#raptorliner #bedliner #diybedliner
Disclaimer:
The information, demonstration and any content contained in this video is for informational purposes only. The user Repair Geek makes no warranty, express or implied, regarding the effectiveness or safety of the contents of this video. In no way should the contents of the video, including the tools used, be repeated or tried by anyone. Viewers should only seek the help of a trained professional located at a licensed auto repair shop for any fix, modification, alteration, or any change to their vehicle. Repair Geek shall not be liable for any injury, damage, or loss to any person or property that may result from use of the tools, equipment, or any content contained in this video. In addition, there is no way to guarantee that the video is not altered or modified or is not in the final form submitted by Repair Geek and therefore, Repair Geek does not warrant that the video is unaltered or not modified. The links on this video to products are for informational purposes only and in no way are an endorsement of the safety or effectiveness of the particular product. Viewers understand that anything contained in this video or linked to or from this video is the sole responsibility of the viewer and in no way provides an express or implied warranty as to the safety or effectiveness of any linked tool, product, or video. Therefore, viewer agrees to release, waive, and discharge Repair Geek or anyone affiliated with Repair Geek, from any and all liability, claims, demands, actions, and causes of action whatsoever arising out of or related to any loss, damage, or injury, including death, that may be sustained by the viewer, or to any property belonging to viewer, regardless of whether the loss is linked to the use of the contents of this video, or otherwise and regardless of whether such liability arises in tort, contract, strict liability, or otherwise, to the fullest extent allowed by law.
 0:09:02
How to Prep a Track for Mixing
 0:44:10
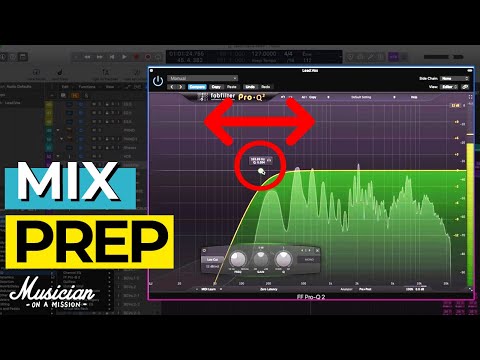
Mix Prep Like A PRO
 0:01:58
Prep work before Mixing - Chris Lord-Alge
 0:03:51
Are you REALLY ready to mix? Mix prep tips from CLA
 0:22:53
Mix Tips: How to Prep Your Mix
 0:16:18
How to Prep A Session For Mixing (Everyone Messes This Up!)
 0:41:56
How To Prep A Mix - START TO FINISH!!
 0:05:18
How to Prep a Holiday Nut Mix
 0:20:19
FALL PREP Fall Trader Joe's Haul, Recipes & Fall Pantry
 0:32:28
Mix Prep Workflow for BETTER Mixes
 0:11:28
Mix Prep Part 2: Time/Phase Alignment, Gain Staging, and Strip Silence
 0:16:14
How to Prep, Mix & Spray Tintable Raptor Liner ( Raptor Liner Undercarriage )
 0:08:29
Mix and Match Meal Prep - 5 Recipes and over 10 Meals
 0:02:01
Mix-and-Match Meal Prep
 0:06:58
How to Repair and Prep Concrete Before Epoxy - Watch Before Applying Epoxy Coatings!
 0:29:06
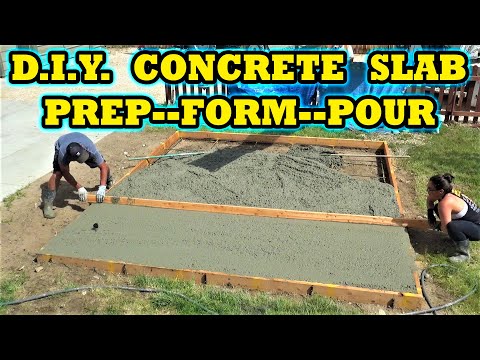
How to Prep, Form & Pour a Concrete Slab for beginners--Start to Finish
 0:07:20
How to prep COCO COIR for indoor growing!
 0:15:59
The 1-Hour Meal Prep That's Changing My Life
 0:16:52
How to Ingredient Prep a Week of Healthy Recipes| Salads, Sushi Bowls, Granola Parfait (plant based)
 0:07:14
How to Prep for a Colonoscopy - The Best Way - Gatorade & Miralax - Over the Counter
 0:09:42
Meal Prep - 5 Recipes And 10 Best Meals For Variety
 0:00:34
High Protein Meal Prep Creamy Garlic Beef Pasta! Only 477 Calories #pasta #fatloss #recipe #fitness
 0:06:09
Meal Prep 24 Healthy Meals in 1 Hour (Breakfast, Lunch & Dinner for 4 days for 2 people)
 0:08:50
How to Prep a Session FAST for a Mixing Engineer in Logic Pro
Комментарии