filmov
tv
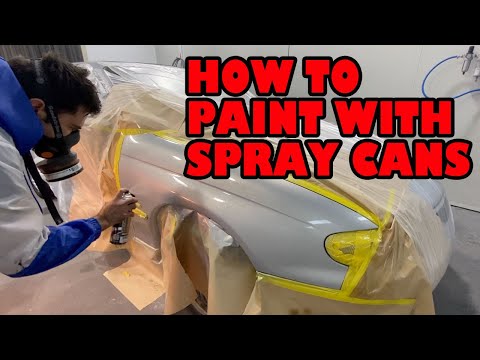
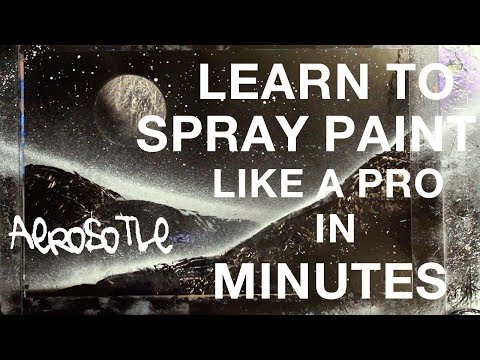
How to paint with Spray Cans

Показать описание
Video with cheap cans available here.
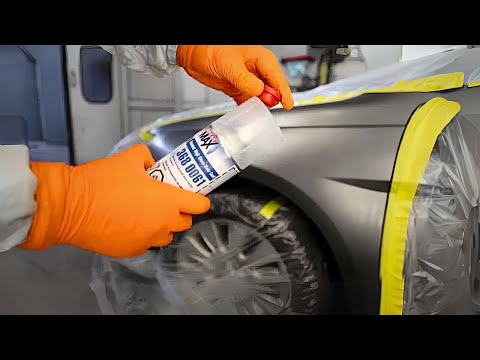
In this video I show how to fix a scratch in your paintwork.
Im only using spray cans so its a DIY friendly methods.
Items used are.
120g, 240g dry sandpaper
600g wet sand paper
Grey scuff pads
Scuffing Paste
Wax & Grease Remover
Masking Taper
Masking Paper
Plastic
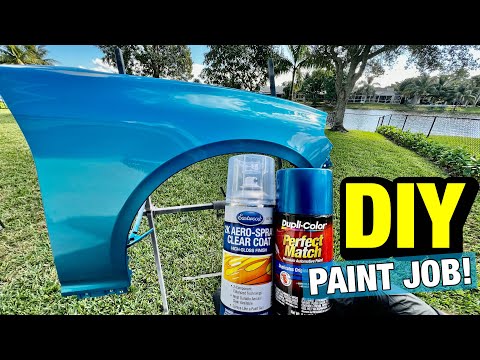
Primer filler in a spray can
Colour matched basecoat in a spray can
Clear coat in a spray can.
In this video I show how to fix a scratch in your paintwork.
Im only using spray cans so its a DIY friendly methods.
Items used are.
120g, 240g dry sandpaper
600g wet sand paper
Grey scuff pads
Scuffing Paste
Wax & Grease Remover
Masking Taper
Masking Paper
Plastic
Primer filler in a spray can
Colour matched basecoat in a spray can
Clear coat in a spray can.
 0:08:16
How To Spray Paint Properly-Full Tutorial
 0:05:56
14 Spray Painting Tips
 0:03:28
How to Use Spray Paint
 0:06:06
Learning How To Spray Paint Fast- Five Tips
 0:21:10
LEARN: How To Get the BEST Results From a Spray Can!
 0:13:41
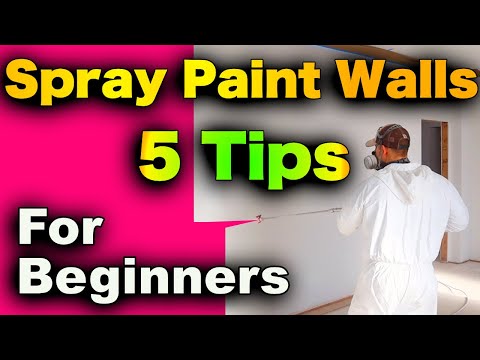
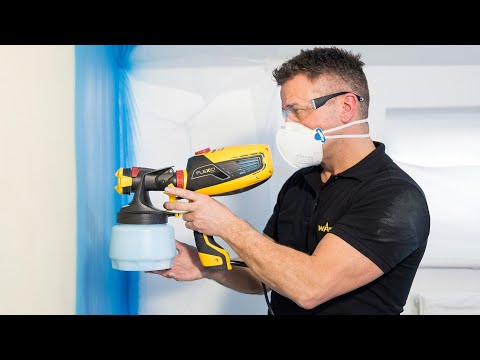
How To Paint Walls With Sprayer - 5 Tips For Beginners
 0:22:55
Professional BACKYARD Paint-Job Using Only Spray Cans!
 0:15:15
How to paint with Spray Cans
 0:00:43
DIY Refillable Spray Paint Can 🎨 #spray #painting
 0:08:42
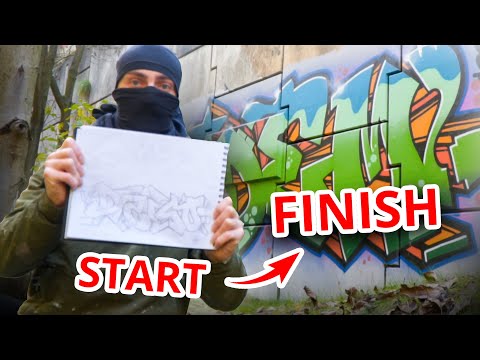
graffiti for BEGINNERS | how to do a graffiti PIECE
 0:06:04
5 Spray Paint Tips | Smooth Even Perfect Finish
 0:12:40
How To Spray A House With A Paint Sprayer. House Painting Instructions. home improvement painting
 0:07:59
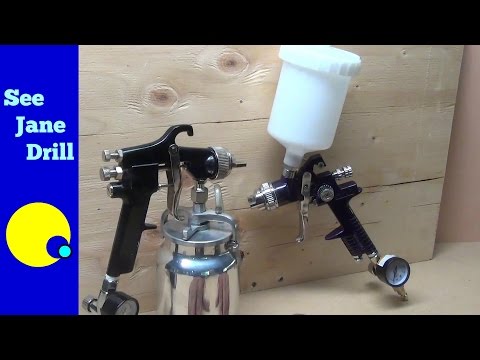
Beginner Tutorial How to Set Up and Use a Paint Spray Gun
 0:08:47
How to Play Roblox Spray Paint! (+ Tips & Tricks)
 0:09:17
BEGINNER SPRAY PAINT ART TUTORIAL
 0:15:56
How to Paint Cars with Aerosol Spray Cans
 0:03:39
How to Spray Paint with Craig Phillips
 0:16:27
How to Spray Paint Walls and Ceilings Quickly - The Tool You MUST See!
 0:08:53
Top 10 Spray Paint Tricks HD
 0:05:45
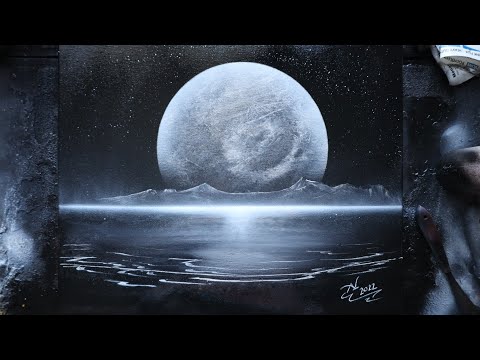
Black and White Nature Spray Paint Art
 0:11:15
INSANE Spray Paint and Water Trick
 0:00:59
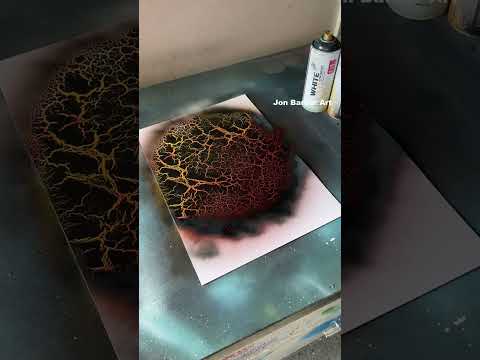
This effect spray paint looks fantastic #custom #art #spraypaint #planet #shorts
 0:15:50
Using A Paint Spray Gun for Beginners | Smooth Furniture Makeover
 0:06:57
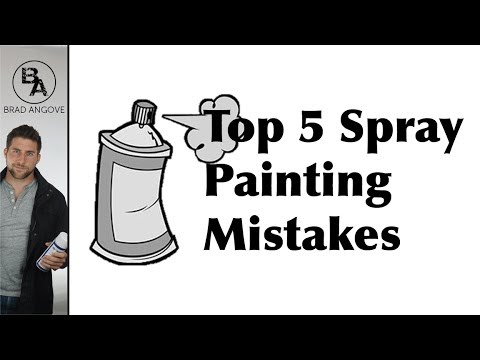
The Top 5 Mistakes to Avoid When Painting With Spray Paint
Комментарии