filmov
tv
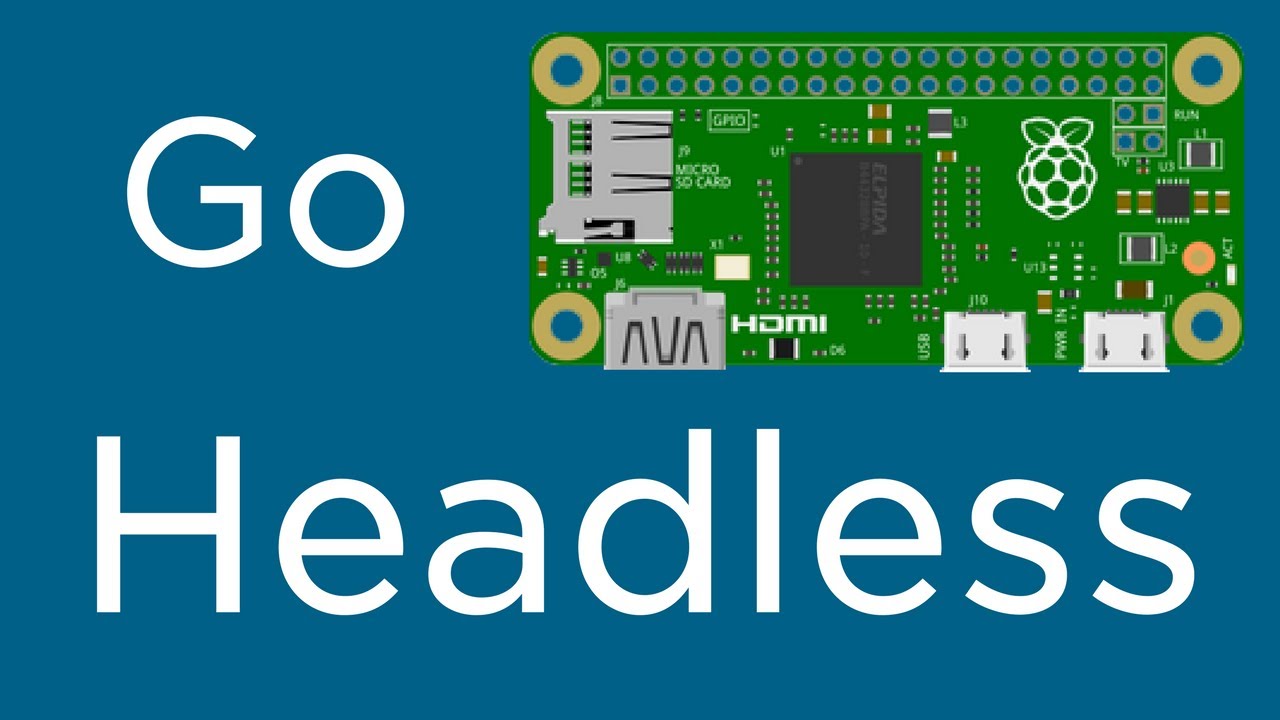
How to Setup Raspberry Pi Zero W for Headless
Показать описание
The following instructions will work anytime, you don't necessarily have to follow them for the first boot - this is just a very convenient way to get your Raspberry Pi onto a network without using any plug-in peripherals like a keyboard, mouse or monitor.
What is "headless," anyway?
A computer setup without a monitor is said to be running headless. You might want to do this if you're installing your Pi into some project, or want to keep power-usage and cost minimal. This kind of setup is what the Pi Zero W was built for. The idea is that you can still access your Pi's terminal interface over your network using a protocol called SSH.
 0:00:30
How to set up a Raspberry Pi
 0:06:24
Raspberry Pi Beginner's Guide: Install and Setup NOOBS
 0:19:21
Raspberry Pi 5 Setup: Getting Started Guide (Step By Step)
 0:10:16
How To Install & Set Up Raspberry Pi OS - Pi4 Pi3 Pi2
 0:14:34
How To Install & Set Up Raspberry Pi OS || New Method to Setup Raspberry Pi (2023) || FIOT || CS...
 0:31:31
How to Setup a Raspberry Pi LEARNING Desktop (Linux, Hacking, Coding)
 0:12:03
How to Setup a Raspberry Pi and Access it Remotely! (Headless setup)
 0:21:14
The New Method to Setup Raspberry Pi (2023 Update)
 0:48:43
yolov10 to tflite | convert yolov10 into tflite | computer vision | raspberry pi yolo v10 to tflite
 0:24:54
Raspberry Pi 4 Getting Started
 0:05:22
Raspberry Pi OS installieren - Schritt für Schritt | TUTORIAL | German - Deutsch
 0:06:11
Raspberry Pi SD Card Setup For Beginners | Install Raspberry Pi OS Using Raspberry Pi Imager
 0:05:22
Raspberry Pi Headless Setup
 0:02:08
Raspberry Pi Explained in 100 Seconds
 0:11:45
Raspberry Pi 4 - How to Setup & Get Started (Best projects for beginner)
 0:23:59
The New Method to Setup Raspberry Pi Zero (2023 Tutorial)
 0:12:55
New Method to Setup Raspberry Pi 4 64-Bit (Headless, Remote Desktop, or Peripheral Devices)
 0:17:05
Raspberry Pi Zero W Setup
 0:02:45
Raspberry Pi OS Installation Guide: Installing the Operating System on a Micro SD Card
 0:10:30
Headless Raspberry Pi Setup (New Simpler/Easier Method) - Without Monitor, Keyboard/Mouse
 0:04:55
How to install Raspberry pi OS on your computer
 0:05:18
2021 How To Install Raspbian OS On The Raspberry Pi 4
 0:22:48
Raspberry Pi 4 The Absolute Beginner!
 0:07:14
How to connect Raspberry PI to LAPTOP with LAN cable
Комментарии