filmov
tv
Raspberry Pi Linux LESSON 2: Formatting SD Card and Installing Operating System

Показать описание
This lesson gives a tutorial on getting started with the Raspberry Pi. It shows how to properly format the SD card, how to download the operating system, install the operating system on the SD card, and then boot the Raspberry Pi. For these initial lessons we will focus on operating the Pi from the Linux command line. Our objective is to learn Linux, and control the Pi via Linux. In later lessons we will learn how to use the GUI interface.
Details of the lesson are on our site at:
Details of the lesson are on our site at:
 1:01:59
Raspberry Pi LESSON 2: Linux Essentials in One Session
 0:31:41
Raspberry Pi Linux LESSON 2: Formatting SD Card and Installing Operating System
 0:19:03
Raspberry Pi Review Lesson 2
 0:27:27
Every Developer Needs a Raspberry Pi
 0:07:08
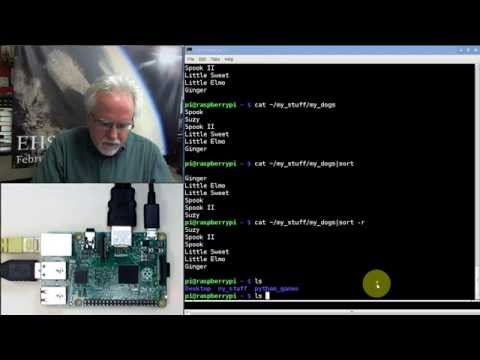
Raspberry Pi Linux LESSON 13: Using the Linux Pipe Command
 0:17:57
the Raspberry Pi 5
 0:15:38
Raspberry Pi Linux LESSON 22: Understanding Linux File and Folder Permissions
 0:15:04
I Can Save You Money! – Raspberry Pi Alternatives
 0:00:53
Raspberry Pi Website in Under 60 Seconds!
 0:07:56
Raspberry Pi - Lesson 2
 0:24:43
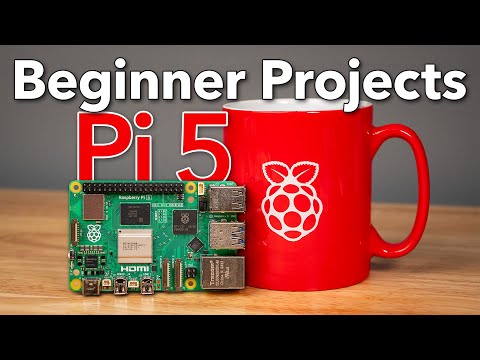
Raspberry Pi 5: Getting Started
 0:01:00
Solo Mining FUN with Raspberry Pi + AntMiner USB Stick
 0:08:05
Raspberry Pi Pico 2: a RISC-V bet!
 0:26:31
Finally! A Raspberry Pi Linux Tablet that works!
 0:09:10
Smarter than a Smart TV! (Raspberry Pi Inside)
 0:00:53
Ultimate Budget Home Server!? #Shorts
 0:17:29
Raspberry Pi Linux LESSON 19: Adding New Users
 0:27:41
Raspberry Pi Linux LESSON 3: Navigating File Structure in Linux
 0:00:17
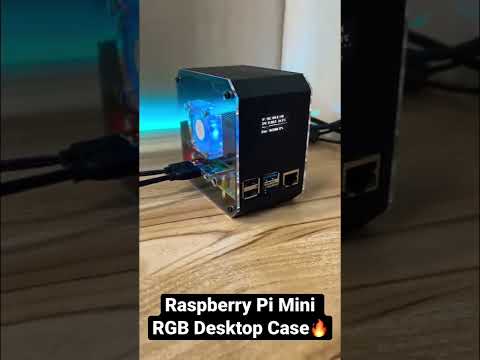
Raspberry Pi Mini RGB Desktop Case
 0:00:42
A RISCV Raspberry Pi Zero?!
 0:17:12
Build your OWN retro game console with a Raspberry Pi!
 0:09:43
Mastering Raspberry Pi Pico - Lesson 2: What is the Raspberry Pi Pico W? Features and Capabilities
 0:33:03
RetroPie: A Raspberry Pi Gaming Machine
 0:11:14
Raspberry Pi 2 Heat Sink (Overclock) and Case Install ($35 Mini Linux Computer)
Комментарии