filmov
tv
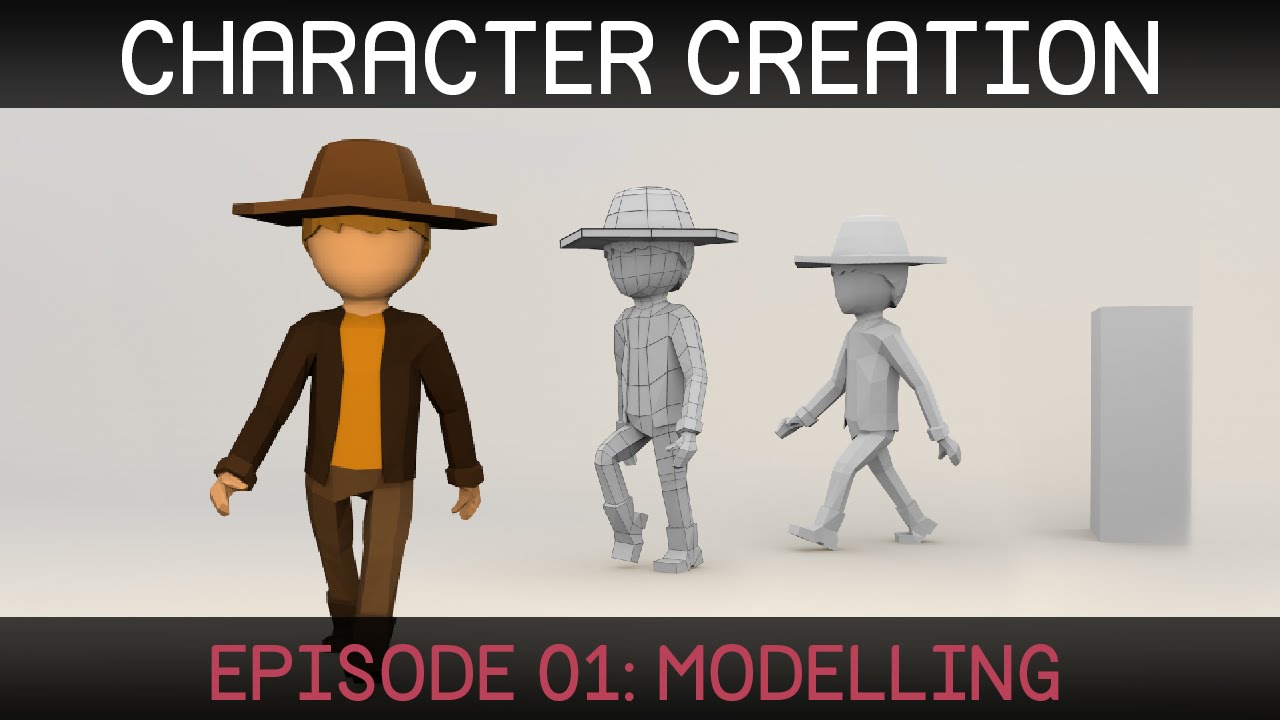
Blender Character Creation: Modelling
Показать описание
Download reference images:
Download blender file:
FAQ:
Q: My background images won't show up after dragging them in.
A: Ensure that your view is properly aligned (press 1 on numpad to set view from front). You also need to be in orthographic (as opposed to perspective) view. You can toggle between ortho and perspective with 5 on the numpad. If, for whatever reason, simply dragging the images in does not work for you, you can also add them manually by pressing 'n' to open the properties panel, navigating to the 'Background Images' section near the bottom, and pressing "Add Image".
Q: Pressing the numbers only changes frame/layer.
A: You need to press the numbers on the numpad (as opposed to the top row of numbers). If your keyboard does not have a numpad, go into preferences and in the input tab check 'emulate numpad'.
 0:23:06
Blender Character Creation: Modelling
 0:48:02
Character modeling for beginners - Blender
 0:28:28
3D Cat - Blender Character Modeling for Beginners | Real-Time Tutorial
 0:35:17
Tutorial: Blender MODELLING For Absolute Beginners - Simple Human
 0:09:54
Blender Tutorial – How to Use AI to Create 3D Models (ChatGPT and Blender)
 0:23:59
Fast Character Modeling with the Skin Modifier in Blender
 0:17:45
How to Make a Cute 3D Character in Blender
 0:44:49
Character Modeling for Beginners (Blender Tutorial)
 1:40:18
Character Creation Time-lapse: Modelling Rafiki
 0:23:46
Creating Stylized Low Poly Characters in Blender
 0:32:14
blender character modeling tutorial beginner -Part1
 0:55:44
How to Model a Character Mesh in Blender | Game Character Tutorial #1
 0:01:00
Learn Blender Rigging and Animation in 1 Minute!
 0:20:05
Creating a Game Character - The Rogue - Blender 3
 0:13:20
Blender Character Modeling 1 of 10
 0:36:18
Blender Character Modeling Tutorial - Let's Model a Basic Character - Blender Tutorial
 0:25:55
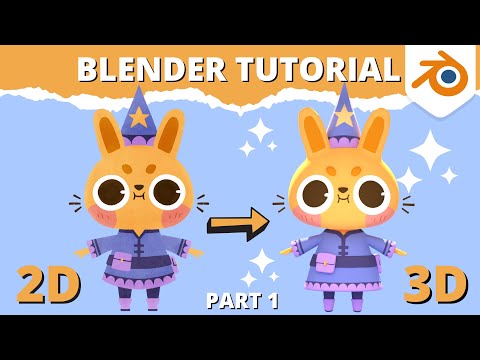
Blender Tutorial - 2D Drawing to 3D Model (Part 1)
 0:19:37
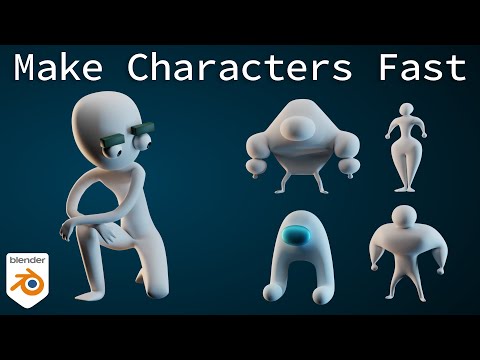
Easily create 3D Characters for Blender FAST
 0:15:55
Blender Character Modeling Tutorial - For Absolute Beginners - Part 1
 0:28:44
Stylized Character Workflow with Blender
 0:17:09
Turn ANYONE into a Stylized 3D Character w/ Blender !
 2:00:46
LEARN LOW POLY Character Modeling - Blender 3.5 Full Course - Model | Rig | Animate | Clone | Export
 1:05:01
Tutorial: Blender MODELLING For Absolute Beginners | Low Poly Girl
 0:19:13
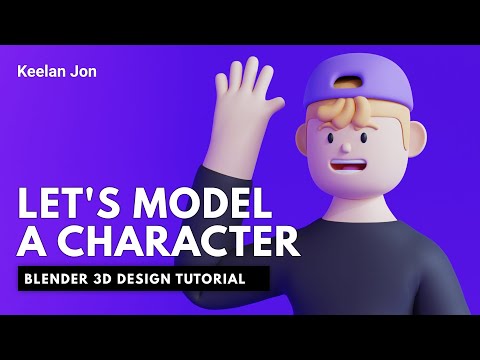
Beginner Stylized Character Modelling Tutorial in Blender
Комментарии