filmov
tv
Auto painting: blending clear coat / smart blend and bumper scratch repair.

Показать описание
In this episode, I'll be repairing a small bumper scratch and sharing some auto painting tips and tricks on how to blend the clear coat so you can avoid the extra time and cost of clearing the whole bumper. This is a simple, easy repair that anyone with a little motivation can accomplish at home.
I'll give you the detailed steps to repair a bumper like a pro.
CHECK OUT MY OTHER HOW TO VIDEOS
⬇️⬇️⬇️⬇️⬇️⬇️⬇️⬇️⬇️⬇️
paint gun and clear review playlist
how to color sand and buff like glass
Autobody repair made easy
how to prepare primer for paint
using body filler to repair a dent
How to repair body damage on your car
My amazon affiliate store : Tools and materials categorized to help you find what your looking for
CLICK HERE
⬇️⬇️⬇️⬇️⬇️⬇️⬇️⬇️⬇️⬇️⬇️
As an Amazon Associate, I earn paid commissions from qualified purchases.
In this video
⬇️⬇️⬇️⬇️⬇️⬇️⬇️⬇️
Sagola mini xtreme paint gun
upol 2k dtm high build primer
lvlp paint gun R500
finish1 fc710 spot panel clear
Sagola disposable cups DPC
3m cubitron sandpaper job pack
flexible bock
astro sun light
premium tack cloths
prep solvent
raven latex gloves
3m paint mask
70% isopropyl alcohol
If you find this video helpful, be sure to let me know in the comments. I welcome your feedback and questions
SUPPORT THE CHANNEL
⬇️⬇️⬇️⬇️⬇️⬇️⬇️⬇️⬇️
LIKE AND SHARE VIDEOS
SUBSCRIBE!
COMMENT!
AFFILIATE LINKS!
Follow us on Instagram and get the scoop on upcoming projects!
Follow us on Tik tok
video equipment I use
⬇️⬇️⬇️⬇️⬇️⬇️⬇️⬇️⬇️
Rode wireless go
Dji osmo action
Disclaimer:
Due to factors beyond the control of Garage Noise, it can not guarantee against unauthorized modifications of this information or improper use of this information. Garage Noise assumes no liability for any property or personal damage that may arise from doing a repair on your vehicle after watching any of my repair video's. Due to factors beyond the control of Garage Noise, no information contained in this video shall create any express or implied warranty or guarantee of any particular result. Again, any injury, damage, or loss that may result from improper use of tools, equipment, or the information contained in this video is the sole responsibility of the user and not Garage Noise.
 0:16:18
How To Blend and Melt Clear Coat|SMART REPAIR
 0:00:59
Smart Repair Blend Existing Clearcoat. Quick Easy Go!
 0:04:22
Mastering Clearcoat Blends: Achieve Undetectable Fade-Outs with Blending Reducer
 0:12:16
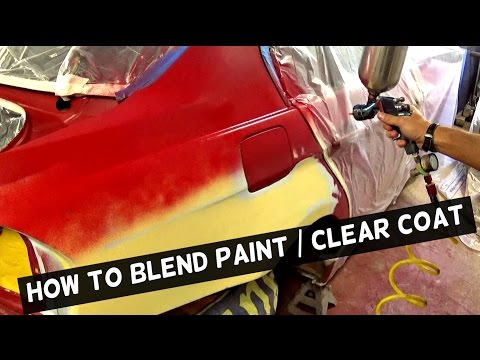
HOW TO BLEND PAINT CLEAR COAT
 0:02:03
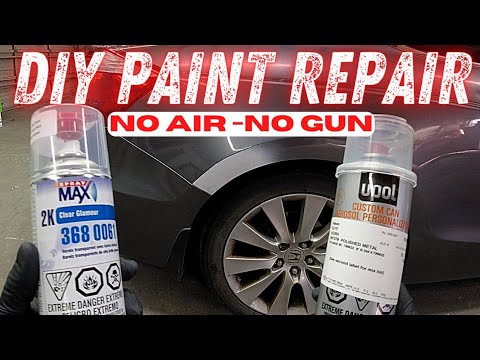
how to blend clear coat diy using 1k spot blender 3680093
 0:18:50
How to SPOT PAINT a car with SPRAY PAINT and CLEAR for amazing results!
 0:09:10
Blending Clearcoat on a white BMW 3 series. Sikkens Autowave.
 0:09:02
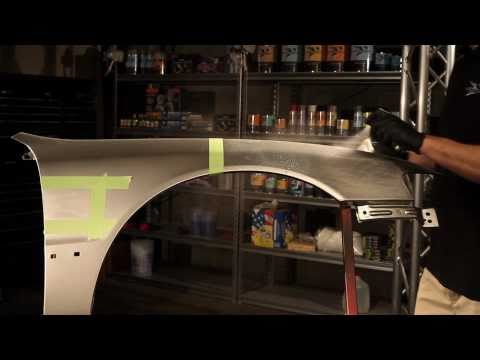
How To Blend Basecoat (S1918 Basecoat Blender)
 0:01:59
How I blend clear when I have to.
 0:08:41
How to Blend Base Coat the Easy Way | 3M Performance Spray Gun Trial
 0:12:33
Car Painting HOW TO: Blend Basecoat and Clearcoat
 0:01:54
How To Blend Touchup Paint Onto Your Vehicle
 0:00:42
How To Do A Clearcoat Blend #howto #clearcoat #blend #carpainting #satisfying #varnish #lacquer
 0:12:11
How I Blend Clear Coat *Black Widow*
 0:01:28
How to mix and spray automotive basecoat
 0:08:09
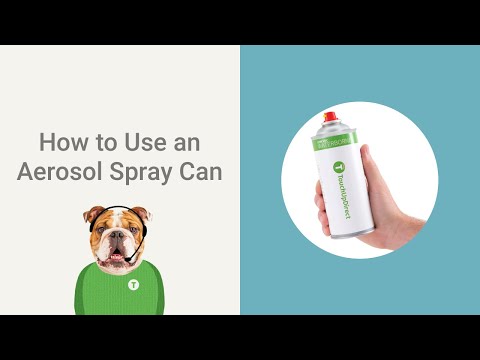
How to Use an Aerosol Spray Can to Touch Up Your Car Paint! | TouchUpDirect
 0:00:50
blending paint and clear.
 0:01:01
I'm blending my clearcoat...
 0:05:50
How to Blend Clear Coat
 0:00:57
Mixing Clear with Single Stage Paint - Tips with Kevin Tetz at Eastwood
 0:19:36
Auto painting: blending clear coat / smart blend and bumper scratch repair.
 0:09:22
Blending Clear Tips Car painting motivated painters
 0:13:44
1K vs 2K Auto Paint
 0:13:43
How to Blend Car Paint Like a Pro
Комментарии