filmov
tv
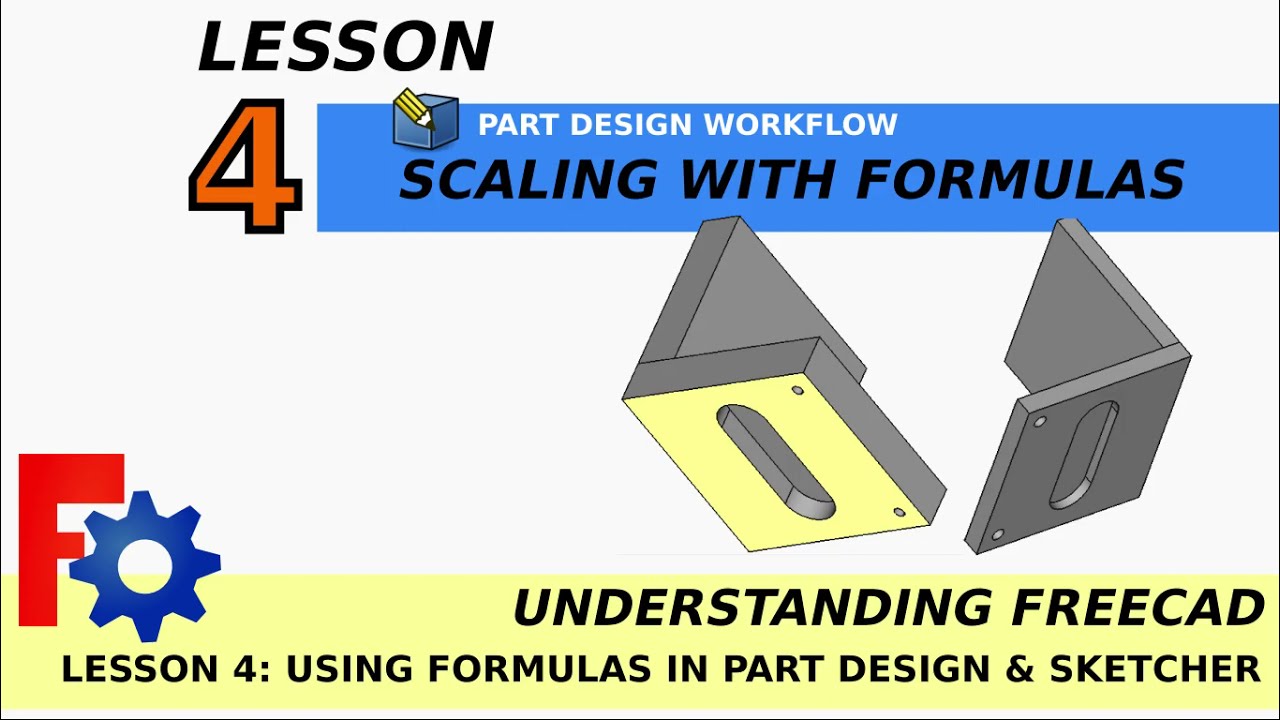
Understanding FreeCAD: Lesson 4 Auto Scale Features with Formula | Part Design | Beginners Tutorial
Показать описание
Lesson 4 We will be learning about how to create and use formulas in FreeCAD to reference features such as pads and pockets to other features so we can, for example scale one pad in the part design workbench and other pads and pockets will adjust themselves automatically. We will create a simple object where each feature (pads, pockets etc) will be linked together via a formula so, for example when we come into a pad and change the thickness and / or length, all of the other features will automatically update with the new thickness and length even if we want features such as pockets that are set, for example, half way through a wall, we can automatically update these to reflect the new depth when other features are updated. We will even look at references geometry in FreeCAD's sketcher workbench and reference this to a pad in the partdesign wb.
#FreeCAD , #CAD #3DPrinting, #CNC
Journey with me and
Next Lesson:
Lesson 5 Inverse / Reverse pocket. Curvature with profiles (Beginners course)
Previous Lesson
Lesson 3 (1 of 4) Model a Piston Crank Shaft Assembly Animation in Part Design A2Plus
Donate:
Patreon
Subscribe:
Browse my Redbubble Shop:
#FreeCAD , #CAD #3DPrinting, #CNC
Journey with me and
Next Lesson:
Lesson 5 Inverse / Reverse pocket. Curvature with profiles (Beginners course)
Previous Lesson
Lesson 3 (1 of 4) Model a Piston Crank Shaft Assembly Animation in Part Design A2Plus
Donate:
Patreon
Subscribe:
Browse my Redbubble Shop:
 0:22:23
Understanding FreeCAD: Lesson 4 Auto Scale Features with Formula | Part Design | Beginners Tutorial
 0:09:26
Understanding FreeCAD: Lesson 5 - Quick Easy Curve or Curvature | Part Design | Beginners Tutorial
 0:31:06
Understanding FreeCAD Lesson 3.4 Model a Piston Crank Shaft Assembly Animation in Part Design A2Plus
 0:00:10
FreeCAD Lauches into SPACE(X) with NACA! #freecad #spacex #rocket
 0:31:07
FreeCAD Tutorial for Beginners Assembly 4 Auto-feed Drilling Animation (Assembly4)
 0:35:09
Understanding FreeCAD Lesson 1.1 Building a basic part in Part Design Workbench. Beginners Tutorial
 0:00:14
Every CAD Designer Should Use This
 0:07:27
Part vs Part Design which one to choose? Basic Beginners FreeCAD v1 / 0.22 | Lesson 5
 0:01:00
Best FREE CAD Software for Students & Engineers
 0:00:10
REFUSES Physics because of FreeCAD?! #freecad #3dprinting #opensource
 0:00:23
Drill, Thread, and Chamfer with 1 Tool
 0:00:24
Maya 2024 - Auto Retopo [No Way]
 0:00:36
FreeCAD Tip with auto constraints
 0:00:16
FreeCAD: Pulley extractor #shorts
 0:00:27
How to open the Volvo cylinder head plug?#shorts #volvo #skills #diy #water #channel #video #physics
 0:00:19
Mechanical Engineering Class at IIT BHU 🔥 | ED | #iit #iitbhu #shorts #viral #jee #mechanical
 0:00:52
Make Sketching in FreeCAD Easier With One Key! #shorts |JOKO ENGINEERING|
 0:10:14
SolidWorks VS FreeCAD, which is better
 0:00:10
2023 Changes FreeCAD Ecosystem FOREVER #freecad #freecadtutorials #3dprinting
 0:32:46
FreeCAD 0.20 For Beginners | 4 | Tracing Photo / Image to Build a Simple Model
 0:01:01
4 Free CAD Software for Students
 0:00:33
Why should you learn AutoCAD? | Career Series #shorts
 0:05:55
FreeCAD Tutorial for Beginners
 0:00:49
Rhino 3D | Jewelry CAD | Heart
Комментарии