filmov
tv
Reducing 3d Printing Ghosting

Показать описание
Ghosts are shadows on your 3d prints. In this video, I look had the causes of ghosting, which is sometimes call ringing and a range of solutions. I produced a number of test prints on my Creality Ender 5 and evaluate upgrades to the Ender 5 to reduce ghosting.
The techniques covered in this video apply to all slices and FDM style printers, ranging from the Monoprice Select Mini to the Prusa i3 MK3.
After watching the video please leave any suggestions for viewers or corrections to my content in the comments. By participating in the comments we will all continue to learn together.
The models used in the video come from Makers Muse and excellent 3d Printing YoutTube site and Thingiverse. Here is a link to the Makers Muse YouTube site:
Here is a link to the Ender 5 bed supports:
Irv
---
The following links are to products I have used, reviewed, or evaluated for the MakeWithTech community. Some of the links below are affiliate links that provide commissions, at no cost to you, and help support the MakeWithTech video production, purchase of products for reviews, lab, forum, and web site.
I have reviewed the following printers or similar printers:
These are some of the tools I use for 3d printing day-to-day:
I have reviewed or used the following 3d printer upgrades:
Here are the 3d printer filaments I use to evaluate prints, software, and techniques:
I will be covering basic electronics and software in future MakeWithTech segments and here are the products I am using:
Some of the Woodworking products I use:
---
** Equipment used in the MakeWithTech videos has the potential to cause injury if misused. Use all equipment and tools at your own risk and follow all manufacturer's safety recommendations.
** Cogitations, LLC licenses all music used in the MakeWithTech videos from Epidemic Sound. Cogitations, LLC uses only authorized or open source clip art and third party images. Images .
 0:05:50
Ghosting in 3D Prints - What is it and how do you fix it?
 0:04:37
Reduce Ghosting for a Dollar - 3D Printing
 0:12:29
Reducing 3d Printing Ghosting
 0:04:37
Ghosting Fix and Beginner Tools - Day 11 of 100 3D Printing Journey
 0:22:26
GHOST BUSTING! A systematic approach to stop ghosting. also, should printers have shock absorbers?
 0:07:45
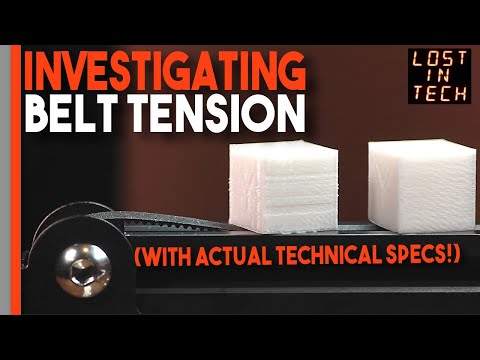
I know what the correct 3D printer belt tension is! Let me explain what it is and how to set it!
 0:04:53
We solved this common problem in 3D printing
 0:03:10
POCKMARKS - how to get rid of gaps in 3D prints
 0:07:18
Ultimate 3D Print RINGING Tests | Remove Longer LK5 Pro GHOSTING
 0:04:56
KingRoon Easy Fix for wavey/ghosting prints
 0:06:41
What 3D Printing Ghosting Looks Like & How I fixed it in 4 easy steps?
 0:10:50
(HOW) I fixed the Ugly Layers on my 3D Printer
 0:11:49
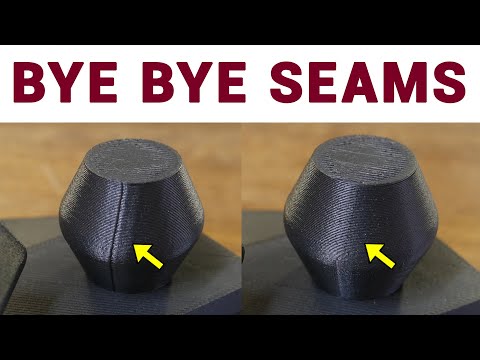
Eliminate seams in your 3D prints with scarf joint seams - An exciting development!
 0:02:29
3D Printing Reduce Ghosting Artifacts Jerk With Felt Feet Pulsation Damper
 0:12:02
THIS IS Y
 0:00:15
Vibration Dampening Feet to Reduce Ghosting
 0:01:01
Issues with ghosting in your #3dprints. Try using a STEP file. #3dprinting #engineering #design
 0:17:19
Remove ringing by tuning acceleration and junction deviation - step by step guide
 0:00:23
Fix Ringing & Ghosting on Creality K1 3D Printer #shorts
 0:06:58
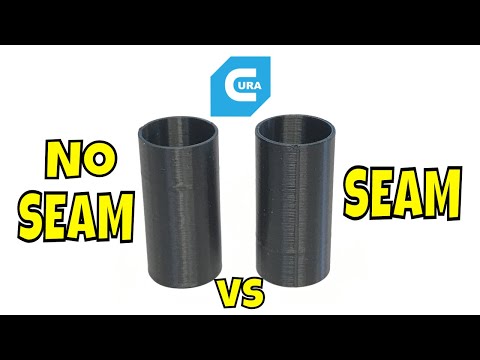
How to Control Seams In Cura Slicer Settings
 0:03:58
Say Goodbye To Stringing Forever - 3D Printing Tips!
 0:01:25
3D Printer Wall Anchor - ROCK SOLID upgrade! (Reduce Vibration/Ghosting)
 0:14:28
This setting might actually be ruining your prints, instead of helping them.
 0:07:28
3D Printer Problem: do you know How to Fix Z-Wobble?
Комментарии