filmov
tv
How to Control Seams In Cura Slicer Settings

Показать описание
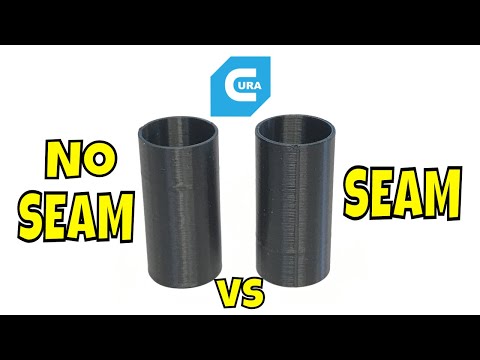
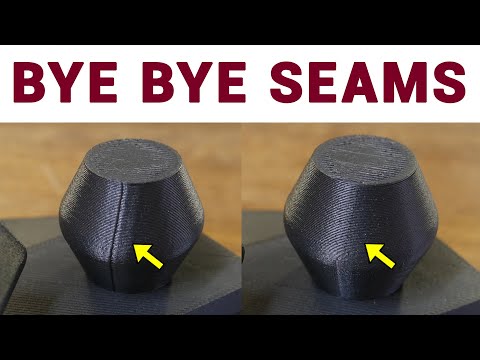
The seam on a 3D print is often visible. Its where the layer height changes while 3D printing. Chuck shows you how to control seams in Cura Slicer. There are settings to make seams mostly disappear and settings to put it on a specific location. All the settings in Cura Slicer are explained in this episode of Filament Friday.
CHEP Cura Profiles:
*************** 3D Printers & Parts *******************************
Creality Ender 3:
CR-10S Pro
CR10 Mini
Creality Ender 3X - Creality Ender 3 plus Glass Bed and 5 Extra Nozzles:
CR-10:
Creality Ender 5:
Creality Ender 3 Pro:
Creality Ender 3/CR-10 Parts:
———————————
Geeetech A10:
********** $3 - Ender Style Cura Profiles Download Links: ********
(Free to Patreon Members)
***** Support the Channel ******************
Buy thru this link to Slice Engineering for the Best Hot Ends:
Note:
As an Amazon Associate, I earn from qualifying purchases.
Financial Support through Patreon:
****************************************************
Filament Friday Sticker:
Send Self Addressed Stamped Envelope to:
Electronic Products
PO Box 251
Milford, MI 48381
****************************************************
Filament Friday Playlist:
Chuck's Arduino Book:
Intro animation by Pablo Licari based on Filament Friday Logo by Brian Carter.
 0:06:58
How to Control Seams In Cura Slicer Settings
 0:11:49
Eliminate seams in your 3D prints with scarf joint seams - An exciting development!
 0:03:32
Blender 2.8: UV Seams Explained in 3 Minutes!
 0:00:32
How To Keep Seams From Fraying!
 0:13:53
Getting Rid of Z-Seams on Bambu Labs 3D Printers?
 0:06:34
3d Printing Z-seam Hack: Straight Z-Seams Every Time
 0:14:45
10 easy ways to finish your seams and prevent fraying fabric
 0:03:29
Preventing inchworm/uneven seams
 0:01:44
How to Finish Seams with a Zigzag Stitch
 0:01:01
3D Printing Z-Seam Hack - Staight Z-Seams #3dprinting #3dprint #3dprintinghack #3dprintingtips
 0:02:45
Control the position of the seams on your 3D Print in Bambu Studio
 0:00:27
How To Keep Seams from Fraying! Part 2
 0:06:14
Fixing Seams in Substance
 0:07:52
Tent Problems EVERYONE Deals With! And How to Fix Them.
 0:16:38
The Best Way of Fixing Texture Seams in 3D - Ultimate Tip
 0:00:57
Perfectly matched seams when sewing💯🙌
 0:00:25
How to Easily Fix Unsewn Seams with this Incredible Miracle Tool!
 0:00:25
Tips for sewing straight seams #sewing #sewingtips #sewingmachine #sewinghacks #sewingtutorial
 0:00:50
Cinema 4D Quick Tip | How to Create Seams (the right way)
 0:00:10
Trouble with seams direction? #quilting
 0:09:04
Seams
 0:02:35
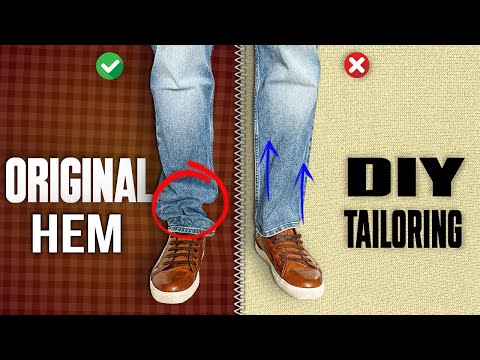
Shorten Your Jeans EXACTLY Like The PROS In 2 Minutes
 0:00:09
Flipped Seams. Leave them or pick them? #quilting
 0:02:27
Singer 99K How to start and end seams with a locked stitch
Комментарии