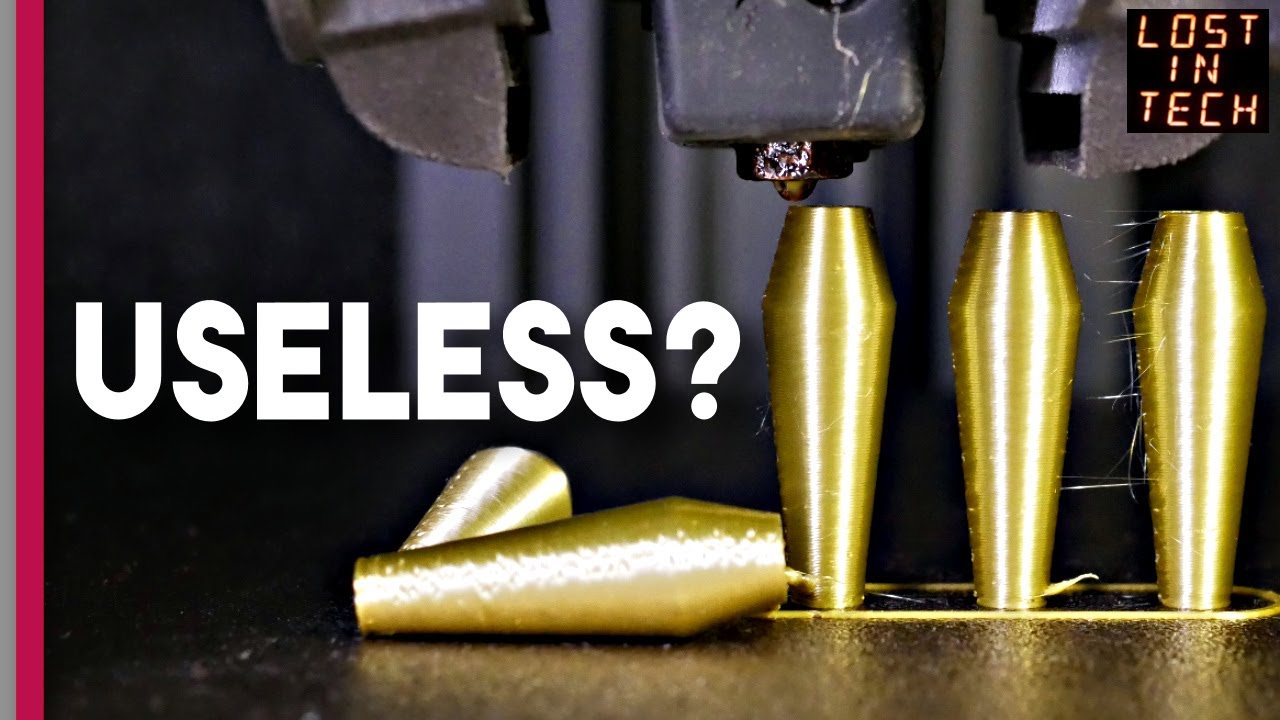
This setting might actually be ruining your prints, instead of helping them.

preview_player
Показать описание

In this episode, Lost In Tech looks at Z-Hop and whether you should use it. Oh, yeah that's what it's about. Z-Hop. Well, that gave the game away. Nobody reads descriptions anyway.

Links:

Or...you can visit amazon using my store links below to support the channel:

Рекомендации по теме
Комментарии
Автор

The bane of 3d printing is the extensive overlap between solutions and problems. It is what it is, but … did you make sure your bed was level?

ScottHess
Автор

I love how you captured one of the most amusing things in 3d printing... how a print can fail, and then.... half recover and start making good layers again on top of the junk is spewed.

carpdog
Автор

I have actually successfully printed a very similar part. It was a print in place roller bearing for filament spools. It worked actually pretty well, but i usually use PETG and an adhesive for the bed (and my parts usually stick really, really well). Since I use PETG, the viscosity is not the issue when knocking over parts. Molten PETG is more like thin honey consistency wise compared to the toothpaste like PLA. The issues were more with the outermost perimeter being pulled up by surface tension, making these areas higher than the innermost parts. This accumulates until the nozzle touches, then pushes down these areas. This leads to the nozzle slightly wiggling the part until it is ripped from the bed. There is a combination of ways to mitigate this, from extrusion multiplier to finding the optimal layer height - though this will highly depend on printer, filament and the model you want to print.
As said, this seems to depend on printer too. My delta will tends to have issues like this, even with z-hop, while my i3 clone works with just the teeeeniest bit of z-hop and almost never knocks anything over. Levelling and bed flatness might also be a factor to consider.

Advice though: Don't design parts like this, thin pillars just don't print well. If you absolutely need to then use adhesive, slightly under-extrude and use a raft.

saraczwei
Автор

for me printing in ABS i've found that Z hop saves the print from being whacked over from the inevitable curling that happens on overhangs an arches but thats in air or in a enclosure

T_TanksTinkers
Автор

Yes an over analyzation video. My favorite!

billallen
Автор

Interesting thoughts about Z hopping. Just to satisfy my own curiosity, I decided to try printing the circular Z hop test .STL, with and without Z hop turned on. The printer I used is one of the most underrated printers on the market and is my second cheapest printer, a Kingroon KP3S (US$150) that is totally stock except for the addition of a BL Touch sensor and a PEI flexible bed (smooth surface). The filament I used was a silk PLA made by Tttyt3D (I know, screwy name, but it prints really well). The slicer is Cura 5.4. The Z hopped model was done with 0.4 hop distance, 220C hot end, 60C bed, no supports, and no brim. Printed without problems in about 34 minutes with just a few very, very fine hairs of stringing, mostly on the first 10mm of the model. For the second print I turned off the Z hop and everything else remained the same. Again, the part printed with no issues in about 32 minutes, a two minute savings over having Z hop turned on. The major difference was a perfectly clean print, no stringing at all. Both prints came out flawless as far as surface finish. Another thing to note, the spool of PLA has been sitting on my printer for several months and shows no issues with moisture contamination.
So the bottom line is printing WITHOUT Z hop turned on results in shorter print times and greatly reduced stringing.
Lastly, it just goes to show that an expensive printer doesn't always guarantee quality prints. I've been using this printer for almost two years and the only thing it has needed was a new nozzle.

Waltkat
Автор

i use z-hop all the time, and it's quite useful.. from what you've shown so far (TS 00:02:48) Most of your z-hop woes are caused by improper use. you should always "wipe" before doing a z-hop, this lets the built up pressure in the nozzle to be aleviated BEFORE the z-hop, which greatly reduces the blobs and boogers. the scarring you're seeing on your ironing, probably has more to do with your ironing height &speed, than it does with z-hop. Also, you keep blaming z-hop for the stringing, when in fact, most of the stringing issues you're having are due to incorrect retraction settings. the whole point, is to reduce, or eliminate the "oozing" of filament due to back-pressure when you're traveling

ArcAiN
Автор

I've been using Z-Hop religously ever since my early printing days when I would hear the "grinding" my nozzle made scraping across my print due to over-extrusion. I hadn't thought about the time retraction takes. Thanks!

guruthossindarin
Автор

I went through the rabbit hole of this too and went back and forth between z-hop enabled and disabled for about 6 months now - and since I've got all my other setting dialed in, I ended up with leaving Z-Hop on. Z-Hop *can* harm your prints' quality, but from my experience *only if improperly used* - while it provides quite a few advantages.
If used correctly however - particularly paired with fitting retraction and a well configured wipe move - I end up with much less problems and higher print quality overall.
I tend to argue that it depends a lot on your particular printer model, and of course all the other variables like particularly the type of filament do play a role as well. As stated, with my Ender3 S1, after very long testing I found that it not only improves my print quality, but also avoids lots of issues some prints may cause. Particularly it avoids catastrophic print failures when having to deal with warpy filaments.

covodex
Автор

I agree with your points if you are printing slow. Once I started printing at 300+ mm/s, i needed it on with more complex prints otherwise it was knocking my tree supports off. I will continue to dial in the trees to help see if I can make them better, but for now this setting seems to correct that.

citizenclown
Автор

Seriously man you're over thinking this way too much. Z hop is not the issue here, barely sufficient bed adhesion is. If you have no oozing, good pressure advance and a very fast printer (including Z), z hop basically has no disadvantages and it solves a few unlikely failure modes, namely hitting a small corner area that curled up and is thus sticking out.

Penofhell
Автор

Given the demonstration on when the print fails, I think a follow up video on techniques like linear (or pressure) advance might be interesting to see if that has anything to do with the failed prints. It probably doesn't have to be z-hop focused, since both settings failed in the same way.

Also, even though I like video, it is not fair to say from this video that z-hop is ruining these prints. This printer/slicer setup is clearly not tuned for z-hop. I and many others get high quality prints and low failure rates with z-hop.

troyj
Автор

Not sure if this video will stop me from using Z hop, but the info here is really useful and interesting. It could be filament, tuning and such, but I don't see any of the stringing that appears in the video. I'll definitely be looking for some of these situations, especially with smaller parts. One of the reasons I like z hop is when printing complex parts since it does eliminate the nozzle scraping over the part. Moves within complex parts are a different thing than traveling in the spaces between multiple parts. With complex sides, multiple holes, etc. it's not always possible to avoid moves over areas that have already been printed for that layer.

troyj
Автор

Thank you! Thank you! I have wasted so much time and plastic trying to get a model to print without ripping parts loose. After turning off Z hop, prints are successful, not on the ones that worked part of the time, but even the one that never worked no matter what settings I changed.

juliejones
Автор

I once had a use case where I had to turn on Z-hop: I was printing TPU patterns onto some fabric on my V-Core 3 500 and the only way to avoid the hot TPU staining the fabric where I did not want it to was 2mm high Z-hop. With the large heavy bed this made for very impressive sounds and visuals 🙂.

hebijirik
Автор

This is a brilliant video! I think the kind of " sticky " nature of molten plastic is like really overlooked and is such an important concept that in some cases it even prevents some prints to finish!

rafaelguida
Автор

Your channel has helped me more with troubleshooting 3D print issues than any other. Thank you.

dineauxjones
Автор

Actually in my opinion z-hop is a must to have on multi material prints. I often do manual filament changes at the 3 bottom layers to embed coloured text or graphics. As each colour is printed after each other, on small areas the nozzle can kick of already printed layers of the bed. For example if you print an "O" (like on the display case of an "Original Prusa") and print the text colour first, pinting the inside of the O with case colour the line of the O is very easaly touched and caried away. In oposite order (case colour first) the inside of the "o" can easaly be catched away.
So here z-hop (and printing very slow) seems mandatory.
But many thanks, I have not thought about turning z-hop on only for the layers I use colourchange before. I might try it on one of my next prints.

oleurgast
Автор

I was very surprised to successfully print this on the first go with no issues... Ender 5-S1, out of the box... No z-hop, 0.4 nozzle, 0.2 layer height, 120mmps, no raft or brim, single skirt, 3D-LAC spray on the bed (as always). 35min print time.
Minor wispy stringing was the only issue... I posted my make on your printables...
Cool video and certainly got me thinking about my printer's capabilities.
I also printed Angus's @MakersMuse Clearance Castle and the torture toaster with perfect results and all clearances are free moving.
I feel like the 5-S1 has taken the skill out of 3D Printing as this was surprisingly straight forward.

CheerfulChipa
Автор

Most of my prints are small parts, 6mm diameter cylinders and up, and others of various sizes. The filament varies depending on the end use. The range of plastics is Nylon (Taulman 910), CF-Nylon(Different manufacturers depending on what nylon content.), PCTPE (Taulman), 75D TPU (NinjaTek), 95A ( NinjaTek, Sainsmart), 95A (Overture - a little softer than the other 95As), PETG (Oveture - over 200k used), PLA (Rarely used).

The key element to successfully printing small parts like you were testing is to print them sequentially. I have been using this strategy for close to five years with a very high success rate, close to 100%. Granted, you don't get as many parts per build but the fit and finish, and the strength are near perfect. Oh, and your stringing between parts is close to zero. I also keep my prints under 3 hours.

Prusa Slicer 2.6.1. No Z hop and very low retraction. Avoid crossing perimeters: setting.

I also use Garolite to print almost all of these filaments. I use gluestick for the nylons and Aquanet hairspray for the TPUs and PETG, More as a release agent than for bed adhesion.

I hardly ever need a bring on the smallest of parts.

I'm using Prusa MK3S and Prusa MK2s.

lindseyjohnson