filmov
tv
ArtResin 101: Step 1 - Prep
Показать описание
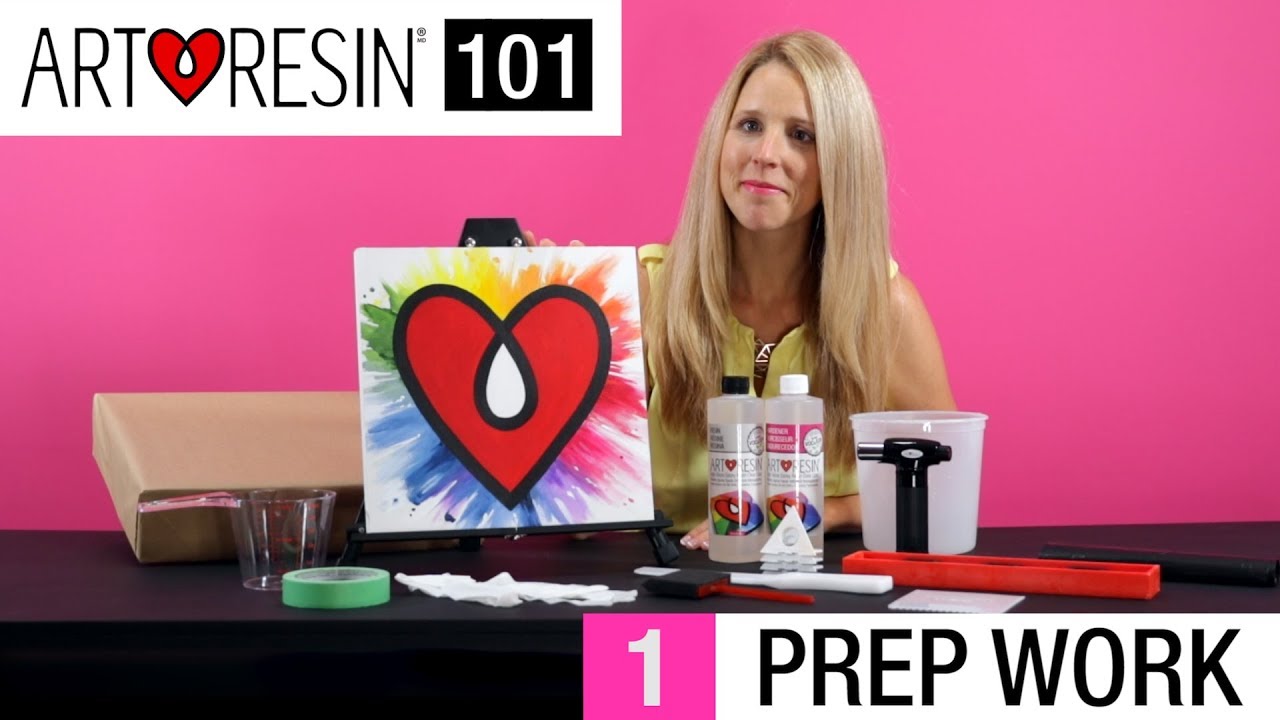
Welcome to our new series, ArtResin 101 - the ultimate guide on how to use clear ArtResin Epoxy Resin!
So, we all know the expression, it's all in the prep work ...
Well, this is true for ArtResin too!
Getting your work surface, artwork and tools ready to go means you won't lose precious working time trying to find a tool ... or abandoning your wet artwork while you run around trying to find a cover.
To get started with ArtResin, the first step is to prep your workspace and your artwork. Here's how:
GATHER YOUR TOOLS:
- a few garbage bags
- stands to prop up your piece ( use pyramid stands or even large lego blocks )
- painter's tape
- a level
- a measuring cup
- a mixing container
- a mixing stick
- a spreader
- a disposable brush
- a pair of disposable gloves
- toothpicks to fish out bits of dust or hair
- ArtResin
- your artwork
- a box big enough to cover your artwork
PREP YOUR ARTWORK:
Make sure your work is completely dry and free of any dust or debris before applying ArtResin
REINFORCING A LARGE CANVAS:
If your work is on a large canvas, you'll want to reinforce it at the back with some cardboard. Resin is heavy! Reinforcing the back will prevent the canvas from sagging and prevent the resin from pooling in the centre.
SEALING:
If your artwork involves ink, paper, or anything that has the potential to bleed or absorb wet ArtResin, we always recommend erring on the side of caution and pre-sealing your piece.
TAPING:
If you plan to resin the sides of your artwork, tape off the bottom of your artwork with painter's tape to catch any drips
PREP YOUR WORK SURFACE:
Lay out a few garbage bags, or a clear, vinyl shower curtain, or a vinyl tablecloth over your work surface
Next, prop your piece up on stands and make sure it's level ...
Now you're ready for step 2 - Measuring Your ArtResin!
 0:01:41
ArtResin 101: Step 1 - Prep
 0:04:42
ArtResin 101: How To ArtResin Step by Step
 0:01:03
ArtResin 101: Step 2 - Measure
 0:01:01
ArtResin 101 In Short
 0:00:52
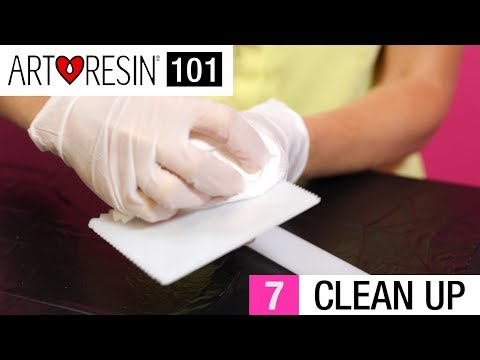
ArtResin 101: Step 7 - Clean Up
 0:00:43
ArtResin 101: Step 6 - Wait
 0:00:15
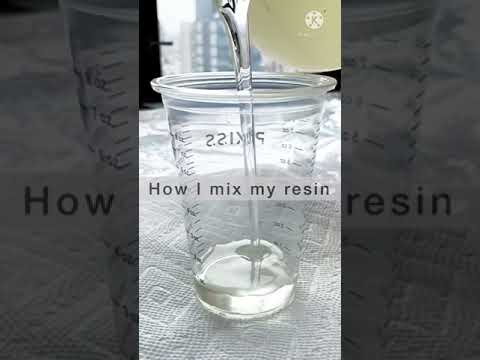
How to mix resin properly for art | Beginners step by step #resinart #diy
 0:00:11
3 Most Important Resin Art Lessons |Resin Art Masterclass | Learn Resin Art for beginners |DIY Resin
 0:00:47
ArtResin 101: Step 3 - Mix
 0:00:47
ArtResin 101: Step 5 - Finish
 0:04:56
The Beginners Guide To Expert Epoxy Tables!
 0:01:04
ArtResin 101: Step 4 - Pour & Spread
 0:00:52
ArtResin 101: Step 7 - Clean Up
 0:00:21
The Emerald Green Desk 💚 #epoxy #diy #desksetup
 0:00:47
ArtResin 101: Step 3 - Mix
 0:00:23
Is ArtResin Self-Leveling?
 0:06:27
Epoxy How To | 5 Tips & Tricks For Beginners
 0:00:17
ArtResin Epoxy Resin - 1 gal (3.78 L)
 0:00:48
How to mix resin with ZERO BUBBLES at home! Two part epoxy mixing guide for beginners ✨
 0:02:28
How to Use Art Resin
 0:04:58
How To Create Cells In Your Art
 0:00:35
3D resin bloom with Alcohol Inks #resin #alcoholink #resincoasters #resincrafts
 0:06:44
How to ArtResin - Tips+Tricks by Nick
 0:00:17
DIY Resin art dry flowers Earrings #diy #art #resin #clay #viral #shorts
Комментарии