filmov
tv
How to make hatching shaders in Blender

Показать описание
Tutorial showing how to make NPR hatching and engraving style shaders in Blender using Eevee. These are techniques for rendering 3D Models so that they look like they're hand drawn.
Inspiration for the style comes from artists like Gustave Doré, who's illustrations for Dante's Inferno are amazing.
The model used in the tutorial is Daniel Chester French's sculpture "Spirit of Life" scanned by Mesick Cohen Wilson Baker Architects, and can be downloaded from Sketchfab here:
Note at 21:00, when I add in the voronoi texture, I should have been using a Vector Math node, not a regular math node
Blend file is here if you feel like playing with it:
How to make hatching shaders in Blender
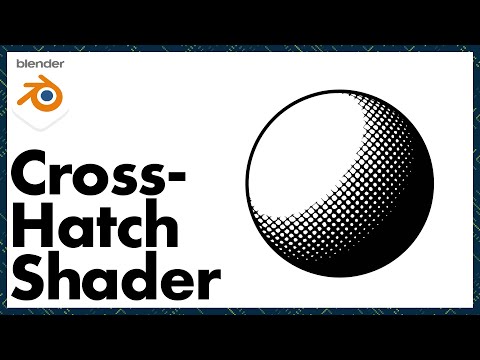
Cross-Hatch Shading in Blender // NPR Shaders Ep 2
Tutorial: Procedural hatching and manga shaders for EEVEE Blender
Making an Inktober Shader
Blender MANGA Shading (In 60 Seconds!!)
Stippled Shading in Blender // NPR Shaders Ep 1
Hand drawn shader tutorial in godot (hand drawn/manga/spider verse)
Blender Cross Hatching In Depth
Simple Cross Hatching Shader (Blender)
Blender Tutorial - Hatched Shadow Shader
Hatching Shader in Unity
How to Cross Hatch - The Best Cross Hatching Tip
Halftone Shader in 2 MINUTES (Blender)
Secrets to Modern Cel Shaders
Create a Procedural Hatching Shader in Blender Cycles
Arnold tutorial - Toon hatching shading in MtoA
Toon/Comic/Spider-Verse/etc Shader
Hatching shader tutorial
Cinema 4D Tutorial - Making Patterns using Sketch and Toon Hatch Shader
Torch with hatching shader - Blender 3D
Quick toon shader effects, NPR - Blender tutorial
Unity URP Toon Shader with Cross-hatching / Halftone highlights
Blender NPR PENCIL LOOK - Not only a shader (by Toni Mortero)
UE5 Hatching Shader
Комментарии
 0:25:08
 0:01:30
 0:35:47
 0:08:49
 0:00:55
 0:01:07
 0:09:29
 0:23:27
 0:02:39
 0:02:45
 0:00:27
 0:14:16
 0:02:14
 0:19:08
 0:16:44
 0:03:19
 0:02:10
 1:08:06
 0:25:49
 0:00:11
 0:31:23
 0:00:46
 0:11:44
 0:01:57