filmov
tv
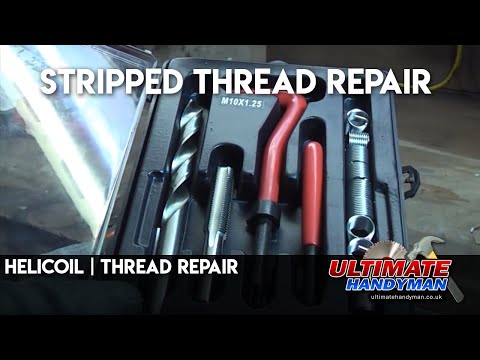
Stripped Thread Repair: How To Install Thread Inserts

Показать описание
While doing the final repairs on my T-5 Transmission I needed to do some thread repair. Because of that, I decided to make this quick video on how to repair threads with thread inserts. I use a Heilicoil in this video, but this information will apply to most thread insert repair kits.
Link to T-5 Repair Updates Video: Video link posted when video available
Camera: Brian Kast
Thanks for watching!
Related Videos
Social Network Links
Stay Dirty
ETCG
Due to factors beyond the control of EricTheCarGuy, it cannot guarantee against unauthorized modifications of this information, or improper use of this information. EricTheCarGuy assumes no liability for property damage or injury incurred as a result of any of the information contained in this video. EricTheCarGuy recommends safe practices when working with power tools, automotive lifts, lifting tools, jack stands, electrical equipment, blunt instruments, chemicals, lubricants, or any other tools or equipment seen or implied in this video. Due to factors beyond the control of EricTheCarGuy, no information contained in this video shall create any express or implied warranty or guarantee of any particular result. Any injury, damage or loss that may result from improper use of these tools, equipment, or the information contained in this video is the sole responsibility of the user and not EricTheCarGuy.
 0:04:31
How to Fix Stripped Threads With a Helicoil
 0:14:51
Best Damaged Thread Repair? Let’s Settle This! Heli Coil, TIME-SERT, E-Z LOK, JB Weld, HHIP, Loctite...
 0:11:40
Stripped Bolt Threads Repair STRONGER CHEAPER *NEW easy WAY*
 0:06:32
Stripped Thread Repair: How To Install Thread Inserts
 0:07:34
Stripped Thread Repair: Helicoil vs. TimeSert vs. JB Weld | The Shop Manual
 0:09:51
FIX stripped bolt hole threads the POOR MANS WAY
 0:00:28
Stripped sump plug thread repair
 0:00:29
helicoil spring, we can use this where the thread is weak.
 0:00:33
Thread Repair like Pro $180
 0:04:39
Helicoil | Thread repair
 0:02:40
Stripped Threads - Quick and Easy Fix
 0:00:51
Helicoil - Banshee motor thread fix. Super easy
 0:01:01
How to Fix Damaged Bolt threads. How to Repair Stripped Threads in Nuts Bolts Holes Restore Rethread
 0:00:25
An Easy Hack for Fixing Stripped Screw Holes
 0:01:01
Quick Stripped Thread Repair
 0:00:27
Slip Thread Repair | Thread Insert | HeliCoil kit #Engineboltkit
 0:00:59
DIY stripped thread repair: Helicoil vs Amazon knock off kit
 0:00:31
4 ways to fix a stripped screw hole!
 0:00:38
Repair of a stripped thread on an aluminum cylinder block #shorts
 0:00:44
Stripped thread repair
 0:00:59
Remove ANY Stripped Screw #howto #repair
 0:00:38
How to Repair a Stripped Screw Hole THE EASY WAY
 0:00:24
how to repair stripped threads? #classic #old #vintage #best #simple #tricks #shorts #youtubeshorts
 0:03:17
STRIPPED THREADS? THIS MECHANICS TRICK / HACK WILL SAVE YOU TIME, MONEY, AND LOTS OF FRUSTRATION
Комментарии